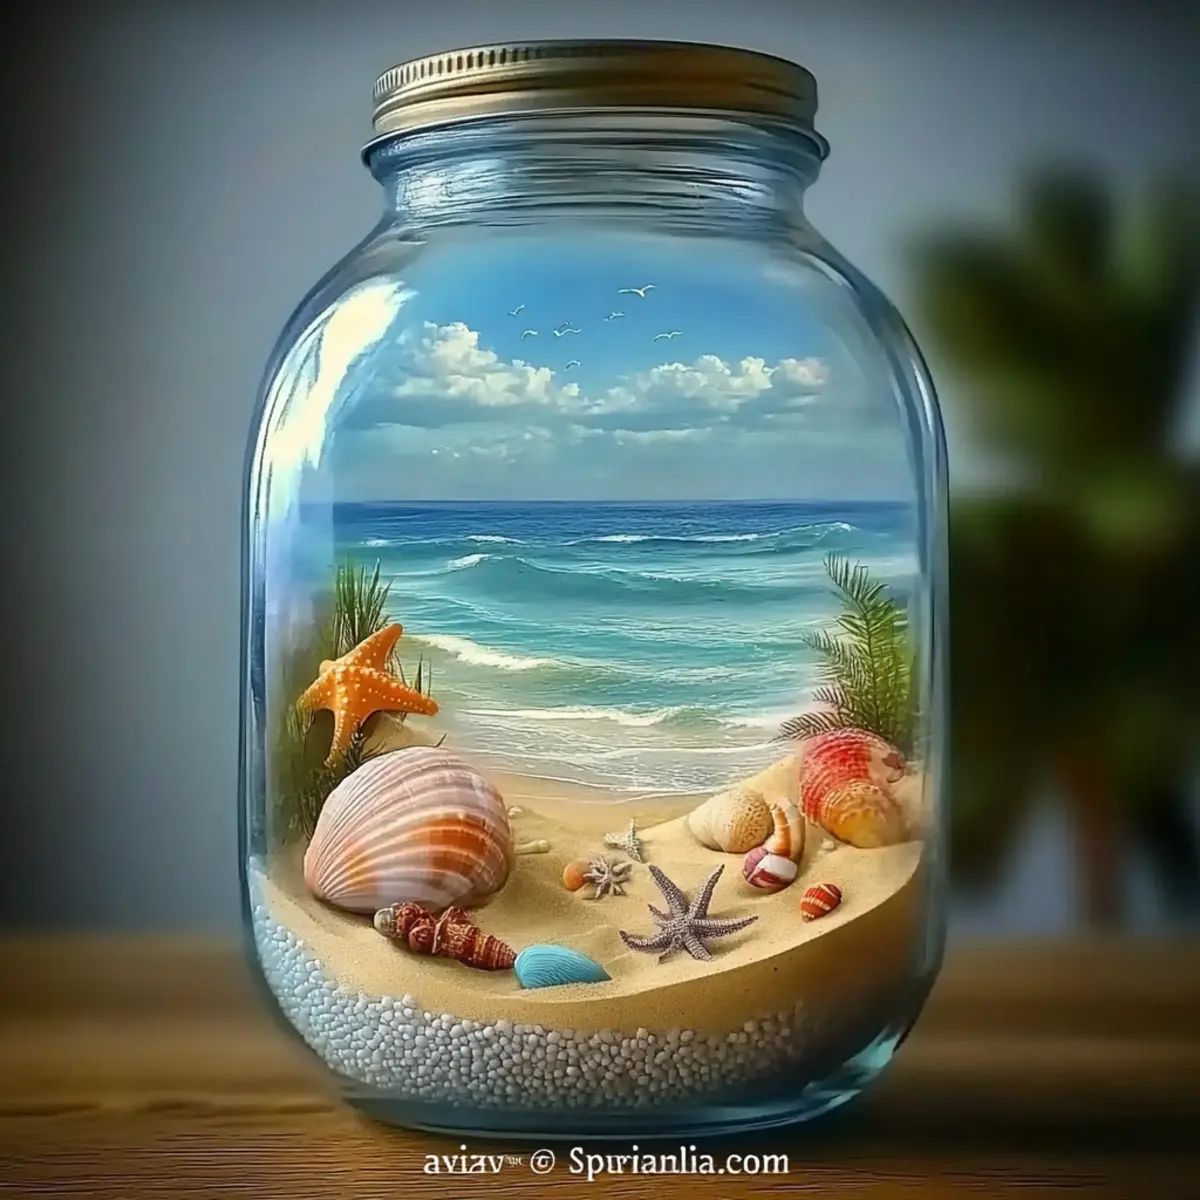
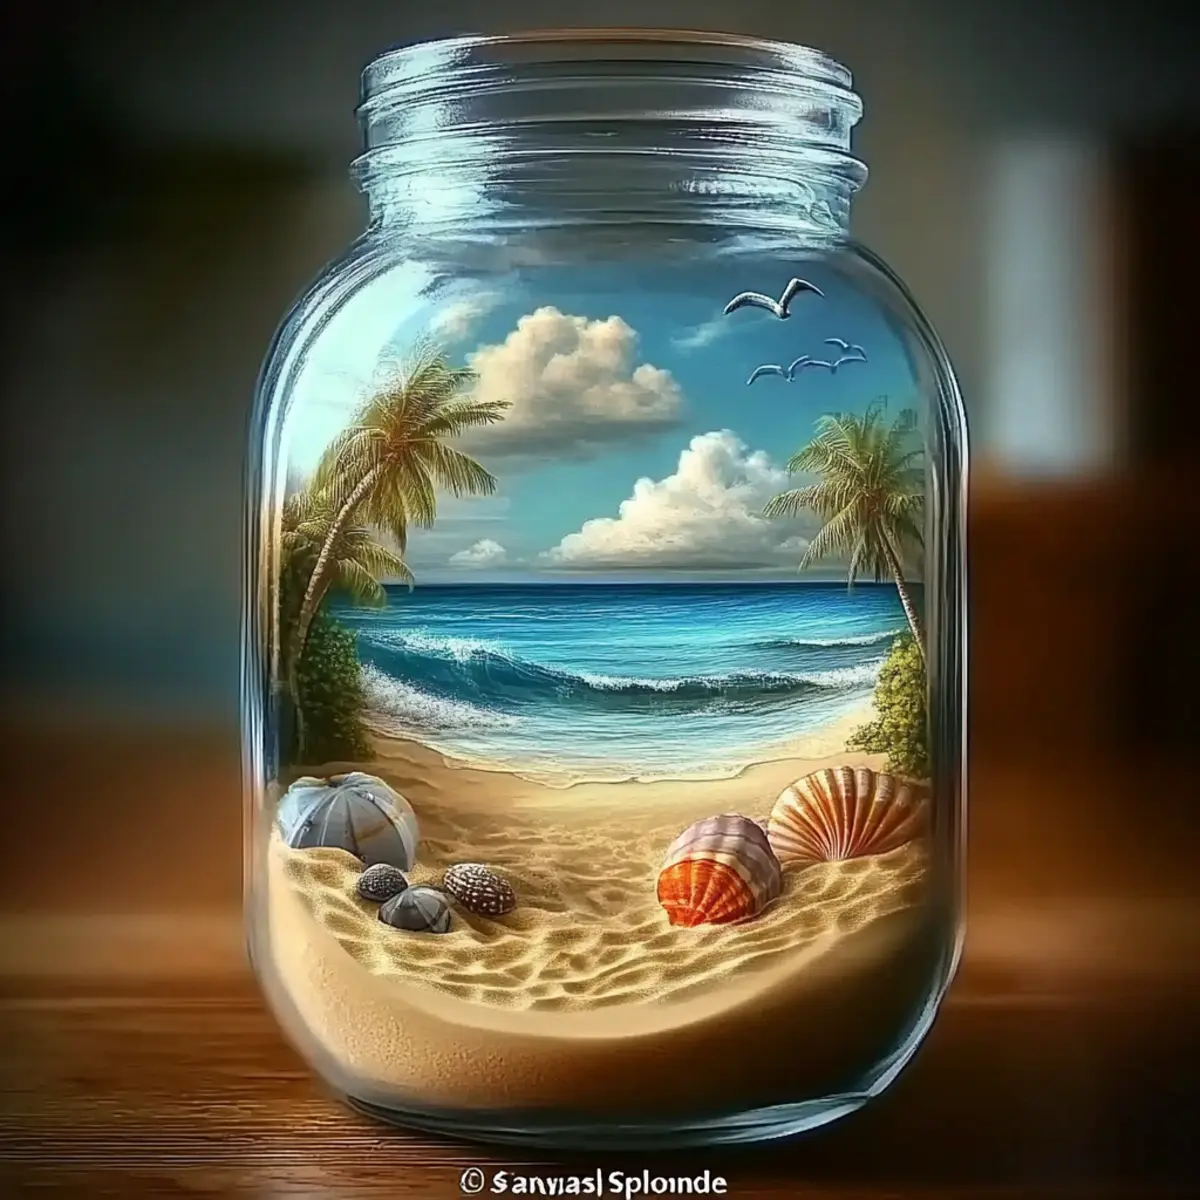
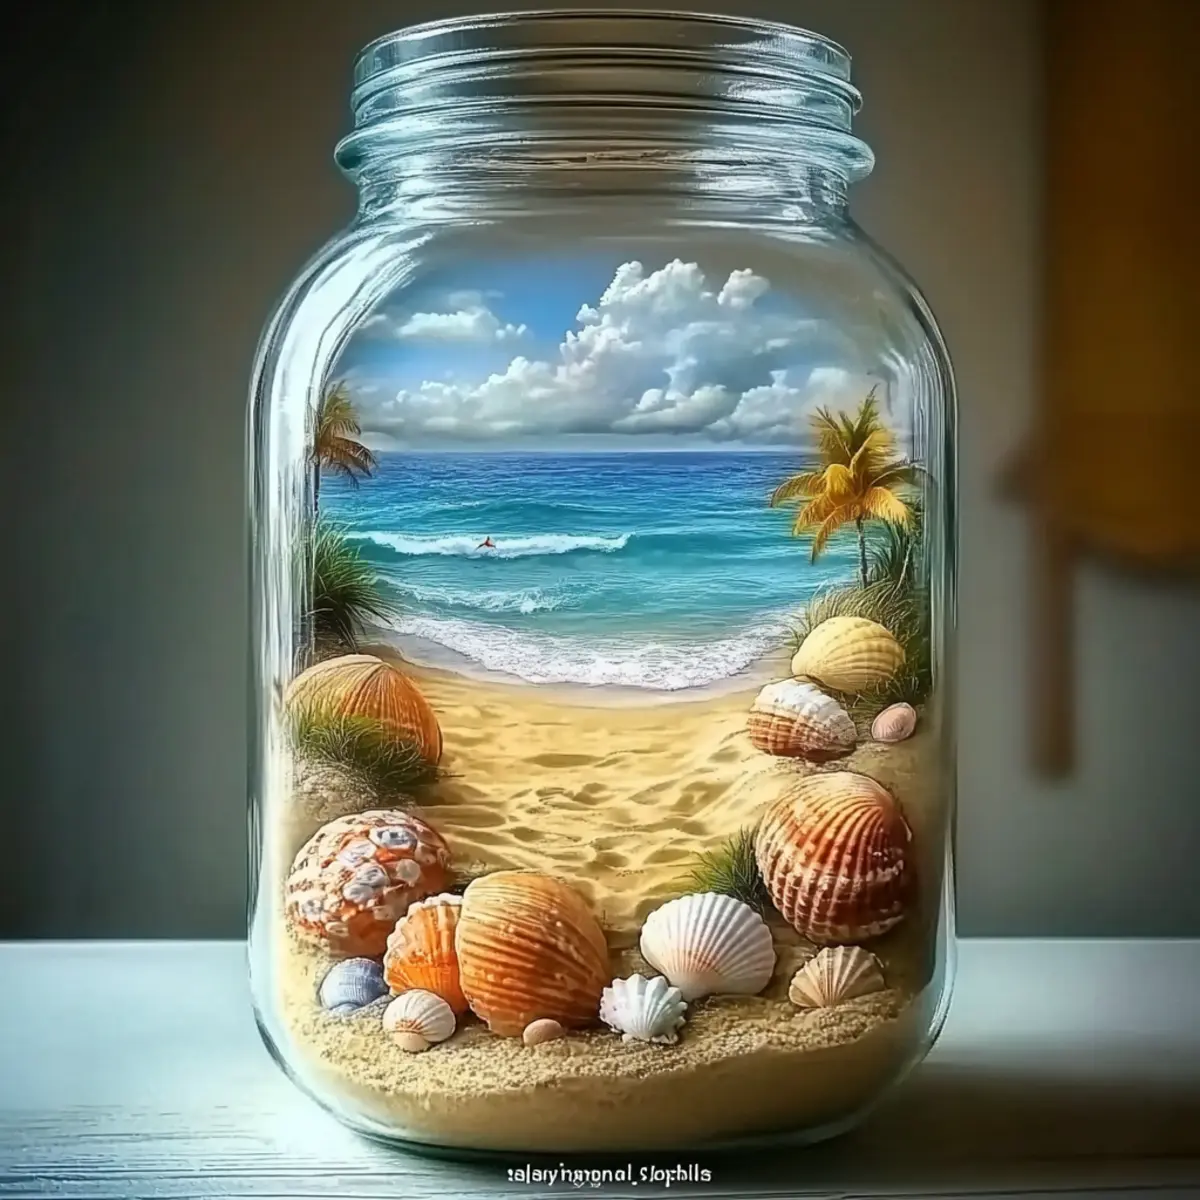
Beach-in-a-Bottle Calming Jar: Your Best DIY Escape Project
The world often feels like a whirlwind, and finding a moment of peace can seem impossible. One day, while sitting in my garden reflecting on all the chaos around me, I thought: how can we invite a sense of tranquility into our lives? That’s when the idea for the Beach-in-a-Bottle Calming Jar was born. In just 10 minutes, you can create a soothing escape filled with vibrant colors and swirling sand, a delightful reminder of warm summer days by the shore. This simple DIY project is not only perfect for all ages but also serves as an effective tool for teaching kids about managing emotions. So, whether you’re looking to spark some creativity with your little ones or just need a moment of calm in a busy day, this calming jar is your ticket to a more serene state of mind. Let’s get started on crafting your very own slice of calm!
Why is the Beach-in-a-Bottle Calming Jar a Must-Make?
Serenity at Home: In just 10 minutes, you can craft a visual masterpiece that brings peace to your space.
Vibrant Visuals: The combination of blue hues and swirling sand creates a stunning effect, reminiscent of a day at the beach.
Family Fun: A fantastic DIY project to enjoy with kids, teaching them valuable skills in emotion regulation.
Non-Toxic Materials: Utilizing safe ingredients ensures worry-free crafting for all ages.
Stress Relief: Shake it up anytime you need a moment of tranquility, making it a perfect companion in our hectic lives.
Get crafting and bring a calming escape into your home with this delightful DIY project!
Beach-in-a-Bottle Calming Jar Ingredients
- Clear Plastic Jar or Bottle – A safe, shatterproof container for your calming jar, especially for kids.
- Water – Fills two-thirds of the jar, providing the base liquid for those stunning swirling effects.
- Sand (Real or Craft) – Offers texture and depth; adjust 1-2 tablespoons depending on how opaque you want it.
- Blue Food Coloring – A few drops will enhance the calming effect, making it look like shimmering ocean water.
- Glitter (Optional) – Add for a touch of sparkle that pairs beautifully with the theme.
- Small Seashells or Sea-Themed Decorations (Optional) – Personalize your jar, making it a delightful beach escape.
- Spoon or Stir Stick – Essential for mixing all your ingredients together thoroughly.
- Funnel – Helps you pour the ingredients into the jar without any spills or mess.
This is a fun and enriching project for anyone looking to create their own Beach-in-a-Bottle Calming Jar!
How to Make Beach-in-a-Bottle Calming Jar
Prepare the Jar: Start by ensuring your clear plastic jar or bottle is clean and completely dry. This helps create a clear view of your calming masterpiece.
Fill with Water: Pour water into the jar until it’s about two-thirds full. This will form the beautiful base for the swirling colors you’re about to add.
Add Sand: Sprinkle in 1-2 tablespoons of sand and gently stir with a spoon or stir stick. The sand will create an interesting texture and help with the mesmerizing swirl.
Incorporate Food Coloring: Add a few drops of blue food coloring to the water; stir until fully blended. This will give your calming jar that stunning ocean-like appearance.
Optional Glitter: If you want to make it sparkle, sprinkle in some optional glitter. You can also add small seashells or other decorations at this point for a personalized touch.
Secure the Lid: Carefully place the lid on your jar and make sure it’s tightly secured. This prevents any spills while you admire your new calming creation.
Shake & Enjoy: Whenever you need a calming moment, just give your jar a gentle shake. Watch as the elements swirl beautifully, inviting tranquility into your space.
Optional: Use colored sand or different food coloring shades for unique variations!
Exact quantities are listed in the recipe card below.
What to Serve with Beach-in-a-Bottle Calming Jar?
This delightful craft invites creativity and tranquility, making it the perfect centerpiece for a serene afternoon or family project.
- Ocean-Inspired Music: Create a playlist filled with soothing ocean sounds or gentle instrumental music to enhance the calming atmosphere.
- Relaxing Herbal Tea: A warm cup of chamomile or peppermint tea pairs wonderfully, promoting relaxation as you shake your calming jar.
- A Cozy Blanket: Set the scene with a soft throw blanket for comfort—perfect for snuggling up while you enjoy the calming visuals.
- Mindful Coloring Books: Engage in a bit of mindfulness through coloring. It’s a gentle way to express creativity while enjoying your jar.
- A Light Snack: Prepare some healthy bites like cucumber slices or almond butter on rice cakes to keep the energy flowing during this peaceful crafting session.
- Fresh Flowers: Add a small vase of fresh flowers nearby; their beauty complements your calming jar and brings life to your space.
- Essential Oils: Diffusing calming scents like lavender or eucalyptus can enhance relaxation, creating a perfect sensory environment for your DIY escape.
- Meditation Cushion: If you’re taking a moment to reflect, use a comfortable meditation cushion for better support while you enjoy your calming jar.
Make Ahead Options
Creating your Beach-in-a-Bottle Calming Jar is a wonderful project that can easily be prepped ahead to save you time, making it perfect for busy weeknights or family activities on the weekend! You can prepare the jar by filling it with water, sand, and food coloring up to 24 hours in advance, ensuring that the lid is tightly secured to prevent any spills. For added convenience, you can also pre-assemble any decorative elements, like seashells or glitter, and store them separately until you are ready to finish the jar. When it’s time to use your calming jar, simply add the prepped elements, secure the lid, and give it a gentle shake to reveal the enchanting swirls! This way, you’ll have a delightful stress-relief tool ready whenever you need it, just as vibrant and soothing as fresh from the crafting table.
How to Store and Freeze Beach-in-a-Bottle Calming Jar
Cool, Dry Place: Store your calming jar in a cool, dry area away from direct sunlight to maintain its vibrant colors for up to 6 months.
Airtight Seal: Ensure the lid is tightly sealed after use to prevent any spills or evaporation of the water, keeping your Beach-in-a-Bottle Calming Jar ready for use.
Refreshing Check: Periodically check the jar for any sediment buildup or color fading; if needed, simply refill with water or add more sand to refresh its appearance.
Do Not Freeze: Avoid placing the calming jar in the freezer, as freezing can compromise the integrity of the materials you’ve used.
Expert Tips for the Beach-in-a-Bottle Calming Jar
Choose the Right Jar: Opt for a clear plastic jar to avoid breakage. This is especially important if kids are involved in the crafting process.
Water Level Matters: Make sure to fill the jar about two-thirds full with water for the best swirling effect. If it’s too full, the contents may spill when shaken!
Stir Gently: When adding sand and food coloring, stir carefully to avoid bubbles. If you create too many bubbles, it can disrupt the calming visuals of your Beach-in-a-Bottle Calming Jar.
Personalize It: Feel free to customize your jar with themed decorations. Using small seashells or different colors of sand can add a unique touch while enhancing the calming effect.
Secure the Lid Tightly: After crafting your calming jar, always ensure the lid is tightly secured. This prevents any spills or mess during use, allowing for a truly relaxing experience.
Beach-in-a-Bottle Calming Jar Variations
Feel free to unleash your creativity and customize this calming jar to suit your style and preferences!
Clear Water: Use clear water with colored sand for a vibrant twist on the classic jar. This option brightens your visual escape without altering the enchanting swirls.
Color Palette: Experiment with different food coloring shades like green or yellow to evoke landscapes or sunshine, enriching the calming effect and allowing for unique themes.
Plastic Beads: Substitute sand with small plastic beads for a fun, colorful texture. The beads will add another dimension to your calming jar, creating intriguing visuals as they swirl.
Essential Oils: Add a few drops of calming essential oils like lavender to the water for a soothing aroma, enhancing your sensory experience while using the jar.
Mini Sea Creatures: Insert tiny plastic sea creatures for added engagement and a whimsical touch that can spark conversations and creativity among kids.
Decorative Sand: Use colored craft sand to create layers of different colors in the jar, making it a visual delight that can change based on your mood or season.
Glitter Variety: Experiment with various glitter shapes (like hearts or stars) for a magical allure, transforming your jar into a sparkling oasis of tranquility.
Add Nature: Incorporate small pebbles or natural elements alongside seashells to reflect the beauty of the beach, personalizing your jar with nature’s finest!
Beach-in-a-Bottle Calming Jar Recipe FAQs
What type of jar should I use?
Absolutely! I recommend using a clear plastic jar or bottle because it’s shatterproof, making it safe for kids. Avoid glass, as it can break easily, especially when young hands are involved.
How should I store my calming jar?
Keep your Beach-in-a-Bottle Calming Jar in a cool, dry place, away from direct sunlight. This will help maintain its vibrant colors for up to 6 months. Make sure to always seal it tightly after each use to prevent evaporation and spills.
Can I refresh the contents if they fade over time?
Yes, you can! I often check my calming jars for any sediment buildup or fading colors. If you notice that the water looks a bit dull or the sand has settled, simply refill it with fresh water or add a little more sand to refresh its appearance. This gives it new life and keeps the calming vibes going!
Is it safe to use in households with pets?
While the materials used in the Beach-in-a-Bottle Calming Jar are non-toxic, it’s always best to supervise pets around the jar. Small decorative items, like seashells, could pose a choking hazard if ingested, so make sure to keep it out of their reach.
What can I do if my jar is leaking?
Oh no! If you notice your calming jar is leaking, it could mean that the lid isn’t sealed tight enough. Start by securing the lid firmly. If it continues to leak, carefully open the jar, adjust the water level to about two-thirds full (this helps prevent spills), and reseal.
Can I make my calming jar with alternative materials?
Very! You can customize your calming jar by using clear glue instead of water, which creates a thicker, slower-moving swirl. Also, consider swapping out sand for small beads or using different food coloring to match your mood or decor. The more the merrier when it comes to personalizing this delightful DIY craft!

Beach-in-a-Bottle Calming Jar: Your Best DIY Escape Project
Ingredients
Equipment
Method
- Prepare the Jar: Start by ensuring your clear plastic jar or bottle is clean and completely dry.
- Fill with Water: Pour water into the jar until it’s about two-thirds full.
- Add Sand: Sprinkle in 1-2 tablespoons of sand and gently stir with a spoon or stir stick.
- Incorporate Food Coloring: Add a few drops of blue food coloring to the water; stir until fully blended.
- Optional Glitter: If desired, sprinkle in some optional glitter and add small seashells or decorations.
- Secure the Lid: Carefully place the lid on your jar and tightly secure it.
- Shake & Enjoy: Whenever you need a calming moment, give your jar a gentle shake.