Aquarium Slime: A Sparkly, Easy Ocean Adventure for Kids
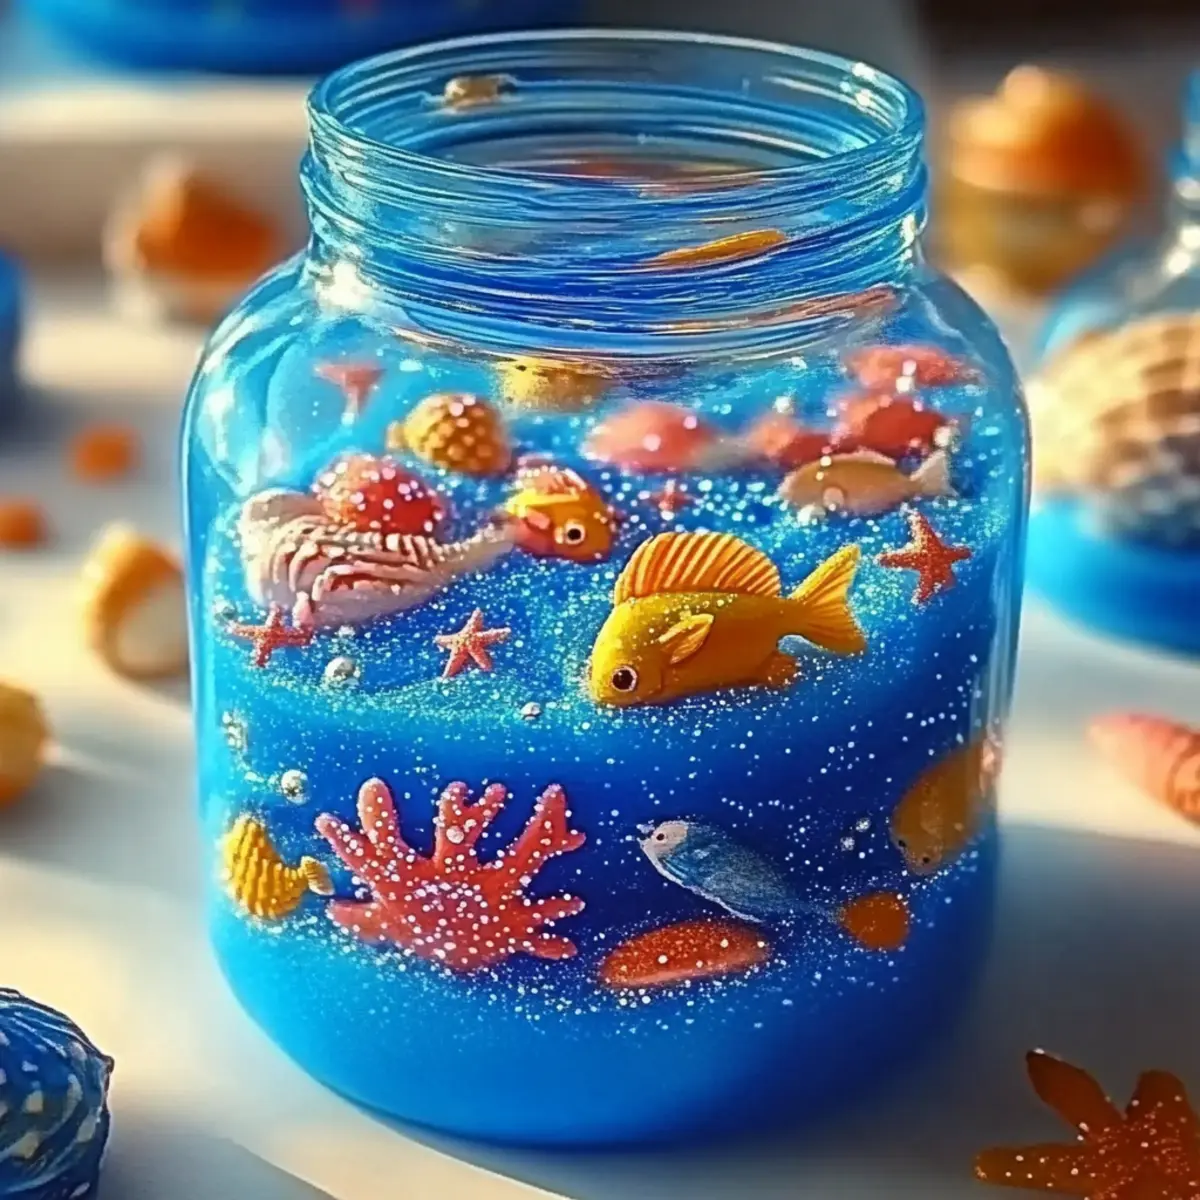
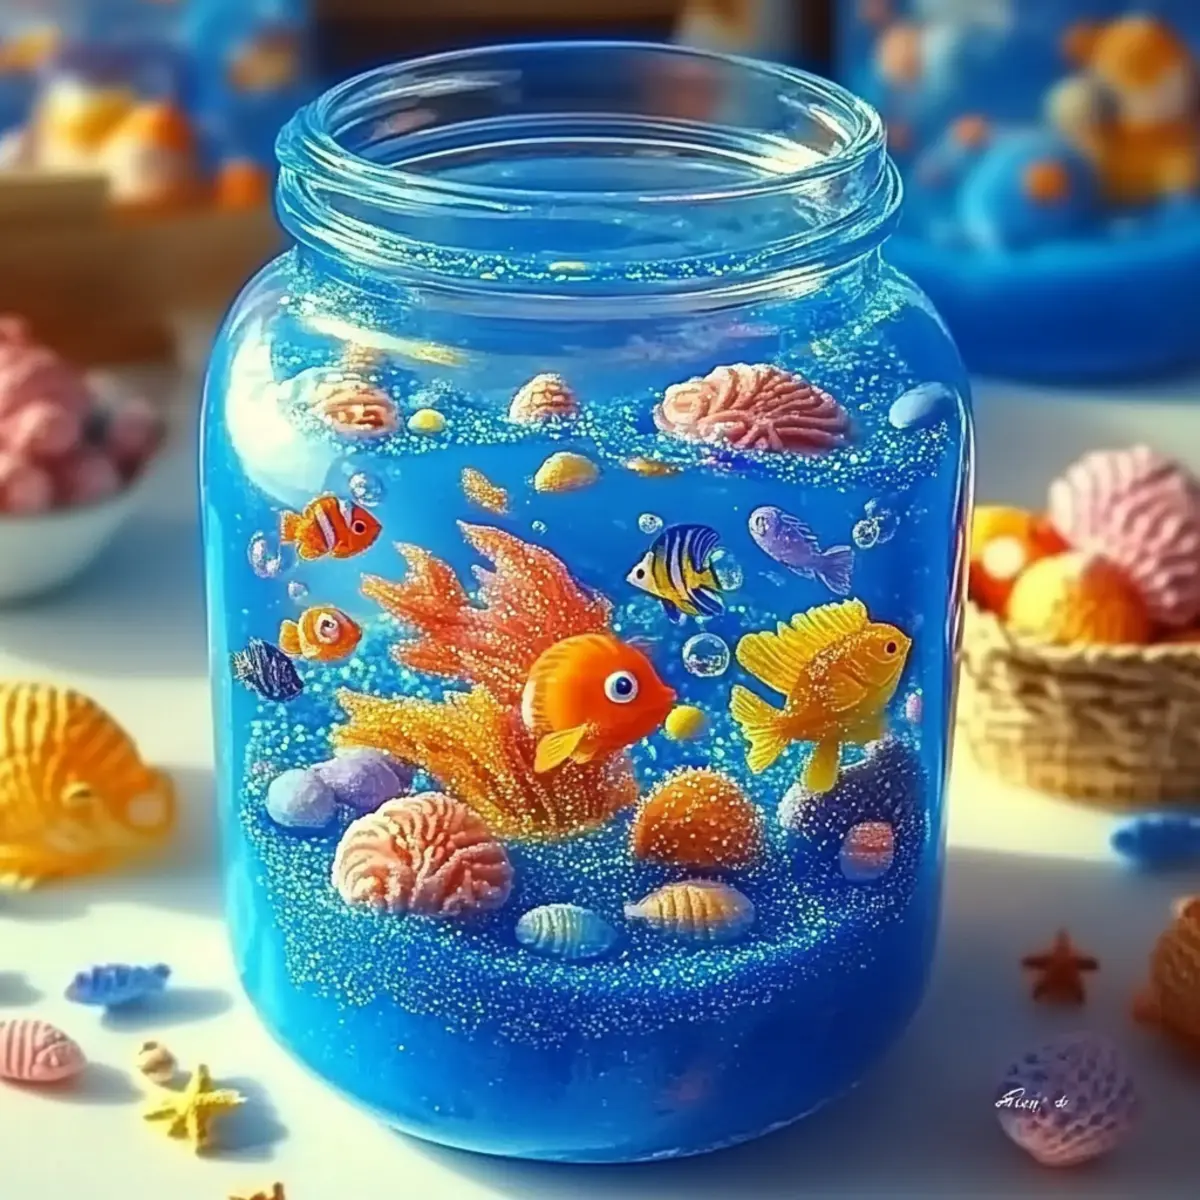
The moment I mixed together the glitter and colors for my aquarium slime, I felt like a kid again, brimming with excitement and wonder. Imagine diving into a vibrant ocean filled with playful fish, where every swirl of blue and sparkle of glitter mimics the gentle waves lapping on a sunny beach. This DIY aquarium slime isn’t just a craft; it’s a sensory adventure that ignites creativity and provides a soothing escape for all ages. Perfect for rainy days or a fun birthday project, it takes just 10 minutes to create a captivating experience that will keep little hands busy and imaginations flowing. So grab your supplies, and let’s make some ocean-inspired magic for you and your loved ones! 🐠💙
Why is Aquarium Slime a Must-Try?
Sensory Delight: This sparkling creation captivates the senses with its colorful swirls and gentle textures, making it a perfect hands-on activity for kids and adults alike.
Quick and Easy: With just a few ingredients and simple steps, you can whip up this ocean-inspired slime in about 10 minutes—perfect for last-minute projects!
Creative Expression: Use different colors and decorative elements like mini fish beads or seashells to make each batch unique, sparking creativity in every play session.
Calming Experience: The tactile nature of slime provides a soothing escape, allowing everyone to unwind while enjoying a fun, immersive activity.
Endless Fun: From pretend play to sensory exploration, this slime offers diverse ways to engage kids, making it a hit at parties or playdates, or even for solo crafting!
Aquarium Slime Ingredients
For the Slime Base
- Clear School Glue – Essential for creating the slime’s stretchy base; without it, the slime won’t set properly.
- Water – Helps mix the glue for a smoother texture; distilled water works best for clarity.
- Baking Soda – A key ingredient that adds firmness; ensure you use baking soda, not baking powder for this recipe.
- Contact Lens Solution (with Boric Acid) – Activates the slime and ensures it pulls away from the bowl; boric acid is necessary for proper slime formation.
For the Color and Sparkle
- Blue Food Coloring or Liquid Watercolor – Adds the vibrant ocean hue; feel free to experiment with other colors for different ocean vibes.
- Fine Glitter (blue, silver, iridescent) – Provides a stunning sparkly effect, enhancing the ocean theme; optional but recommended for max fun!
For Fun Add-Ins
- Mini Fish Beads or Plastic Sea Creatures – These delightful decorations enhance sensory play; adjust quantity based on your preference.
- Small Seashells or Foam Beads (optional) – Adds an extra touch of decoration; be mindful of allergens when including these.
How to Make Aquarium Slime
Combine Ingredients: In a mixing bowl, pour in 1 cup of clear glue and mix it with ½ cup of water, stirring until beautifully blended and smooth.
Add Color and Sparkle: Pour a few drops of blue food coloring and sprinkle in some glitter. Stir it together until the color and sparkle are evenly distributed, creating your oceanic base.
Firm It Up: Mix in 1 tablespoon of baking soda to introduce some firmness into your slime. This step will help it hold its shape when it’s ready!
Activate the Slime: Slowly pour in 1 tablespoon of contact lens solution while stirring. As you mix, you’ll see the slime beginning to pull away from the bowl and form a delightful texture.
Knead Your Creation: Knead the slime by hand for about 1-2 minutes until it feels smooth and stretchy—this is where the magic happens!
Mix in Decorations: Gently fold in your mini fish beads, seashells, or any other fun decorations you’ve chosen. This step adds extra sensory elements for delightful play!
Store for Freshness: Place your aquarium slime in an airtight container. This will keep its lovely texture and prevent it from drying out, ready for every ocean adventure.
Optional: For an enchanting twist, consider adding glow-in-the-dark pigment for nighttime fun!
Exact quantities are listed in the recipe card below.

Make Ahead Options
These aquarium slime creations are perfect for busy home cooks looking to save time on crafting! You can prepare the slime mixture up to 24 hours in advance and store it in an airtight container to maintain its delightful texture. When you’re ready to engage in sensory play, simply bring it out and knead it for a minute or two before adding your chosen decorations like mini fish beads or seashells. This not only keeps your aquarium slime just as fun and stretchy but also allows you to have an instant activity ready for playdates or rainy days. Just remember to keep it refrigerated if you’re storing it longer for the best quality!
Storage Tips for Aquarium Slime
Room Temperature: Keep your aquarium slime out of direct sunlight and in a cool, dry place to prevent it from melting or becoming sticky.
Fridge: For extended freshness, you can store the slime in the refrigerator, which will keep it nice and firm for up to 2 weeks. Make sure it’s sealed tightly!
Freezer: If you want to save your aquarium slime for later, store it in an airtight container in the freezer for up to 3 months; just let it thaw before playing!
Reheating: If your slime becomes a bit too stiff, you can gently knead it or warm it in your hands for a few seconds to restore its stretchy texture.
Expert Tips for Aquarium Slime
Mind the Measurements: Ensure accurate measurement of each ingredient; too much glue or water can affect the slime’s consistency.
Mixing Method: Mix glue and water thoroughly before adding other ingredients to ensure a smooth base for your aquarium slime.
Be Gentle with Kneading: Over-kneading can cause decorations to fall out; just knead enough to achieve a smooth texture.
Decoration Balance: Choose decorative elements wisely; too many can result in a messy slime that loses its smoothness.
Supervise Playtime: Keep an eye on younger children while crafting; although non-toxic, it’s best to avoid ingestion.
Storage Tip: Store your aquarium slime in an airtight container to maintain its texture and freshness for prolonged fun!
Aquarium Slime Variations & Substitutions
Feel free to personalize your aquarium slime with these exciting twists that spark creativity!
Color Swaps: Change blue food coloring to green, purple, or even neon shades for uniquely themed slimes. Consider a vibrant sunset ocean or a mystical underwater world!
Glitter Types: Experiment with different glitters such as gold, neon, or holographic for added sparkle and visual appeal. Each glitter type can transform the overall look of your slime while maintaining that enchanting ocean vibe.
Decorative Beads: Use themed decorative beads like foam fish, seaweed, or even glittery starfish to mix textures and visuals, allowing for endless creativity! Add fun and color with each new slime batch.
Scented Slime: Incorporate a few drops of safe essential oils like vanilla or coconut to create a delightful aroma that enhances the sensory experience. The finishing touch can be a relaxing and inviting scent that adds to the fun!
Foam Beads: Mix in foam beads or packing peanuts for a crunchy texture that contrasts beautifully with the smooth slime base. It adds a new layer of tactile fun that kids will love squishing!
Glow-in-the-Dark: Add a few teaspoons of glow-in-the-dark pigment for nighttime fun. This twist brings a magical element to playtime, making your slime shine brightly when the lights go out!
Eco-Friendly Recipe: Substitute store-bought glue with homemade cornstarch-based slime for a natural approach. This option can be just as fun while appealing to environmentally conscious crafters.
Color Layering: Make several batches of aquarium slime in different colors and layer them in a jar for a visually stunning and mesmerizing effect. Your slime will be an ocean in a jar, ready for creative exploration!
What to Serve with Aquarium Slime?
Imagine crafting a world of shimmering ocean adventure before diving into your sensory masterpiece. This engaging slime is only the beginning!
- Mini Bowls of Sand: These fluffy, edible sand mixtures are perfect for creativity, allowing kids to create ocean scenes alongside their slime creations.
- Ocean-Inspired Snacks: Fish-shaped crackers or blue-hued jello offer a thematic treat that complements the playful atmosphere of sensory play.
- Tactile Play Kits: Provide simple sensory toys like kinetic sand or textured balls for a varied sensory experience, extending the fun beyond the slime.
- Themed Music Playlist: Cozy up the atmosphere with ocean sounds or inspiring music, enhancing the calming vibes of your crafting session.
- Refreshing Lemonade: A light beverage refreshes little ones from all the excitement, balancing the tactile experience with a tasty sip.
- Coloring Activities: Set up ocean-themed coloring sheets beside the slime for a multi-faceted crafting journey that inspires creativity and calm simultaneously.
Enhancing your aquarium slime fun can turn it into an unforgettable sensory adventure for everyone involved!

Aquarium Slime Recipe FAQs
Can I substitute any ingredients in aquarium slime?
Absolutely! However, please note that substitutions like baking powder for baking soda or other types of glue may not yield the same stretchy, slime-like consistency. The clear school glue and contact lens solution with boric acid are essential for achieving the right texture.
How should I store my aquarium slime?
To keep your aquarium slime fresh, store it in an airtight container at room temperature, away from direct sunlight. It will last for about 1 week. For extended freshness, you can even pop it in the fridge, where it can stay firm for up to 2 weeks!
Can I freeze aquarium slime? How?
Yes, you can freeze your aquarium slime! Simply place it in an airtight container, ensuring it’s sealed well to prevent freezer burn. It will remain good for up to 3 months. When you’re ready to use it, let it thaw at room temperature, and knead it gently to restore its lovely stretchy texture.
What if my slime turns out too sticky?
No worries at all! If your aquarium slime is too sticky, try kneading in a bit more contact lens solution, one teaspoon at a time, until the desired consistency is achieved. Just be careful not to over-knead, as that can affect the decorations you’ve added.
Is aquarium slime safe for pets or children?
While the ingredients are non-toxic, be sure to supervise young children while they’re playing with slime to prevent any accidental ingestion. For pets, it’s best to keep it out of reach, as even non-toxic options can cause stomach upset if consumed in large amounts.
What can I do if my aquarium slime loses its sparkle?
If you find that your aquarium slime’s glitter has settled or disappears during play, simply knead in a bit more fine glitter or decorative beads to give it a fresh ocean-inspired splash! You can also add a few drops of food coloring to revitalize its oceanic hue.
Aquarium Slime: A Sparkly, Easy Ocean Adventure for Kids
Ingredients
Equipment
Method
- In a mixing bowl, pour in 1 cup of clear glue and mix it with ½ cup of water, stirring until beautifully blended and smooth.
- Pour a few drops of blue food coloring and sprinkle in some glitter. Stir it together until evenly distributed.
- Mix in 1 tablespoon of baking soda to introduce some firmness into your slime.
- Slowly pour in 1 tablespoon of contact lens solution while stirring until the slime forms a delightful texture.
- Knead the slime by hand for about 1-2 minutes until it feels smooth and stretchy.
- Gently fold in your mini fish beads, seashells, or any other fun decorations.
- Place your aquarium slime in an airtight container to keep its texture and prevent drying out.