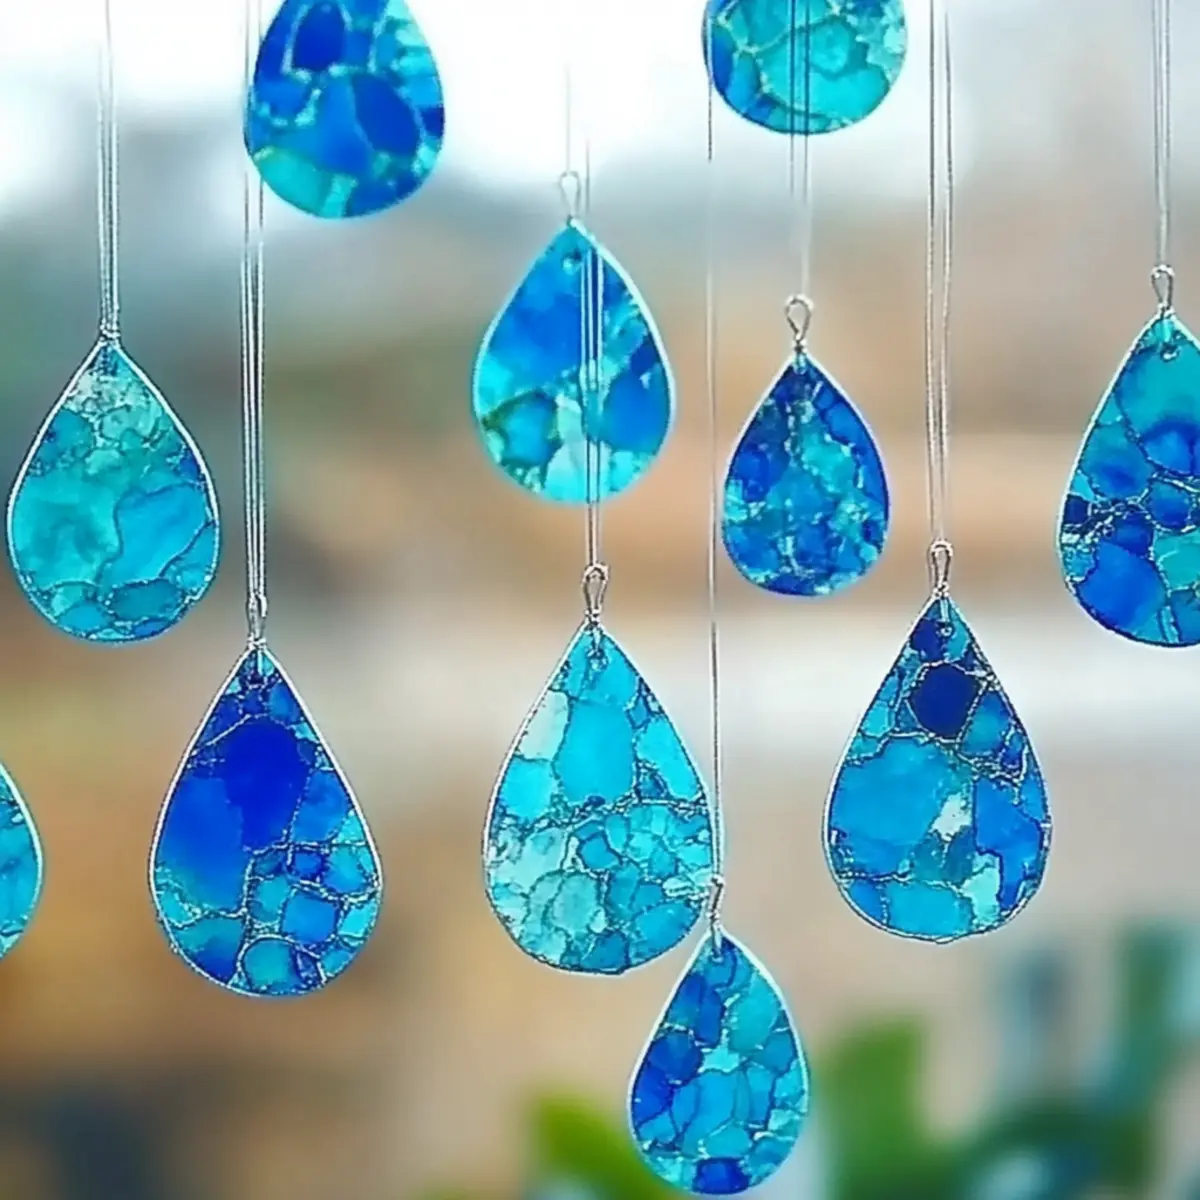
Blue Crayon Raindrop Suncatchers: Easy Craft for Kids Fun
When the rain starts pouring and the skies turn gray, I often find myself searching for creative ways to bring a little sunshine indoors. This is where crafting magic begins, especially with my favorite DIY project: Blue Crayon Raindrop Suncatchers! Picture it: in just 30 minutes, you can transform everyday materials like broken crayons and waxed paper into stunning decorations that reflect vibrant colors and lift spirits more than afresh-brewed cup of coffee.
This project not only keeps the kids busy but also adds a touch of whimsy to any window, inviting joyful rays of sunlight to dance around your home. You’ll love how simple and non-toxic it is, making it perfect for little hands. So grab those crayons—no need to worry about wasting a few—and let’s create something that’s truly dreamy for both rainy days and sunny windows!
Why are Blue Crayon Raindrop Suncatchers a must-try?
Creativity Unleashed: Kids will enjoy shaping their suncatchers, letting their imaginations soar with different designs.
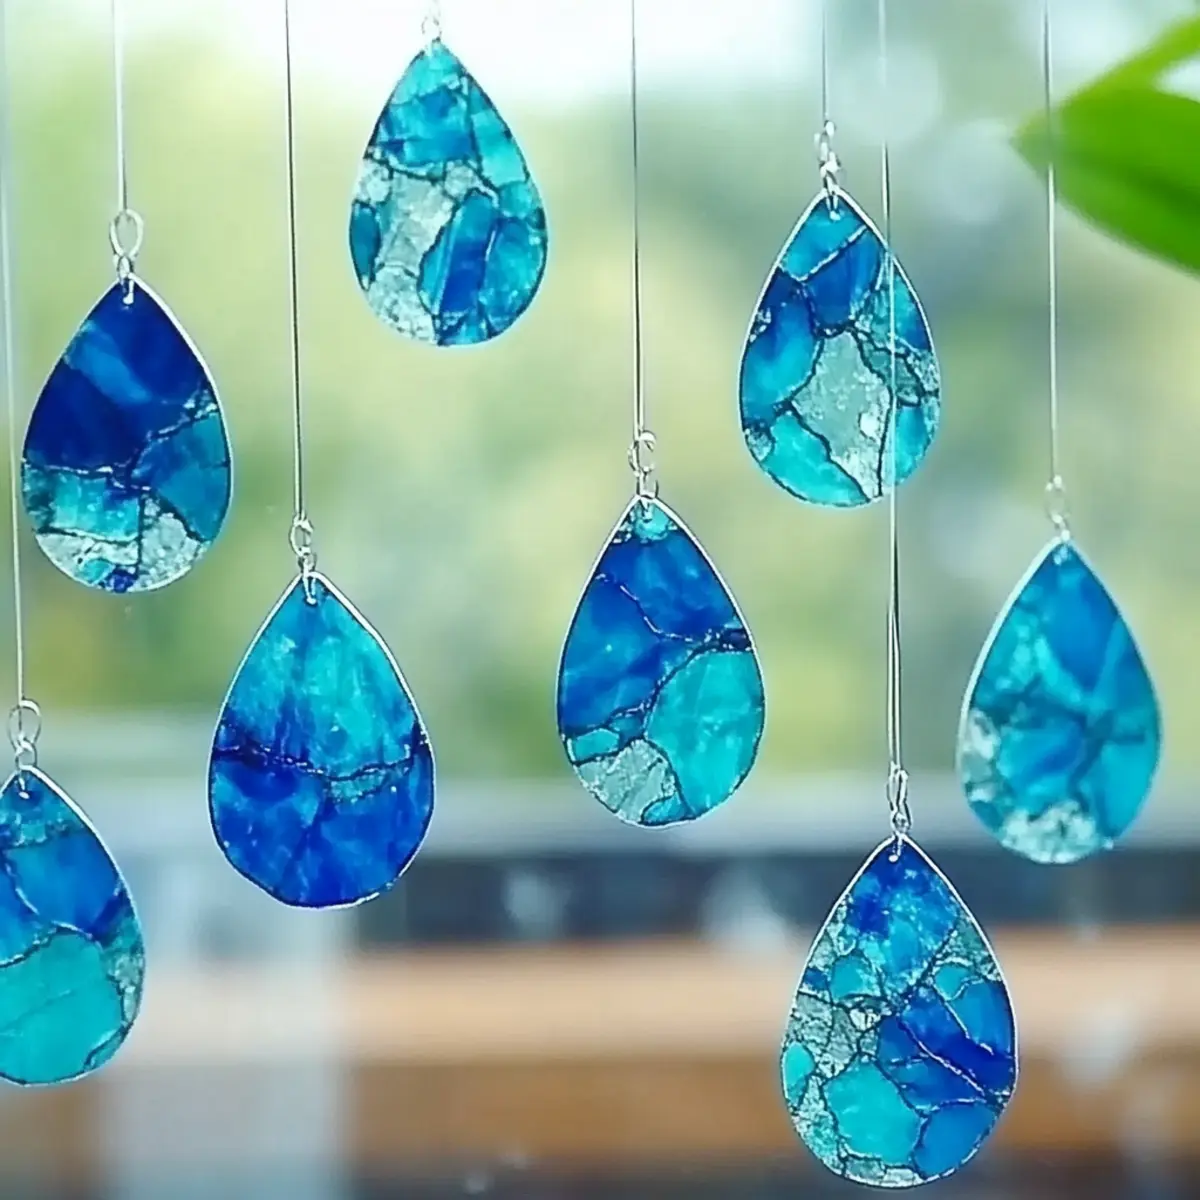
Vibrant Colors: The use of blue crayons creates a mesmerizing effect, sparkling in sunlight and brightening dull days.
Quick and Easy: This craft takes only 30 minutes, making it an excellent activity for busy afternoons.
Non-Toxic Fun: All materials used are safe for children, ensuring peace of mind while they create.
Perfect for All Ages: Even little hands can handle this delightful project with adult supervision.
For more exciting craft ideas, check out our collection of kid-friendly activities!
Blue Crayon Raindrop Suncatcher Ingredients
• Create your vibrant suncatchers with easy, non-toxic materials!
For the Suncatcher
- Blue Crayons – These provide the rich color, and you can mix different shades for a stunning effect.
- Waxed Paper – Essential for containing the melted crayon shavings, ensuring it withstands heat during the crafting process.
- Iron – An adult’s tool for safely melting the crayon, so let the kids focus on the fun part!
- Scissors – Perfect for cutting out creative shapes from the cooled melted sheets.
- Embroidery Floss or String – To hang your beautiful creations in the window and let them catch the light.
- Hole Punch – This handy tool makes it easy to create a hole for threading the string through.
- Permanent Marker, Glitter, or Clear Vinyl (optional) – For those who want to add extra sparkles or decorations to their suncatchers, use glitter for that eye-catching shimmer!
Crafting your Blue Crayon Raindrop Suncatchers is not only fun but the perfect way to brighten up any space with colorful whimsy!
How to Make Blue Crayon Raindrop Suncatchers
Preheat the iron on a low setting. This will help melt the crayon shavings without burning them, so keep a close watch.
Shave the blue crayons using a pencil sharpener. Collect a generous amount of shavings, as they’ll create a beautiful texture and color effect.
Layer the waxed paper on a clean, flat surface. This creates a protected area for melting the crayon shavings.
Distribute the crayon shavings evenly onto one piece of waxed paper. Let your little ones play with the arrangement for more engaging fun!
Cover the shavings with another sheet of waxed paper. This ensures the melted colors stay contained while you heat them.
Iron over the top sheet for about 1-2 minutes. Carefully move the iron in slow circles until you see the shavings melt and fuse together into a colorful sheet.
Cool the fused paper for a few minutes until it is cool to the touch. This step is essential for safe handling.
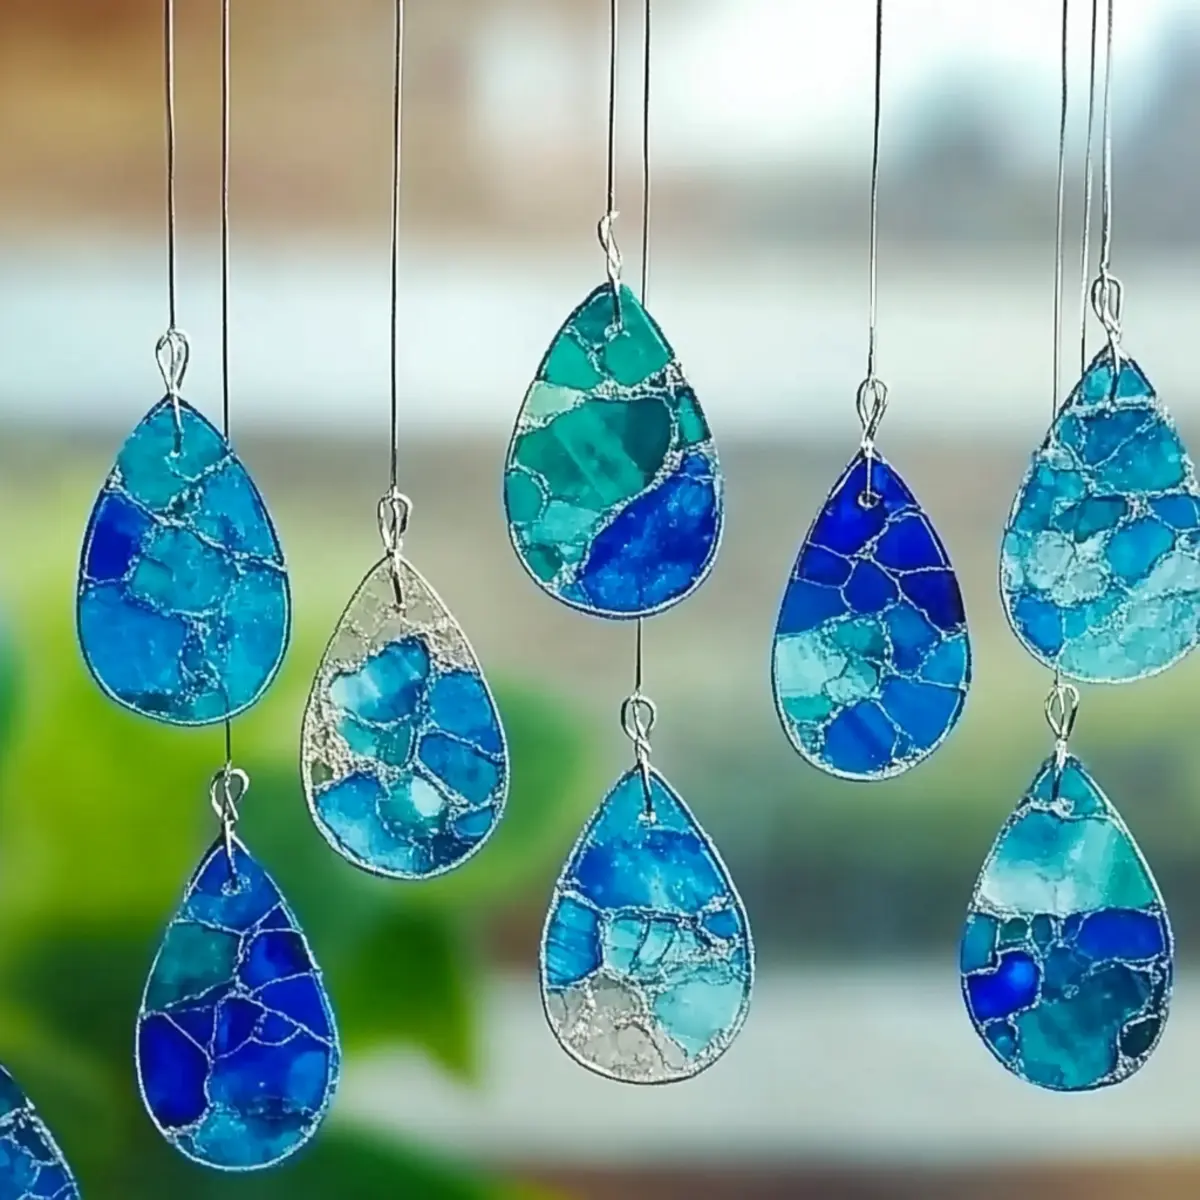
Cut out desired raindrop shapes from the melted crayon sheet using scissors. Be creative; no two pieces need to look the same!
Punch holes using the hole punch at the top of each raindrop. This will allow you to hang your suncatchers anywhere!
Thread the embroidery floss through the hole and tie a knot. Now your beautiful suncatcher is ready to hang and dazzle in the sunlight!
Optional: Add a splash of glitter before the final cooling for a magical shimmer!
Exact quantities are listed in the recipe card below.
What to Serve with Blue Crayon Raindrop Suncatchers?
Brighten your crafting experience by pairing these delightful suncatchers with treats that inspire creativity and joy.
Warm Chocolate Chip Cookies: These classic treats bring a comforting sweetness that kids and adults alike adore after a crafty afternoon. Imagine the joyful smiles as everyone enjoys the gooey goodness!
Fruit Kabobs: Colorful and fun, fruit kabobs add a refreshing crunch that complements your crafting adventure. Plus, they’re easy to assemble and can be customized with everyone’s favorite fruits.
DIY Lemonade: Refreshing and zesty, a pitcher of homemade lemonade provides the perfect balance to the sweetness of your crafted suncatchers. The brightness of the lemonade echoes the cheerful colors of your creations!
Mini Sandwiches: Simple and delicious, these bite-sized sandwiches are perfect for little hands to enjoy while crafting. Fill them with colorful ingredients like sliced cucumbers and carrots to keep the fun going!
Yogurt Parfaits: Layered with colorful fruits and granola, these parfaits look as vibrant as your suncatchers! They’re nutritious and make for a delightful snack during or after crafting time.
Storytime Snacks: Pair your suncatchers with popcorn or trail mix for an engaging movie night after your crafting session. These easy-to-eat snacks make the perfect companions for a cozy evening filled with stories and laughter.
Let your imagination run wild and enjoy every moment—both in crafting and snacking!
Expert Tips for Blue Crayon Raindrop Suncatchers
Safety First: Always supervise children during the melting process and ensure they remain at a safe distance from the hot iron.
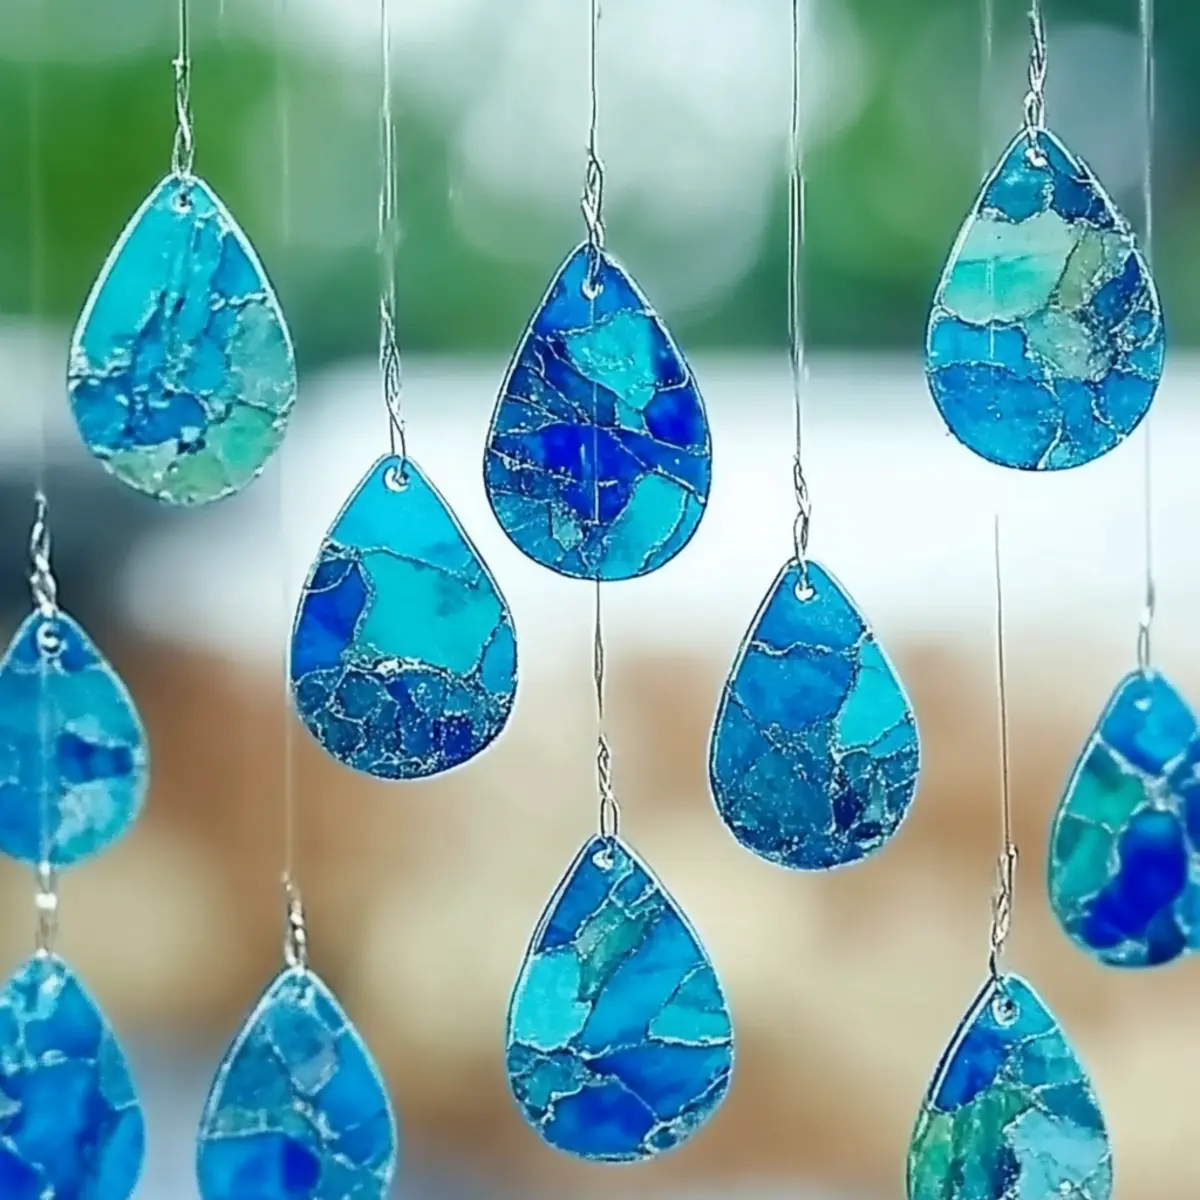
Color Mixing: For a truly magical gradient effect, combine lighter shades like white or purple with the blue crayons before melting.
Shape Up: Get creative with shapes! Consider cutting out not just raindrops but also hearts or stars to make a charming display.
Multiple Layers: To create depth, layer multiple sheets of crayon shavings in different colors for a vibrant, textured look in your suncatcher.
Storage Tips: Store completed suncatchers flat in a cool, dry place to prevent warping and ensure they stay beautifully intact.
Make Ahead Options
Creating Blue Crayon Raindrop Suncatchers is perfect for meal prep enthusiasts who want to engage their kids while saving time! You can prepare the crayon shavings up to 24 hours in advance by sharpening the crayons and storing the shavings in an airtight container to keep them fresh. Additionally, you can layer the waxed paper with the crayon shavings and keep it flat in the fridge until you’re ready to craft. When it’s time to finish, simply take out the prepared materials, iron them together, and cool before cutting out your desired shapes. This way, you’ll have a fun, colorful project ready to bring some sunshine into your home without the last-minute stress!
Storage Tips for Blue Crayon Raindrop Suncatchers
Room Temperature: Keep your suncatchers in a cool, dry place when not displayed to prevent warping or damage.
Fridge: If you prefer, storing them in the fridge will prolong their colors and help preserve their shape for future use.
Freezer: For longer-term storage, wrap each suncatcher in waxed paper and place them flat in the freezer for up to 3 months.
Reheating: If they lose shape, gently warm them with a low-heat iron for a few seconds while protected by waxed paper to restore their original form.
Blue Crayon Raindrop Suncatcher Variations
Feel free to let your creativity shine by adding your unique twists to these delightful suncatchers!
Different Colors: Mix in shades like turquoise or midnight blue for a diverse palette, or experiment with other colors to match your decor.
Glitter Boost: Add a sprinkle of glitter to the crayon shavings before melting for a sparkling effect. The sunlight will catch every beautiful fleck!
Shape Shifting: Don’t stop at raindrops—try out stars, hearts, or even abstract forms. Each shape brings a new flair to your window display.
Layering: For added depth, layer multiple sheets of different colored crayon shavings. It creates a stunning, multi-color effect as the light filters through.
Vinyl Inserts: Use pieces of clear vinyl for a shiny, modern touch. Just cut them to fit in between layers for extra texture and shine.
Scent-Sational Addition: For a fun twist, mix in some cinnamon or dried flower petals into the shavings to create scented suncatchers. Imagine the heavenly aroma when the sun hits!
Nature-Inspired: Incorporate real flower petals or leaves between layers of waxed paper for a natural, artistic vibe. This adds an organic touch to your craft.
Heat Levels: Experiment with different heat settings on the iron to achieve various melting effects. Softer melts create smooth looks, while higher heat can give texture and swirls.
Embrace the joy of crafting, and watch as your unique creations bring smiles and warmth to your home!
Blue Crayon Raindrop Suncatchers Recipe FAQs
What type of crayons should I use for the suncatchers?
Absolutely! Use standard non-toxic blue crayons for best results. You can mix and match different shades, such as light blue, dark blue, or even a touch of purple, to create a mesmerizing color gradient in your suncatchers.
How can I store the finished suncatchers?
To maintain their vibrant beauty, store your completed Blue Crayon Raindrop Suncatchers flat in a cool, dry place when not on display. This helps prevent any bending or warping. If you want to keep them pristine, consider wrapping each one in waxed paper and placing them in the fridge, or pop them in the freezer for up to 3 months for longer storage.
What should I do if the melted crayon shavings don’t fuse properly?
Very! If you find that the shavings haven’t melted evenly, try re-iron them for an additional 30 seconds while ensuring that the iron remains on low heat. It’s essential to move the iron in slow, circular motions to redistribute the heat evenly. If necessary, you can add more shavings if the melted layer appears too thin.
Can I add other decorations to the suncatchers?
For sure! You can absolutely mix in glitter or pieces of clear vinyl before melting the crayon shavings to add extra sparkle to your Blue Crayon Raindrop Suncatchers. Just sprinkle them evenly over the shavings for a fabulous touch. If using glitter, a little goes a long way, so be mindful of the amount you add!
Are these suncatchers safe for young children?
Very! The materials used are non-toxic, making this craft project safe for kids. However, adult supervision is crucial, especially during the melting process with the iron. It’s best to have adults handle the ironing while kids focus on the fun design elements.
Blue Crayon Raindrop Suncatchers: Easy Craft for Kids Fun
Ingredients
Equipment
Method
- Preheat the iron on a low setting.
- Shave the blue crayons using a pencil sharpener.
- Layer the waxed paper on a clean, flat surface.
- Distribute the crayon shavings evenly onto one piece of waxed paper.
- Cover the shavings with another sheet of waxed paper.
- Iron over the top sheet for about 1-2 minutes until the shavings melt.
- Cool the fused paper for a few minutes.
- Cut out desired raindrop shapes from the melted crayon sheet using scissors.
- Punch holes at the top of each raindrop.
- Thread the embroidery floss through the hole and tie a knot.