Bouncy Ball DIY Recipe: Easy Fun for All Ages and Skill Levels
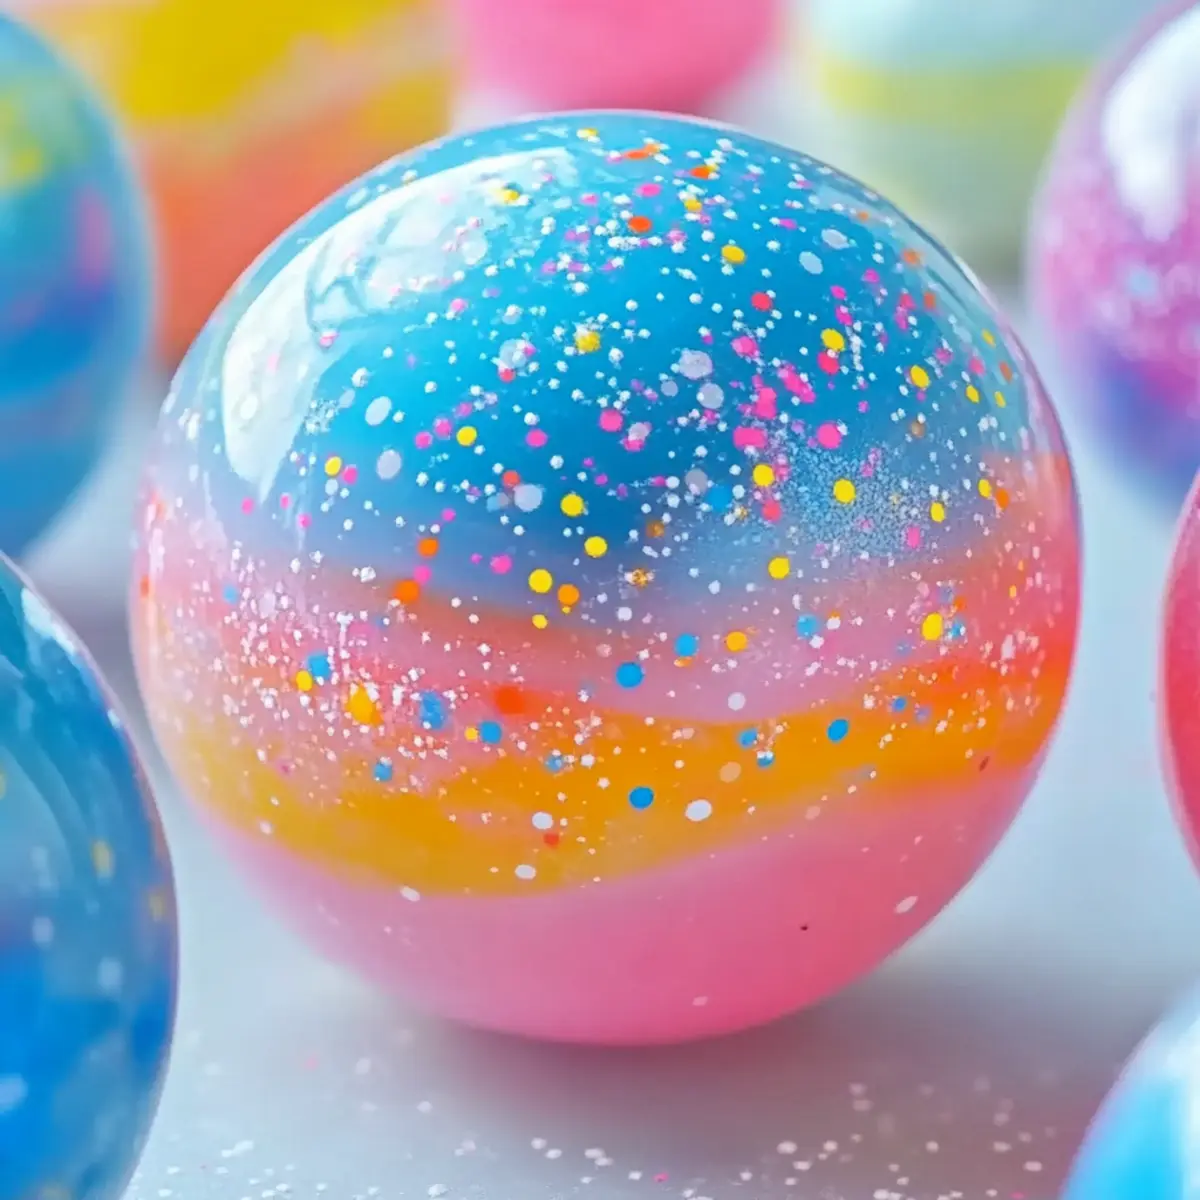
There’s something undeniably exhilarating about the moment a mixture transforms into a vibrant, bouncing ball in your hands. Recently, I rediscovered the joy of crafting with my kids, and our spontaneous decision to make DIY bouncy balls turned into an unforgettable afternoon filled with laughter and creativity. With just a few simple ingredients—school glue, borax, and some cheerful food coloring—these colorful creations come to life in just 15 minutes!
Not only are they a pure delight to make, but they also offer endless fun as they bounce around the living room. Whether you’re looking for a hands-on activity to engage your little ones or a playful project for yourself, this Bouncy Ball DIY Recipe is the perfect solution to shake off any boredom. Plus, feel free to get creative by swirling in different colors or adding a touch of glitter for extra pizzazz! Are you ready to see how easy it is to bring some bounce into your day? Let’s dive in!

Why is this Bouncy Ball DIY Recipe a must-try?
Excitement Awaits: There’s something magical about crafting your own toys; the joy of creating is unmatched.
Quick and Easy: You can whip up these colorful bouncy balls in just 15 minutes—perfect for a spontaneous fun day!
Engaging for All Ages: This activity is not just for kids; everyone can join in the delightful experience.
Customize Your Creations: Add your personal touch with vibrant food coloring or sparkling glitter for unique designs.
Great for Group Activities: Perfect as party favors or a creative bonding activity with friends and family.
Bouncy Ball DIY Recipe Ingredients
• Get ready to craft your colorful bouncy balls with ease!
For the Bouncy Ball Mixture
- White School Glue – This provides structure and elasticity, ensuring your bouncy balls are strong and flexible.
- Borax Powder – Acts as a hardener; make sure it’s fully dissolved in warm water for the best results.
- Warm Water – Used to dissolve the borax powder; the temperature is key for achieving consistency.
For Customization (Optional)
- Food Coloring – Adds a vibrant touch to your bouncy balls; swirl multiple colors for a fun marbled effect!
- Glitter – Sprinkle in for a sparkle boost, turning your bouncy balls into dazzling creations.
Get everything ready, and let’s make those fun and bouncy balls with this delightful Bouncy Ball DIY Recipe!
How to Make Bouncy Ball DIY
Combine Ingredients: In a mixing bowl, blend 1/2 cup of white school glue with 1/2 cup of warm water. Stir until fully mixed to create a smooth base for your bouncy ball.
Dissolve Borax: In a separate bowl, mix 1 teaspoon of borax powder with 1/2 cup of warm water. Stir until the borax is completely dissolved; this will be your hardening agent.
Mix Together: Gradually pour the borax solution into the glue mixture. Stir continuously until a dense ball starts forming; this usually takes about 1-2 minutes.
Knead the Ball: Once a ball forms, take it in your hands and knead it for 2-3 minutes until you achieve the desired bounce and texture; it should feel firm yet flexible.
Add Color: Fold in your chosen food coloring, mixing thoroughly until the color is evenly distributed. Get creative with different shades for a fun look!
Dry the Ball: Let your bouncy ball sit in a cool, dry place for about 10 minutes to firm up completely before bouncing it around.
Optional: For extra sparkle, sprinkle in some glitter while mixing the food coloring!
Exact quantities are listed in the recipe card below.

Make Ahead Options
These Bouncy Ball DIY Recipe creations are perfect for busy families looking to enjoy some creative time together! You can prepare the glue and borax mixture up to 24 hours in advance. Simply mix 1/2 cup of white school glue and 1/2 cup of warm water in a bowl, and separately dissolve 1 teaspoon of borax powder in 1/2 cup of warm water. Store both mixtures in airtight containers in a cool place to maintain their quality. When you’re ready to craft, just combine the prepped mixtures and proceed with kneading and adding your preferred food coloring. Your bouncy ball will come out just as delightful as if you made it fresh!
How to Store and Freeze Bouncy Ball DIY Recipe
Room Temperature: Keep finished bouncy balls in a sealed container at room temperature for up to 2 weeks to maintain their bounce and shape.
Cool, Dry Place: Store them in a cool, dry area away from direct sunlight to prevent melting or losing their elasticity.
Reheating: If the bouncy balls lose their shape, gently knead them for a few minutes to restore flexibility; avoid using heat.
Avoid Moisture: Do not expose bouncy balls to water or high humidity, as this can affect their bounciness and structure.
Expert Tips for Bouncy Ball DIY Recipe
- Supervise Kids: Always keep an eye on children while crafting, as borax can be harmful if ingested; safety first!
- Dissolve Completely: Ensure borax is fully dissolved in warm water to achieve a consistent texture; lumps can affect bounce quality.
- Knead Well: Spend enough time kneading the bouncy ball; this is crucial for achieving the right firmness and elasticity for optimal bouncing.
- Storage Matters: Store your bouncy balls in a cool, dry place to maintain their shape and bounce; avoid sunlight to prevent melting.
- Creative Add-ins: Feel free to experiment with glitter or different color patterns during your Bouncy Ball DIY Recipe for unique creations!
Bouncy Ball Variations & Substitutions
Explore the delightful ways to make your bouncy balls uniquely yours with these creative twists!
- Glow-in-the-Dark: Use glow-in-the-dark paint instead of food coloring for a fun nighttime surprise.
- Fragrance Boost: Add a few drops of essential oil or fragrance oil into your mixture for aromatic bouncy balls.
- Texture Twist: Mix in some cornstarch while kneading for a different texture that feels smooth and silky in your hands.
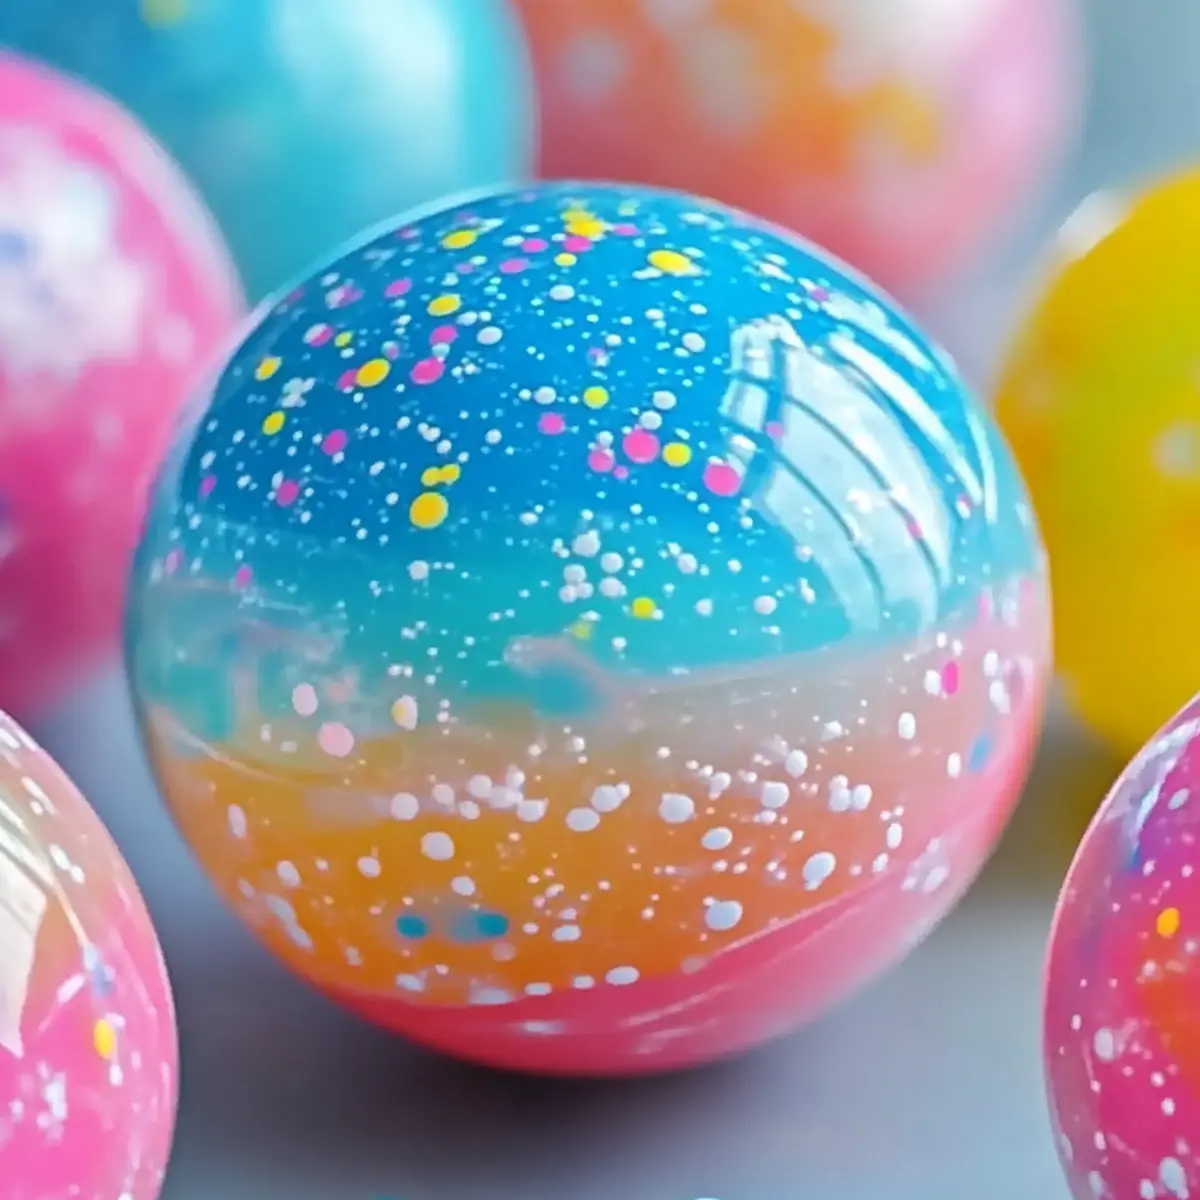
- Marble Effect: Swirl multiple food colors together for a beautiful marbled design that dazzles with every bounce.
- Miniature Balls: Create smaller bouncy balls perfect for pets or small kids—just adjust the amounts!
- Seasonal Themes: Incorporate seasonal colors (like red and green for Christmas) to add festive charm to your creations.
- Glitter Galore: Fold in glitter before letting the final mixture dry for sparkly bouncy balls that catch the eye.
- Bold Colors: Experiment with neon food coloring for bouncy balls that bring brightness and joy to your playtime!
With these adaptations, you’re sure to enjoy making and playing with your bouncy balls even more.
What to Serve with Bouncy Ball DIY Recipe?
Create a delightful atmosphere filled with laughter and creativity as you embark on this fun DIY adventure!
Party Favors: These vibrant bouncy balls make perfect take-home gifts for guests after a birthday bash or playdate, spreading joy well beyond the craft table.
Crafting Station: Set up a crafting area with various supplies; adults and kids alike will love the interactive experience, playing and competing to see who’s ball bounces highest.
Family Game Night: After making your bouncy balls, incorporate them into family games, like a fun toss or target practice—laughter guaranteed as everyone gets involved!
Themed Decorations: Create a vibrant display for a children’s party with your colorful bouncy balls. They’ll add a touch of whimsy and excitement to the celebration!
Outdoor Fun: Take your making session outside for some fresh air, where the kids can bounce their creations outdoors, enjoying the thrill of watching them soar and roll.
DIY Playdate: Invite friends over for a crafting session and pair it with snacks and drinks. Enjoying refreshments as you create will heighten the joy of this imaginative project!
Bouncy Ball DIY Recipe FAQs
What type of school glue should I use for the bouncy ball?
I recommend using white school glue, as it provides the best structure and elasticity for your bouncy balls. Avoid using clear or glitter glue, as they may not yield the same vibrant results.
How can I store my bouncy balls to keep them bouncy?
To maintain their bounce and shape, store your bouncy balls in a sealed container at room temperature for up to 2 weeks. Make sure they are kept in a cool, dry place, away from direct sunlight, which can cause them to melt or lose elasticity.
Can I freeze my bouncy balls?
Absolutely! If you want to keep them for a longer period, you can freeze your bouncy balls. Just place them in a sealed freezer bag and they can last for up to 3 months in the freezer. When you’re ready to play with them again, simply let them thaw at room temperature for a few hours before use.
What should I do if my bouncy ball is not bouncing well?
If your bouncy ball isn’t bouncing as expected, it might be due to insufficient kneading during the crafting process. Make sure to knead it for at least 2-3 minutes to achieve the right consistency. If it still feels flat, you can try gently kneading it again to restore flexibility, but avoid using heat as it may affect the structure.
Are there any allergens to consider when making these bouncy balls?
While the ingredients are generally safe, be sure to supervise children during crafting as borax can be harmful if ingested. If you’re concerned about allergies, double-check that everyone participating in the activity is okay with the materials used—especially if you decide to add glitter or any other decorative elements.
Can I use a different type of coloring rather than food coloring?
Certainly! If you prefer not to use food coloring, you can experiment with non-toxic paints or colored markers to achieve different effects. However, make sure that any alternative coloring you choose is safe and suitable for craft projects, especially if children are involved.
Bouncy Ball DIY Recipe: Easy Fun for All Ages and Skill Levels
Ingredients
Equipment
Method
- In a mixing bowl, blend 1/2 cup of white school glue with 1/2 cup of warm water. Stir until fully mixed.
- In a separate bowl, mix 1 teaspoon of borax powder with 1/2 cup of warm water. Stir until the borax is completely dissolved.
- Gradually pour the borax solution into the glue mixture. Stir continuously until a dense ball starts forming; this usually takes about 1-2 minutes.
- Once a ball forms, take it in your hands and knead it for 2-3 minutes until you achieve the desired bounce and texture.
- Fold in your chosen food coloring, mixing thoroughly until the color is evenly distributed.
- Let your bouncy ball sit in a cool, dry place for about 10 minutes to firm up completely.