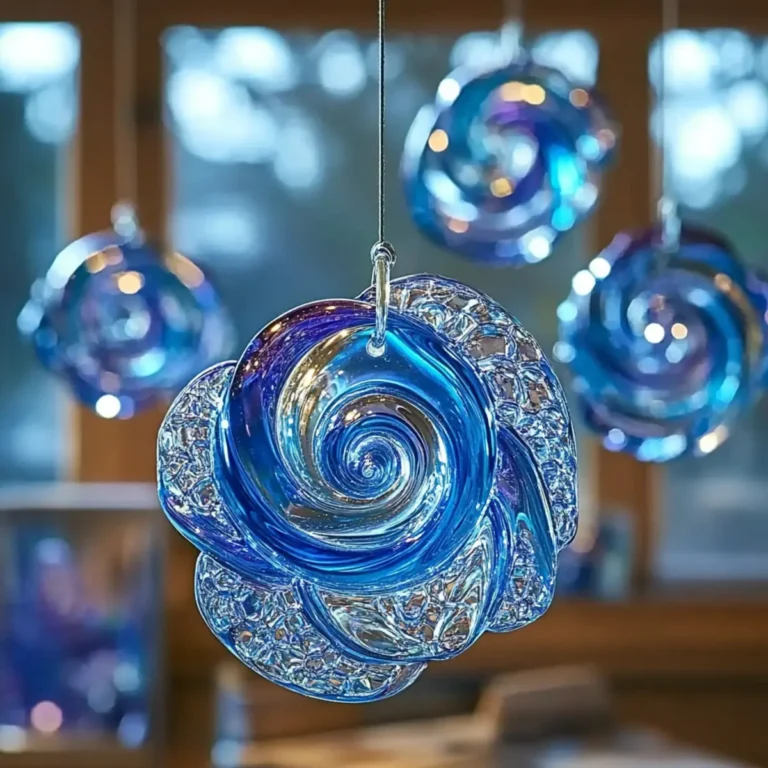
Crafting Joy: Clear Glue Flower Suncatcher Craft for All Ages
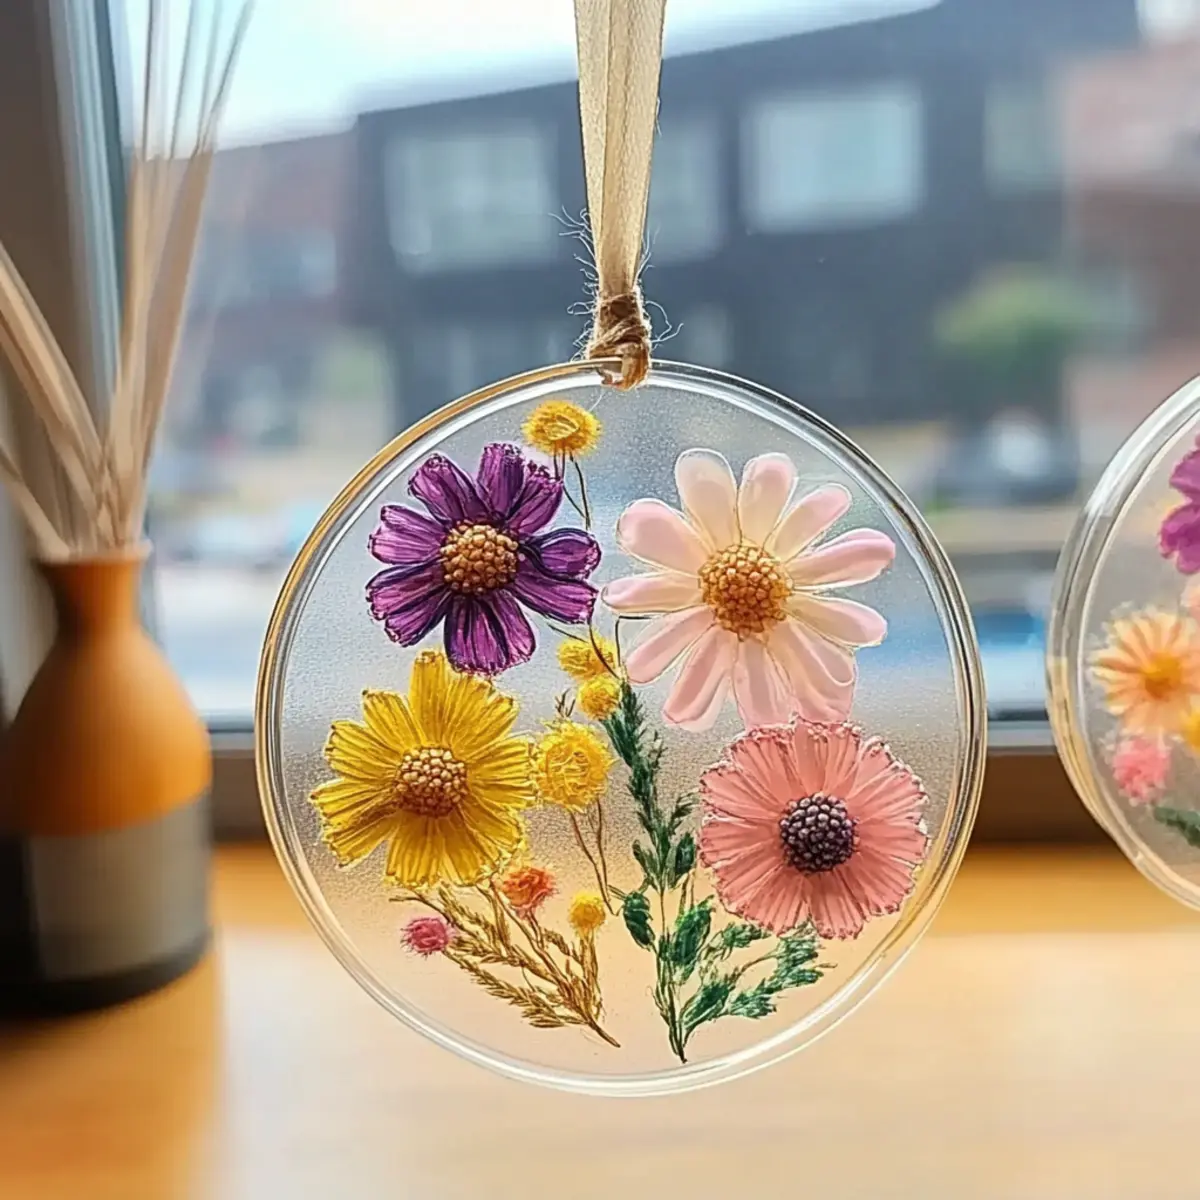
As spring sunlight begins to filter through my window, I find myself yearning for a creative outlet that brings the beauty of nature indoors. That’s when I discovered the delightful world of DIY Clear Glue Flower Suncatchers. With a simple array of pressed flowers and a few crafty supplies, I can transform an ordinary window into a vibrant display that dances with color and light. This project not only offers an engaging way to reconnect with nature but also serves as a perfect afternoon activity for anyone, whether you’re a passionate artist or merely looking for a fun weekend project. The best part? It’s an incredibly simple craft that can be customized to reflect your unique style, making it an ideal addition to your home décor. So, gather your materials, roll up your sleeves, and let’s brighten up your living space with these stunning suncatchers!
Why Will You Love Clear Glue Flower Suncatcher Crafts?
Joyful Creativity: This Clear Glue Flower Suncatcher craft allows you to unleash your artistic flair, combining pressed flowers in unique patterns.
Easy to Personalize: Customize each suncatcher with different colors and embellishments, like beads or tissue paper, to create a distinct piece that reflects your personality.
Fun for All Ages: This project is perfect for everyone—family, friends, or solo crafting sessions! Gather your loved ones and enjoy an afternoon filled with laughter and creativity.
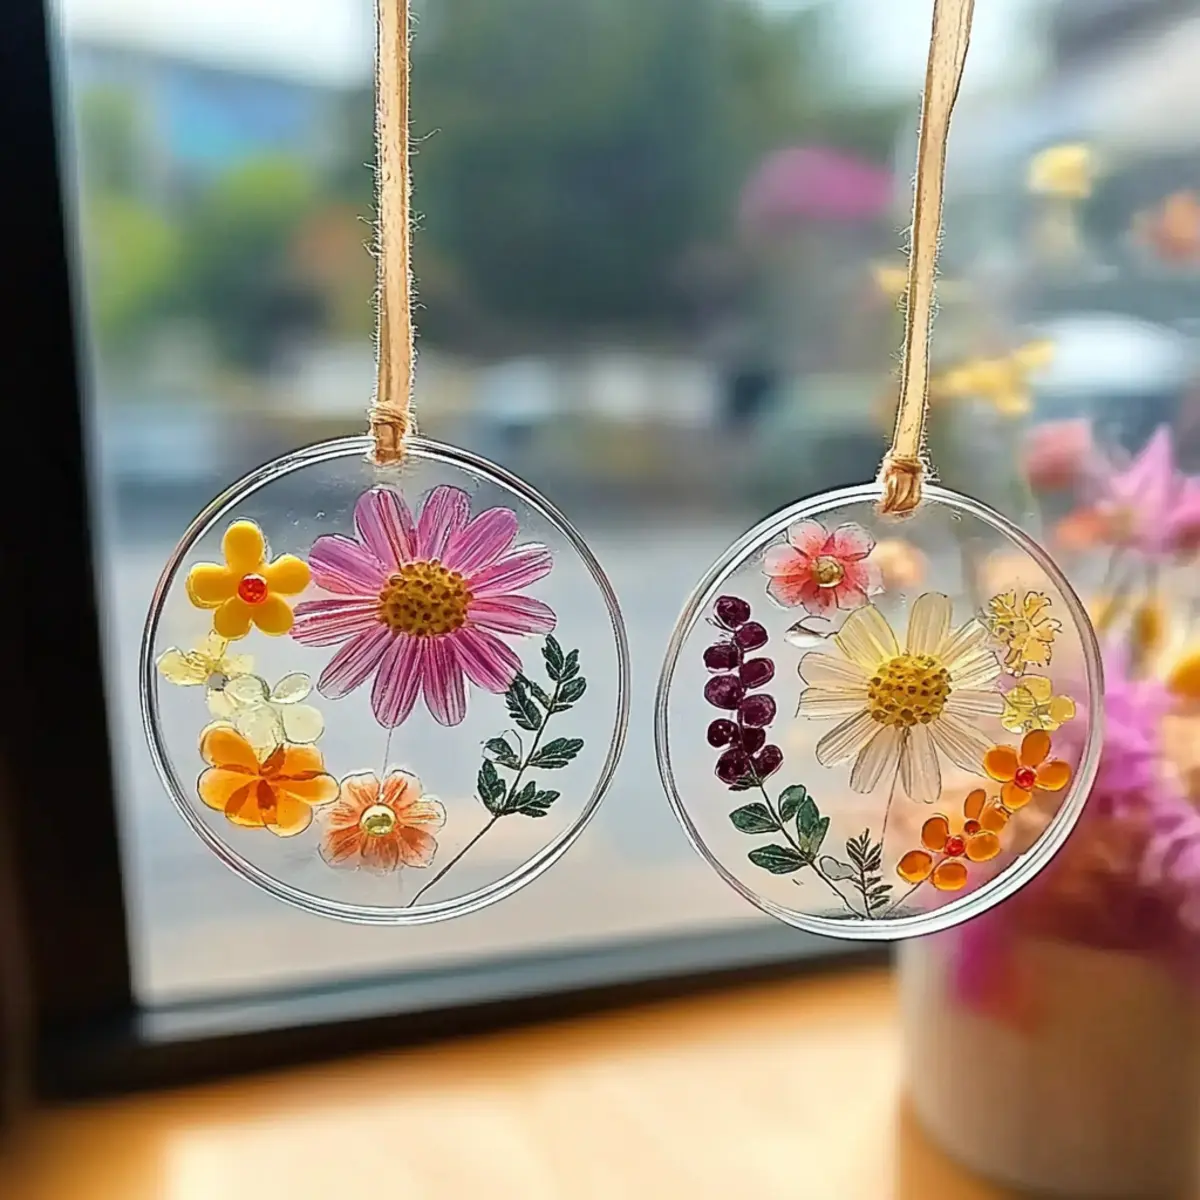
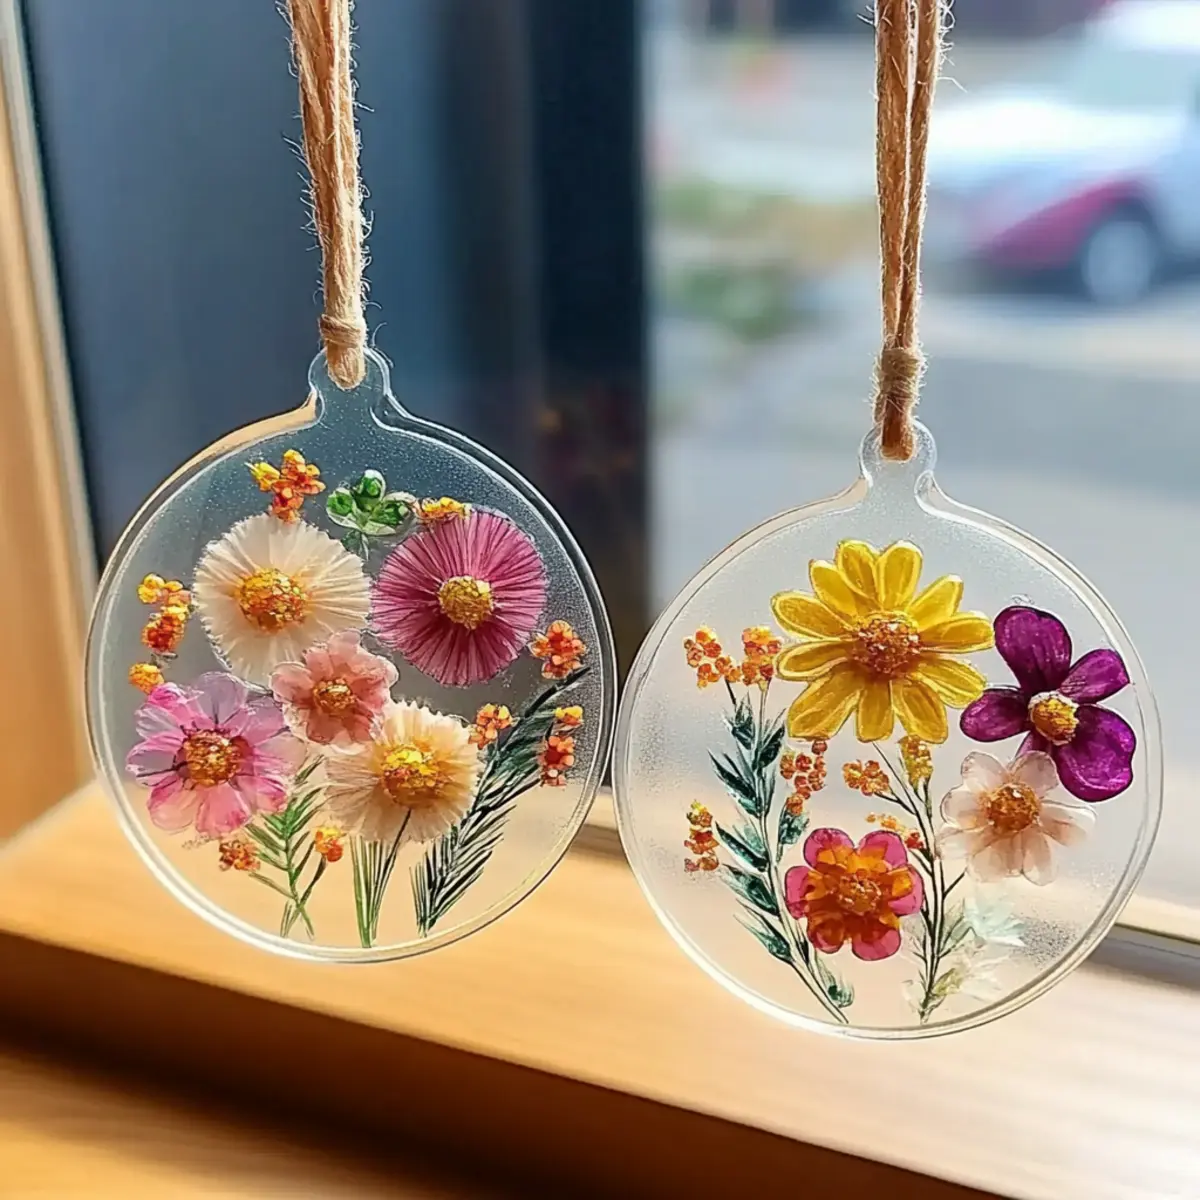
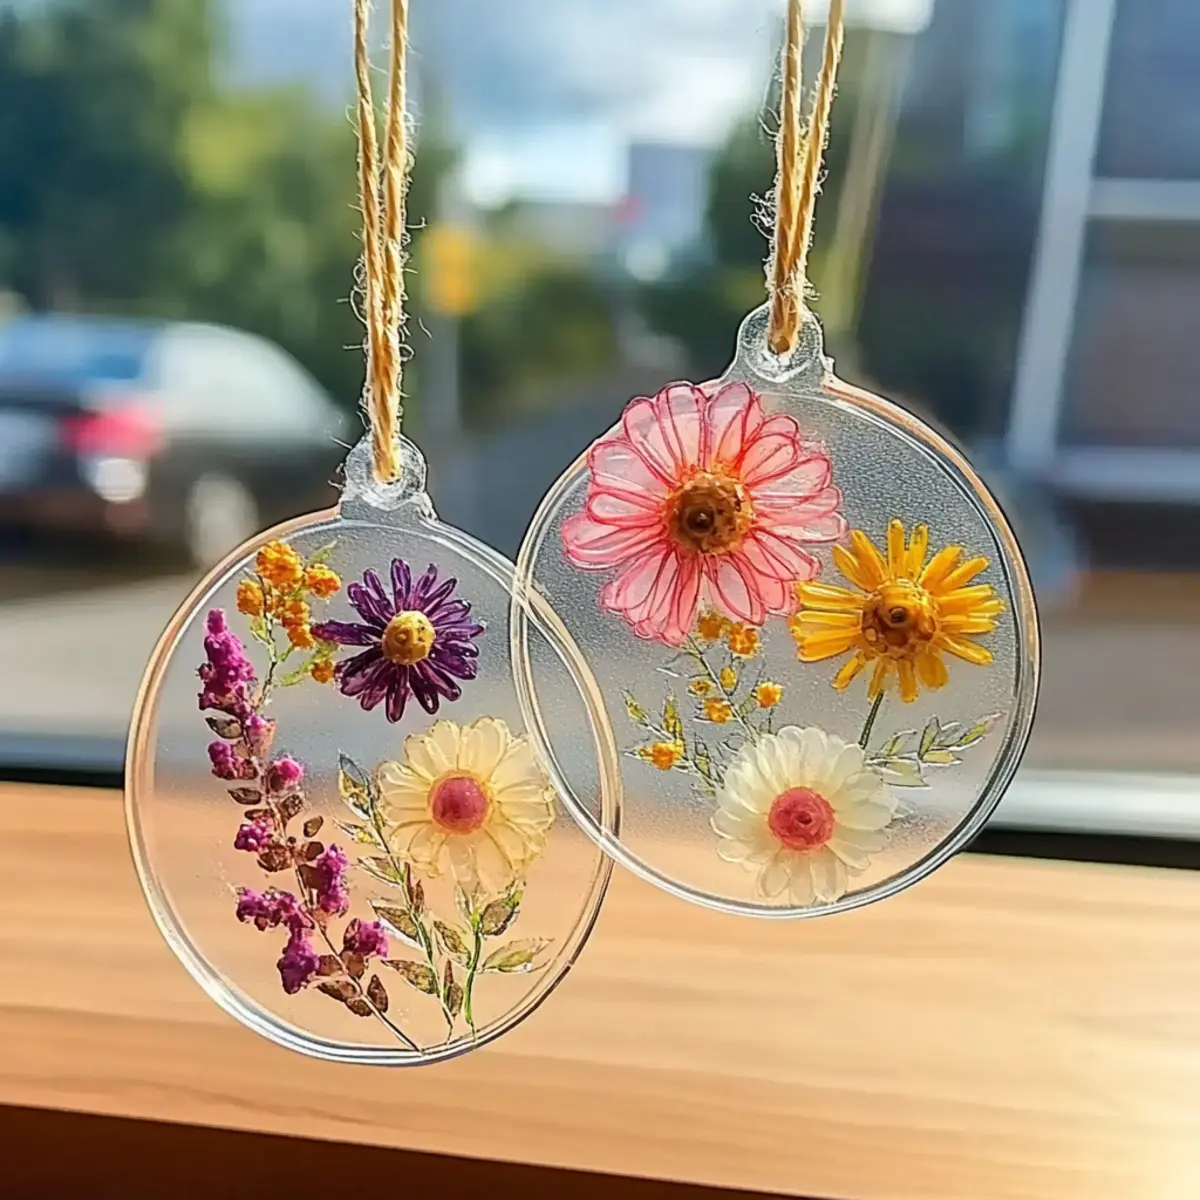
Nature-Inspired Decor: Each suncatcher transforms your windows, allowing sunlight to illuminate the beauty of pressed flowers, giving your space a fresh, vibrant atmosphere.
Great Gift Idea: Handmade suncatchers make thoughtful gifts, celebrating occasions with a personal touch. Consider creating these lovely pieces to surprise your friends and brighten their homes!
Clear Glue Flower Suncatcher Ingredients
For the Base
• Clear School Glue – Crucial for binding; any clear-drying craft glue works too.
• Plastic Lid or Acetate Sheet – Choose a clear one for optimal light effect.
For the Decoration
• Pressed Flowers – The heart of your design; mix colors and shapes for stunning results.
• Tissue Paper Scraps, Glitter, Sequins, or Dried Leaves – Optional items to add a personal touch to your suncatcher’s design.
For the Finishing Touch
• String or Suction Cup Hook – Needed for displaying your beautiful suncatcher; make sure it’s sturdy enough.
• Scissors – Essential for trimming any decorative elements to fit your vision.
• Wax Paper or Parchment Paper – Protects your workspace from messy glue spills.
• Black Marker or Construction Paper – Optional tools for framing your suncatcher creatively.
Let’s chase away the fast food blandness with vibrant creativity and add a dash of color to your life with this delightful Clear Glue Flower Suncatcher craft!
How to Make a Clear Glue Flower Suncatcher
Prepare Your Workspace: Lay down wax paper or parchment paper to protect your area from any glue spills. This simple step saves you from the mess and allows for an enjoyable crafting experience.
Apply Glue Layer: Pour a thin layer of clear school glue onto your plastic lid or acetate sheet. Spread it evenly using a spatula or your fingers for a smooth surface that enhances the final beauty of your suncatcher.
Arrange Decorations: Carefully place your pressed flowers and any additional decorations onto the glue. Remember not to overcrowd the design; letting the light shine through will create a stunning effect!
Allow to Dry: Set your decorated lid or sheet aside in a safe place and let the glue dry completely for at least 24 hours. The drying time ensures that your suncatcher sets beautifully without any mess.
Peel Off the Suncatcher: Gently lift the dried suncatcher from the lid or acetate sheet. You’ll be amazed by the translucent design that captures the essence of your floral artistry!
Hang Your Creation: Attach a string or suction cup hook to the top of your suncatcher for displaying it in your window. Make sure it’s secure so that it hangs beautifully and catches the sunlight.
Optional: Add a decorative frame with a black marker or construction paper for an extra touch of flair!
Exact quantities are listed in the recipe card below.
Clear Glue Flower Suncatcher Variations
Feel free to let your imagination run wild and personalize your suncatcher in delightful ways!
Leafy Twist: Swap pressed flowers with dried leaves to create a natural, earthy look. The intricate shapes of leaves add a unique texture that enhances the overall design.
Bold Colors: Use vibrant tissue paper scraps instead of flowers for a playful, cheerful effect. Layer different colors to create a stunning rainbow of hues that will surely catch the eye.
Glimmering Additions: Add glitter or sequins to the glue layer before placing flowers for a sparkly touch. This mesmerizing detail will shimmer beautifully when the sun hits your suncatcher!
Nature’s Treasures: Incorporate small twigs or pine cones to emphasize a rustic, woodsy theme. These elements will give your suncatcher a distinct artisanal vibe, perfect for any nature lover.
Themed Creations: Design seasonal suncatchers by adapting colors and themes. Think warm autumn hues for fall or icy blues for winter, letting nature’s seasonal beauty inspire your creations.
Whimsical Embellishments: Include beads or buttons for a touch of whimsy. These tiny ornaments can add both color and dimension, creating a sentimentally engaging suncatcher.
Personalized Messages: Use a black marker to write short messages or quotes on the frame. This unique touch can make each suncatcher a meaningful gift or personal memento.
Framed Art: Frame your suncatcher with colorful construction paper to enhance its look. The vibrant border will add character and make your work of art pop against the window backdrop!
Make Ahead Options
These Clear Glue Flower Suncatchers are perfect for busy crafters looking to prep in advance! You can prepare your pressed flowers and decorative elements up to 3 days ahead of time; simply store them in a cool, dry place, ensuring they don’t contain any moisture to maintain their quality. The actual suncatcher assembly can be completed up to 24 hours in advance as well. Just pour the glue layer, arrange your decorations, and allow it to dry completely. Once dried, gently peel it off and store the finished suncatcher flat. When you’re ready to display, attach a string or suction cup hook, and enjoy your beautiful creation with minimal effort!
Expert Tips for Clear Glue Flower Suncatcher
Thin Glue Layers: Always apply a thin layer of glue to prevent cloudiness in your final piece. This ensures a clear, bright suncatcher that beautifully reflects light.
Spacing is Key: Avoid overcrowding your flowers and decorations. Providing adequate space allows sunlight to shine through and enhances the visual impact of your Clear Glue Flower Suncatcher.
Fully Dried Flowers: Make sure your pressed flowers are completely dried before using them. Any moisture can interfere with the adhesive and ruin the final results.
Protect Your Workspace: Use wax or parchment paper to cover your crafting area. It’s an easy way to keep your space clean and ready for creative fun!
Super Secure Hanging: When attaching the string or suction cup hook, ensure it’s strong enough to hold your suncatcher’s weight for a safe and secure display.
How to Store and Freeze Clear Glue Flower Suncatchers
Drying Time: Allow your Clear Glue Flower Suncatchers to dry completely before storing. This will help prevent any stickiness or damage to the design.
Storage: Keep the dried suncatchers in a flat, dry place, preferably in a cardboard box or an envelope to protect them from dust and damage.
Display Tips: If you’re not ready to hang them yet, consider using clear plastic sleeves to prevent scratches while showcasing your beautiful creations.
Refrigeration: Avoid storing your suncatchers in humid environments or moisture-prone areas, like kitchens or bathrooms, as this can affect the integrity of the glue and flowers.
What to Serve with Clear Glue Flower Suncatchers?
As you transform sunlight into stunning décor, consider adding ambiance to your crafting space with these delightful pairings.
- Fresh Lemonade: The refreshing zest of homemade lemonade will keep you hydrated as you craft, invigorating your senses.
- Cheesy Spinach Dip: Pairing this luscious dip with crunchy veggies creates a delightful snacking experience while you work.
- Fruit Skewers: Bright, colorful fruit skewers echo your vibrant suncatchers and are a fun, healthy treat bursting with flavor.
- Herbal Iced Tea: Chilled herbal iced tea offers a soothing sip, perfect for calming your creative spirit during a crafting session.
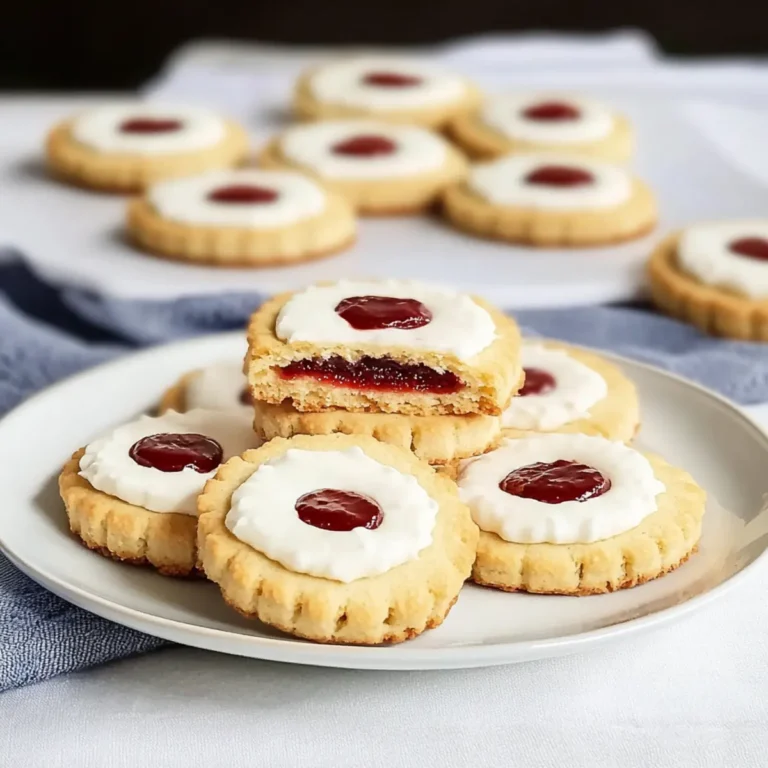
- Cookies or Brownies: Sweet treats like cookies or brownies make for a comforting indulgence, turning your project into a delightful afternoon.
- Cheese Platter: A selection of cheeses with nuts and dried fruits not only elevates your snack game but adds a beautiful visual to your crafting table!
Gather these goodies to enhance your crafting experience and celebrate the joy of creating beautiful Clear Glue Flower Suncatchers!
Clear Glue Flower Suncatcher Recipe FAQs
What type of glue is best for my Clear Glue Flower Suncatchers?
Clear school glue is ideal because it dries transparent, but you can substitute it with any clear-drying craft glue. Just make sure it’s non-toxic if children will be participating in the crafting!
How long do I need to let my suncatchers dry?
Allow your Clear Glue Flower Suncatchers to dry completely for at least 24 hours. This ensures the glue sets perfectly, preventing any sticky spots or damage when you peel it off the plastic lid or acetate sheet.
How should I store my completed suncatchers?
Once dried, store your suncatchers flat in a dry, cool place, ideally in a cardboard box or envelope to keep them dust-free and protected from scratches. Avoid damp areas like kitchens or bathrooms that could compromise the glue’s integrity.
Can I freeze my suncatchers?
While it’s not necessary to freeze Clear Glue Flower Suncatchers, if you wish to store them for an extended period, do ensure they are completely dry before wrapping them in tissue paper and placing them in a freezer bag. They should remain safe in the freezer for up to 3 months. Just remember to let them come to room temperature before displaying again!
What if my suncatchers aren’t coming off the plastic lid easily?
If they resist peeling off the lid or acetate, it might be due to insufficient drying time or applying too thick of a glue layer. Gently twist the edges with your fingers to loosen it, and if needed, return it to dry a bit longer before attempting again.
Are there any allergies I should be aware of when making these crafts with my kids?
Absolutely! While the materials used are generally safe, check for allergies to flowers or glue. Opt for non-toxic glue for kids and avoid any embellishments like glitter or sequins that could be choking hazards for younger children. Happy crafting!
Crafting Joy: Clear Glue Flower Suncatcher Craft for All Ages
Ingredients
Equipment
Method
- Prepare Your Workspace: Lay down wax paper or parchment paper to protect your area from any glue spills.
- Apply Glue Layer: Pour a thin layer of clear school glue onto your plastic lid or acetate sheet.
- Arrange Decorations: Place pressed flowers and additional decorations onto the glue.
- Allow to Dry: Set aside to let glue dry completely for at least 24 hours.
- Peel Off the Suncatcher: Lift the dried suncatcher from the lid or acetate sheet.
- Hang Your Creation: Attach a string or suction cup hook to the top.