Cool Beads Suncatchers: A Bright & Easy Craft for Everyone
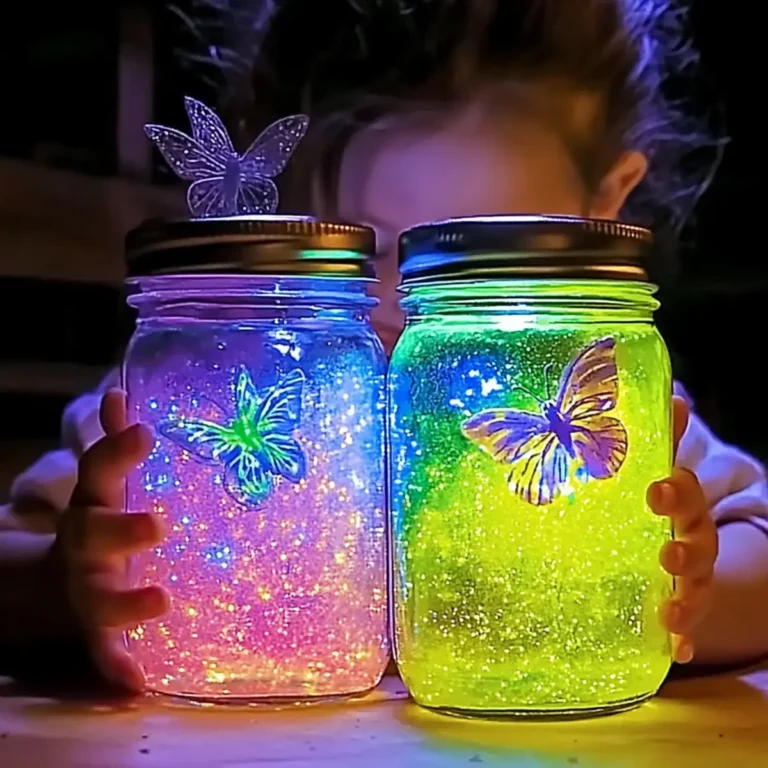
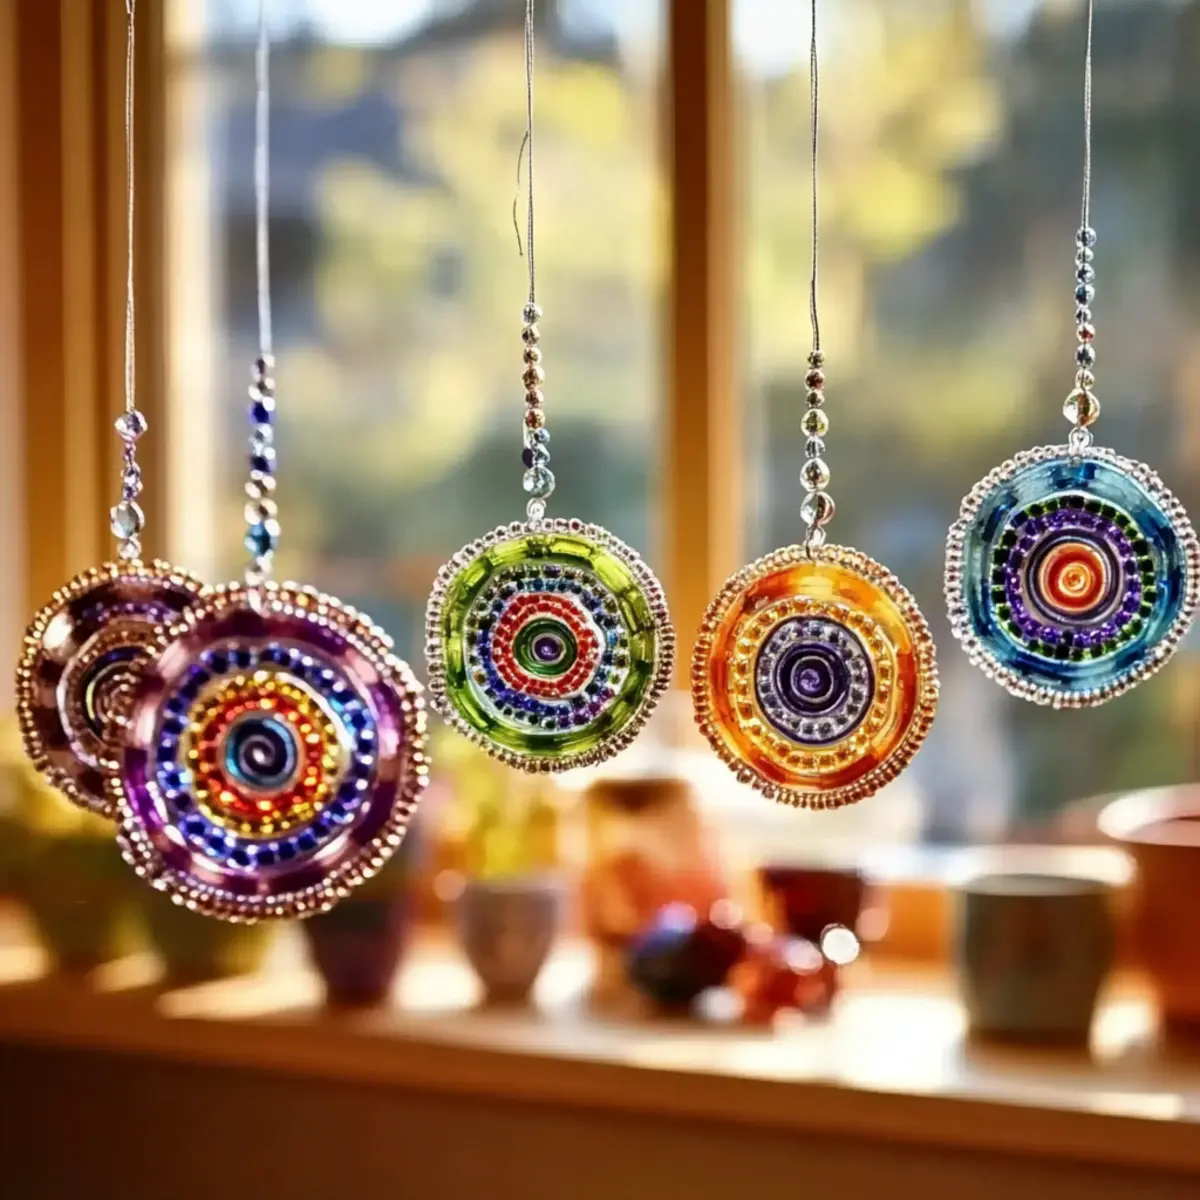
There’s something truly captivating about how sunlight can transform a simple room into a dazzling wonderland. I discovered this whimsical craft when I was looking for a way to keep my kids engaged on a rainy afternoon. The joy on their faces as they watched the melting beads morph into vibrant suncatchers was nothing short of magical. In just 40 minutes, we created stunning translucent bead suncatchers that not only brighten up our windows but also add a splash of color to our garden.
These charming creations are perfect for everyone—from toddlers to adults—and offer an excellent opportunity for bonding, creativity, and fun. With a few supplies and a quick trip to the oven, you can bring a burst of color into your home. So, whether you’re looking for a delightful weekend project, a party activity, or simply a creative outlet, let’s dive into this colorful journey of crafting suncatchers that sparkle in the sun!
Why Will You Love Cool Beads Suncatchers?
Whimsical Fun: This craft creates a magical atmosphere, captivating both kids and adults alike with its vibrant colors.
Easy Process: In just 40 minutes, you’ll transform simple beads into stunning suncatchers, making it a perfect quick project.
Creative Expression: Use different shapes and colors to personalize your designs, unleashing your creativity.
Family Bonding: Engage with loved ones as you craft together, turning an ordinary day into a memorable experience.
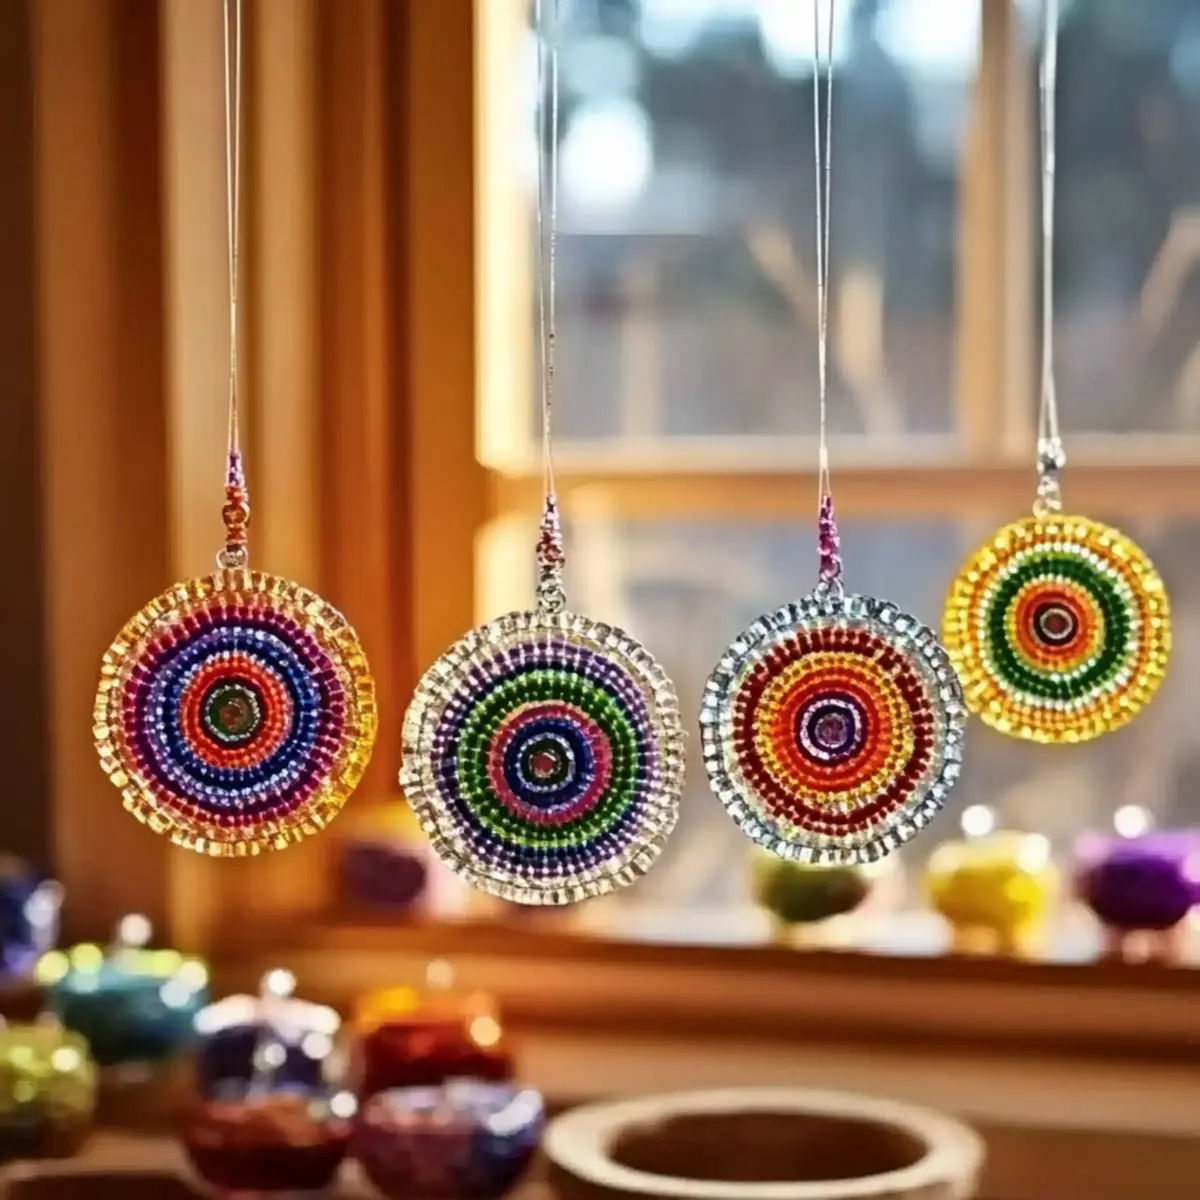
Versatile Decor: Hang these eye-catching pieces in windows or gardens to brighten any space, giving your home a cheerful vibe.
Try this delightful project today and discover the joy of crafting your own colorful suncatchers!
Cool Beads Suncatchers Ingredients
• Get ready to create some colorful magic!
For the Suncatchers
- Translucent plastic pony beads – These vibrant beads melt beautifully, allowing light to shine through for stunning effects.
- Metal baking molds (muffin tins, cookie cutters, mason jar lids) – Perfect for shaping your suncatchers into playful designs.
- Foil-lined baking sheet – Essential for preventing your suncatchers from sticking during the melting process.
- Nonstick spray (optional) – A quick spray makes it easier to remove the suncatchers from molds.
For the Sparkle
- Glitter beads (1 cup) – Add a dash of sparkle for a whimsical touch to your suncatchers.
- Glow-in-the-dark pony beads (1 cup) – Ideal for giving your creations a magical glow in the dark.
For Hanging
- String, fishing line, or ribbon – Necessary for hanging your beautiful suncatchers, making them easy to display wherever you like.
Get all your materials ready, and let’s bring these cool beads suncatchers to life!
How to Make Cool Beads Suncatchers
Preheat the oven: Begin by heating your oven to 400°F (204°C). This temperature is perfect for melting the beads to create that stunning translucent effect.
Prepare your baking sheet: Line a baking sheet with foil to prevent the beads from sticking during the melting process. This step helps keep your suncatchers intact for easy removal later.
Arrange the beads: Place different colors of translucent pony beads tightly into your chosen metal molds, such as muffin tins or cookie cutters. Feel free to sprinkle in some glitter beads or glow-in-the-dark beads for an extra magical touch!
Bake to perfection: Pop the molds into the oven and bake for about 25 minutes. Watch for the beads to melt completely and fuse together into a glossy, vibrant canvas.
Cool and remove: Once the time is up, carefully remove the baking sheet from the oven. Let the molds cool slightly before gently popping out your beautiful suncatchers.
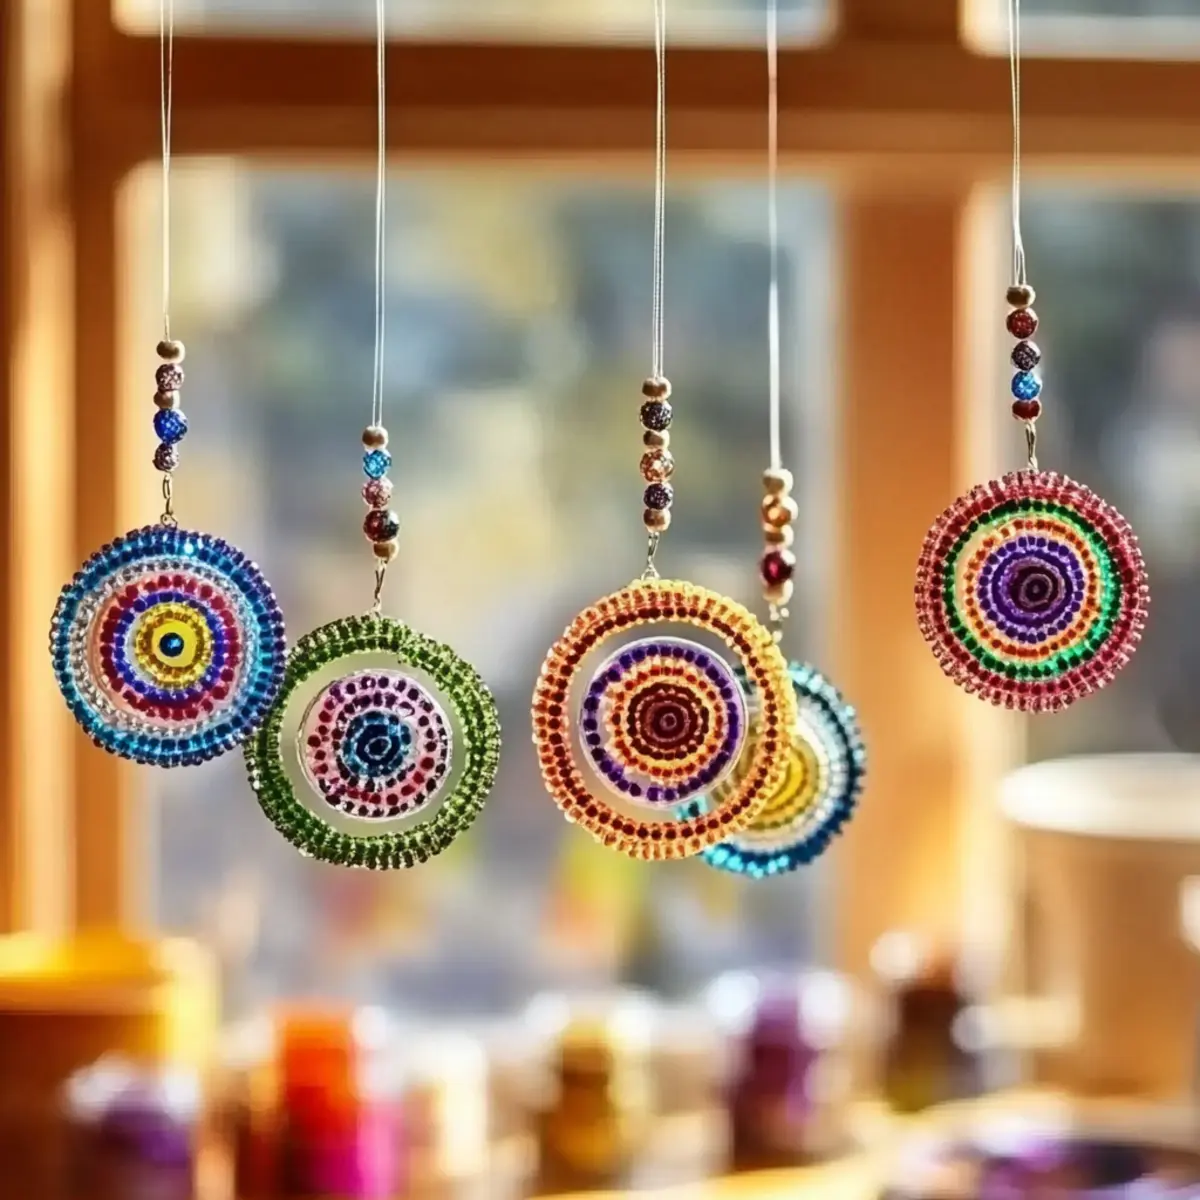
Add hanging strings: After the suncatchers have fully cooled, thread string, fishing line, or ribbon through the top for hanging. Now they’re ready to brighten any window or garden!
Optional: Use colorful ribbons for hanging for an extra pop of color!
Exact quantities are listed in the recipe card below.
Cool Beads Suncatchers Variations & Substitutions
Feel free to mix and match these delightful ideas to personalize your suncatchers even further!
Shape Play: Experiment with playful molds like animal shapes or flowers for a whimsical touch.
Earthy Tone Twist: Use opaque or earth-tone beads for a more natural, rustic look that fits seamlessly into garden decor.
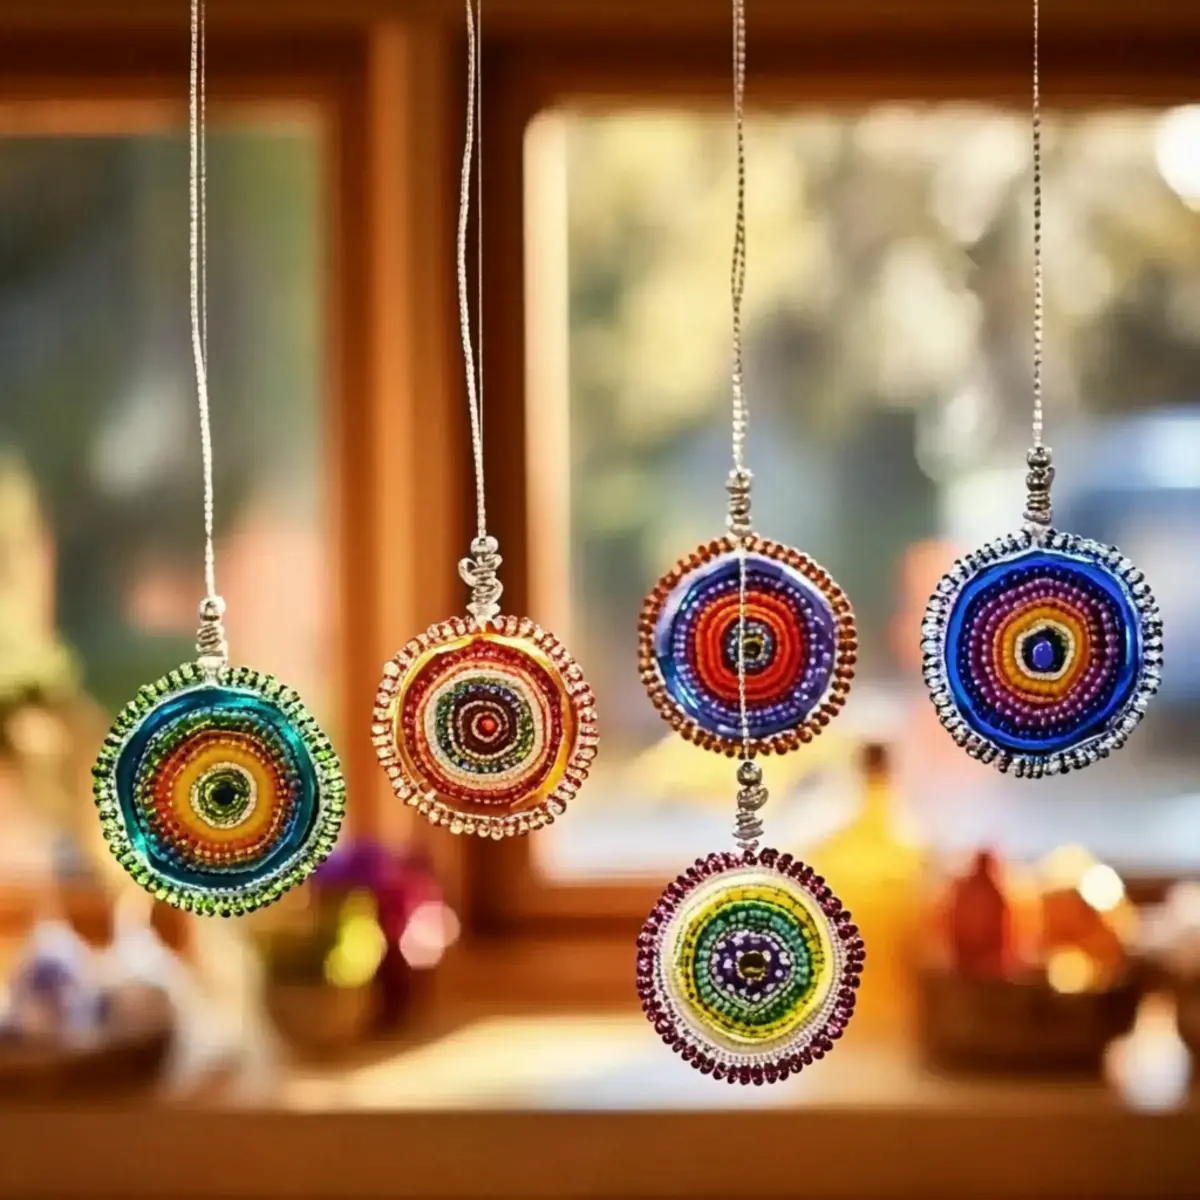
Layering Colors: Alternate layers of beads to create a multi-dimensional effect; the depth adds visual interest to your suncatchers.
Adding Texture: Incorporate textured beads or even small pebbles to enhance the tactile element of your suncatchers.
Seasonal Themes: Select beads in colors that represent various seasons—like warm oranges and browns for autumn—for a festive flair.
Personalized Gifts: Create custom suncatchers by using initials or favorite colors; these make charming gifts for loved ones.
Light-Up Edition: Experiment with battery-operated LED lights behind the suncatchers for a glowing effect in the evening.
Each variation enhances the charm of your suncatchers, giving you endless creative possibilities. Enjoy the process!
Storage Tips for Cool Beads Suncatchers
Room Temperature: Keep your finished suncatchers in a cool, dry place away from direct sunlight to prevent warping or discoloration.
Fridge: If you need to store them short-term, placing them in the fridge can help maintain their shape, but be sure to wrap them in soft cloth to avoid scratches.
Long-Term Storage: For long-lasting enjoyment, store suncatchers in a sturdy, airtight container with padding (like bubble wrap) for protection against damage.
Display Ideas: These suncatchers are best enjoyed displayed; consider hanging them as soon as possible to let their beauty shine!
Expert Tips for Cool Beads Suncatchers
Bead Selection: Use only translucent beads for the best results; opaque beads won’t melt and create the desired effect.
Cooling Time: Patience is key! Allow your suncatchers to cool completely before handling; warm beads can break easily.
Mold Choice: Experiment with different molds like cookie cutters or muffin tins; unique shapes can elevate your suncatcher designs.
Cleaning Molds: If using nonstick spray, remember to clean the molds right after use to prevent residue buildup for future projects.
Safety First: Be cautious when handling hot molds, as they can be quite hot. Use oven mitts or similar protection.
Enjoy crafting these cool beads suncatchers and brighten your space!
Make Ahead Options
Creating Cool Beads Suncatchers is a fantastic craft to prepare ahead of time, saving you precious moments during busy weekends or family gatherings. You can arrange the translucent and glitter beads in the metal molds up to 24 hours in advance—just cover and refrigerate to keep everything fresh and colorful. When you’re ready to complete the project, simply preheat your oven and bake as instructed. Remember to let them cool thoroughly before handling, to avoid any mishaps. This way, you’ll have delightful suncatchers ready to brighten your space with minimal fuss, leaving you free to enjoy the moment with your loved ones!
What to Serve with Cool Beads Suncatchers?
Let’s create a colorful crafting atmosphere filled with fun, laughter, and creativity for everyone to enjoy.
- Brightly Colored Paper Flowers: These delicate creations can add an extra layer of whimsy, echoing the vibrant hues of your suncatchers while being easy to make.
- Homemade Friendship Bracelets: Crafting doesn’t end with suncatchers! These easy-to-make accessories can charm kids and adults alike.
Let your imagination run wild as you create stunning keepsakes together!
- Colorful Party Hats: These hats can enhance the playful energy of your crafting session, allowing everyone to feel festive while they work.
- DIY Paintable Garden Stones: Add a new dimension to your garden décor, mirroring the suncatchers’ sparkle and fun in another creative project.
By combining these fun activities, your crafting day will become a memorable celebration of creativity!
Cool Beads Suncatchers Recipe FAQs
What type of beads should I use?
Absolutely! For the best results, use only translucent plastic pony beads. These beads are specially designed to melt and fuse together, creating that stunning stained glass effect. Avoid opaque beads, as they won’t achieve the desired translucency when melted.
How should I store the finished suncatchers?
To keep your beautiful suncatchers safe, store them in a cool, dry place away from direct sunlight to prevent any warping or discoloration. If you need to store them for a short time, consider placing them in the fridge while wrapped in soft cloth to avoid scratches. For long-term storage, I recommend using a sturdy, airtight container with padding like bubble wrap to ensure they’re protected from damage.
Can I freeze my suncatchers?
While freezing isn’t necessary for these suncatchers, it’s best to store them at room temperature. Freezing may cause unexpected changes in texture or appearance, so I suggest keeping them away from extreme temperatures altogether. Just be sure they’re stored in a safe and dry place for maximum longevity!
What should I do if my beads didn’t melt properly?
If your beads didn’t melt completely, they may not have been packed tightly enough in the mold or the oven temperature might not have been hot enough. Next time, ensure that your beads are snugly arranged in the mold, and double-check your oven temperature is set to 400°F (204°C). If they still don’t melt, allow them a bit more time, but watch closely to avoid burning!
Are these suncatchers safe for pets or young children?
Very! These suncatchers are made from plastic beads, making them safe for display. However, I recommend keeping them out of reach of pets and small children to prevent accidental breakage. If ingested, plastic pieces can pose a choking hazard, so supervision is always a good idea. Just make sure to handle them with care to avoid any mishaps!
Can I use other types of beads?
Certainly! While translucent pony beads are ideal, you can experiment with other types like glitter beads or glow-in-the-dark beads to create unique effects. Just be cautious—if you use different materials, ensure they are also heat-resistant and will melt or fuse properly. Adding these personal touches can elevate your suncatchers and let your creativity shine!
Cool Beads Suncatchers: A Bright & Easy Craft for Everyone
Ingredients
Equipment
Method
- Preheat the oven to 400°F (204°C).
- Line a baking sheet with foil to prevent sticking.
- Arrange the pony beads tightly in metal molds, adding glitter or glow-in-the-dark beads as desired.
- Bake for about 25 minutes, monitoring until beads melt completely.
- Remove from oven and allow molds to cool slightly before popping out the suncatchers.
- Thread string or ribbon through the top for hanging.