Create Cozy Vibes with DIY Aroma Stones: A Natural Way to Scent
There’s something wonderfully uplifting about transforming simple ingredients into beautiful, fragrant pieces of art. Recently, I found myself on a quest to infuse my home with delightful scents without relying on synthetic air fresheners. That’s when I discovered the charm of DIY aroma stones, a hands-on project that not only fills your space with inviting aromas but also allows for creativity and sustainability.
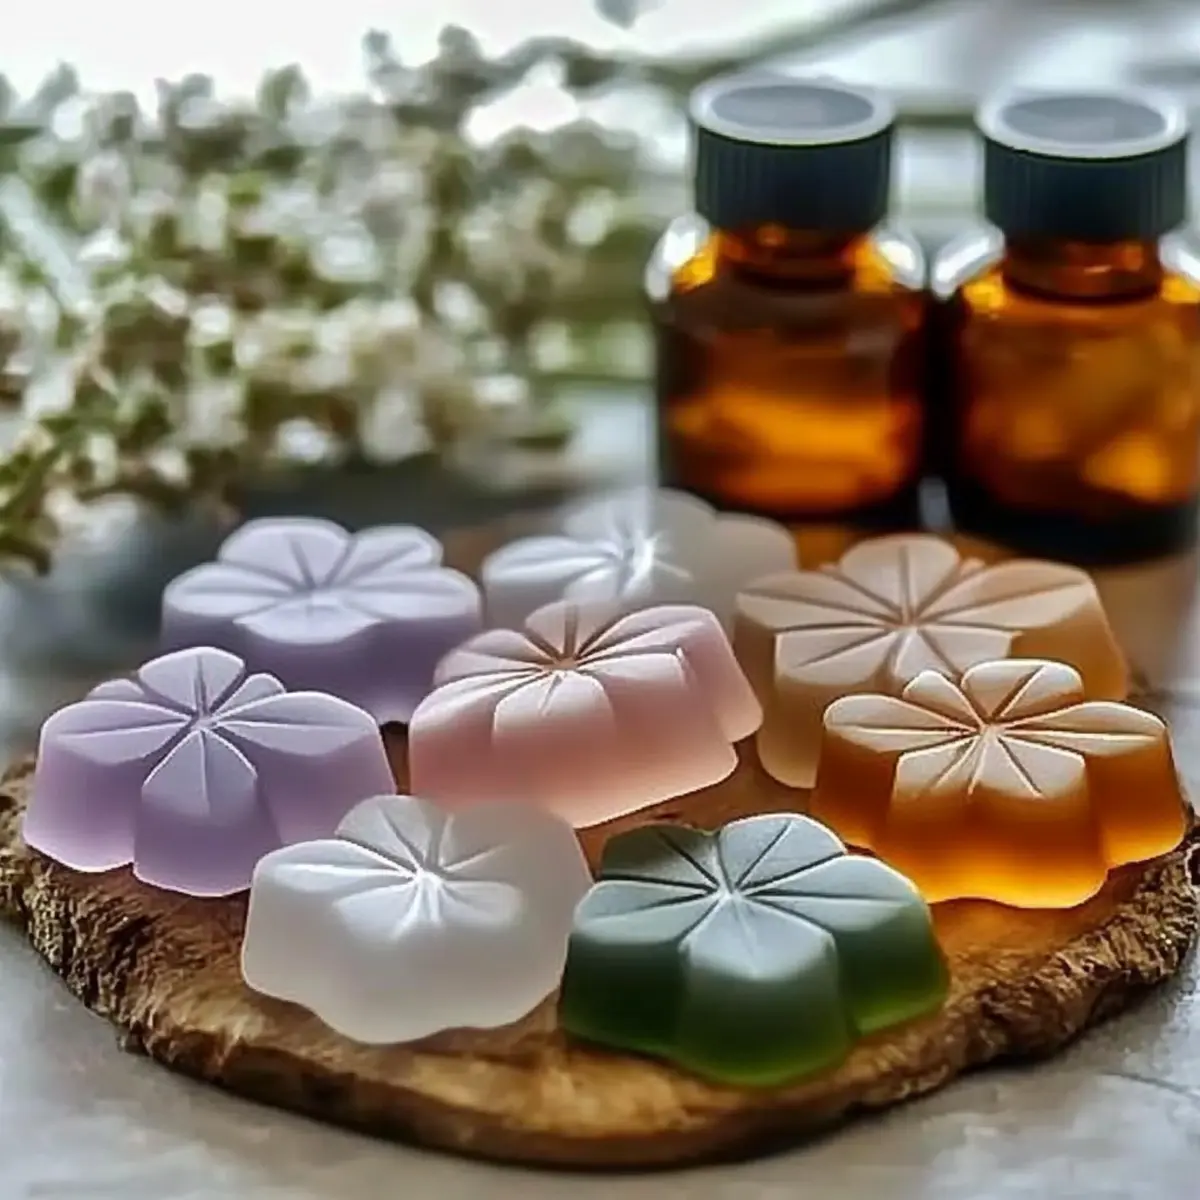
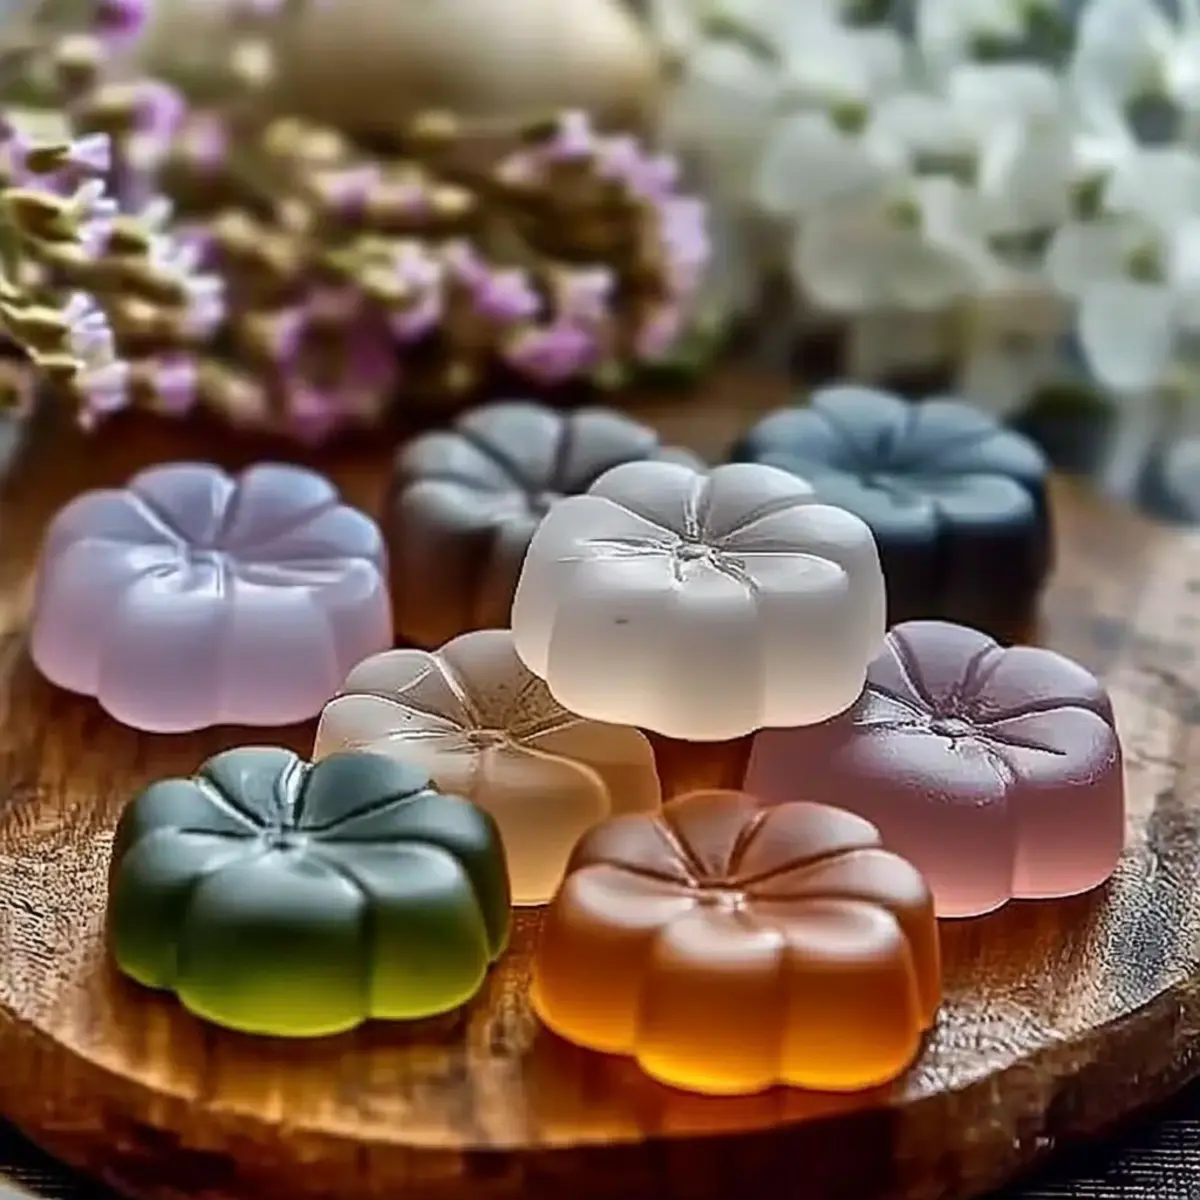
As I mixed together baking soda, cornstarch, and a splash of essential oil, it felt like crafting little works of magic. These eco-friendly aroma stones are perfect for any room—imagine the cozy glow and inviting scents wafting through your kitchen or living area, all while minimizing waste and making use of natural materials. This simple DIY project is ideal for anyone looking to connect with their creative side while enjoying a more refreshing atmosphere at home. So roll up your sleeves, and let’s dive into making these charming aroma stones that are sure to brighten your space and uplift your spirits!
Why are DIY Aroma Stones so special?
Easy to Make: You don’t need any special skills or tools—just some kitchen staples!
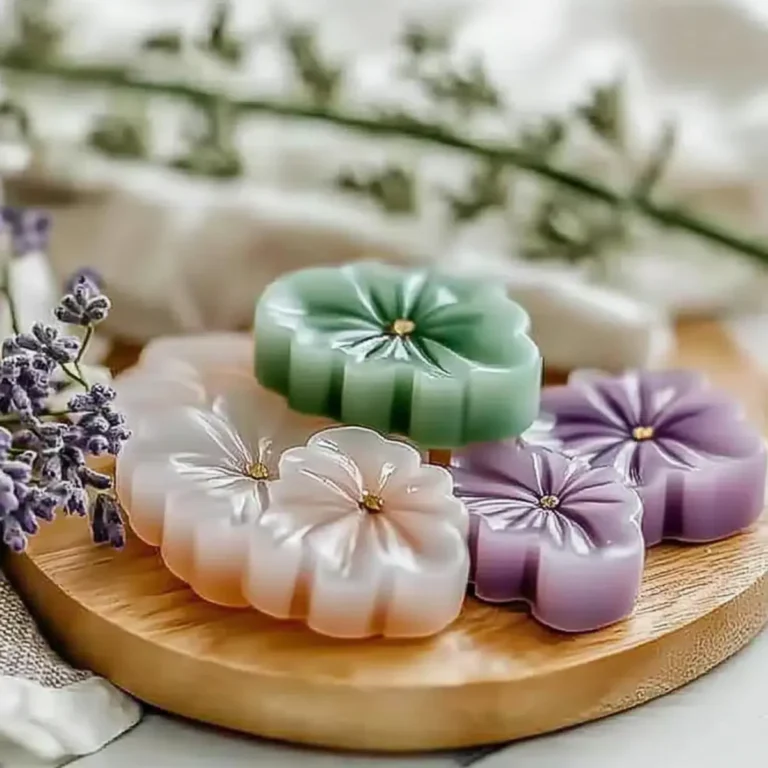
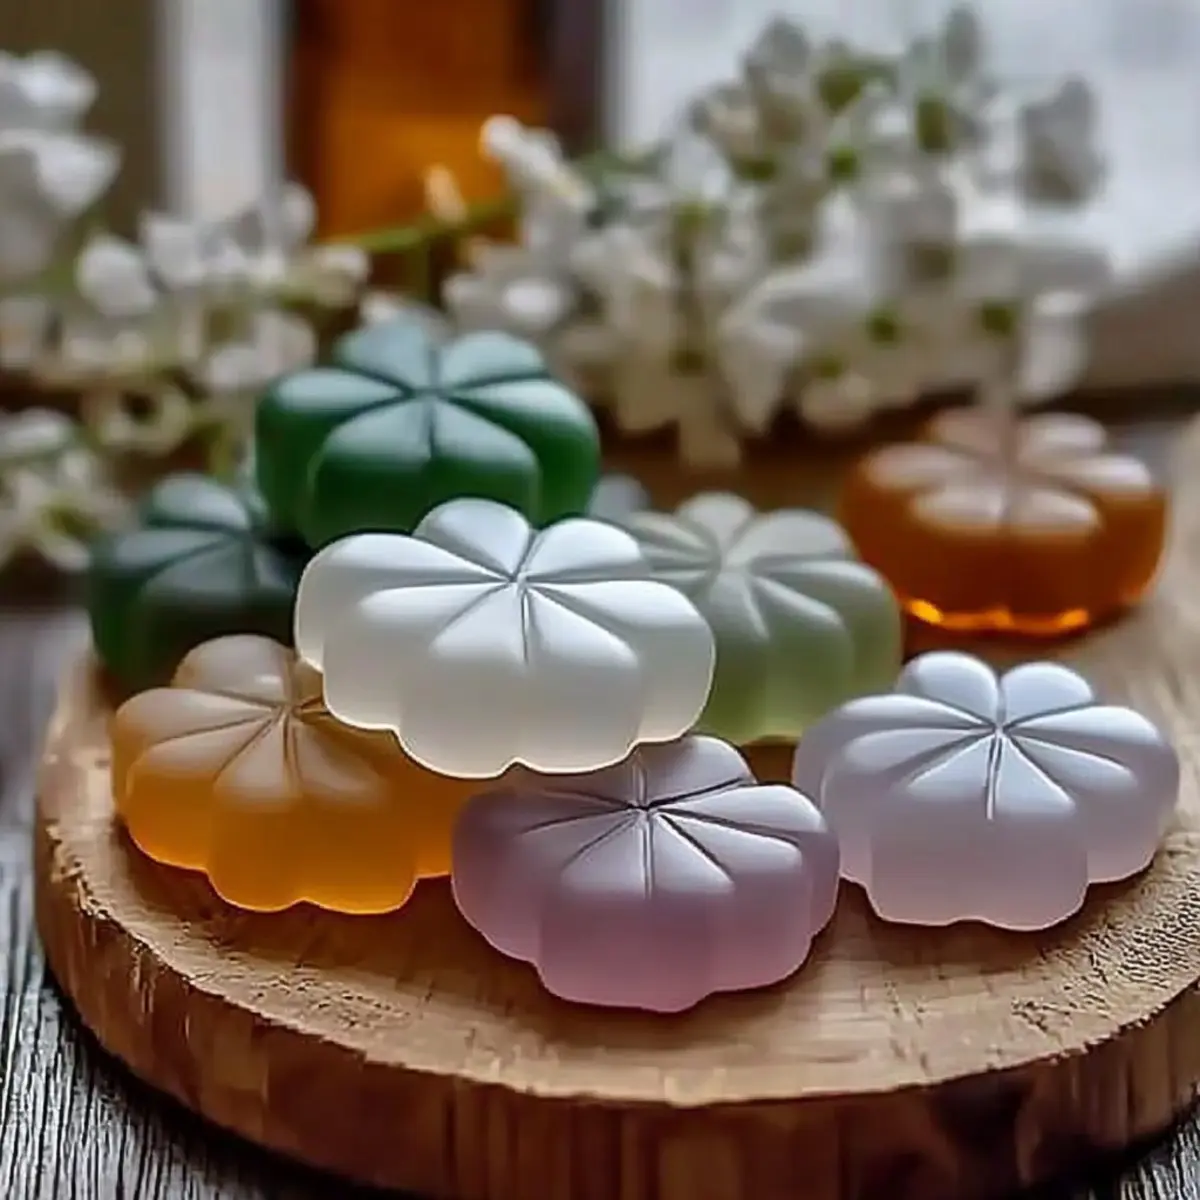
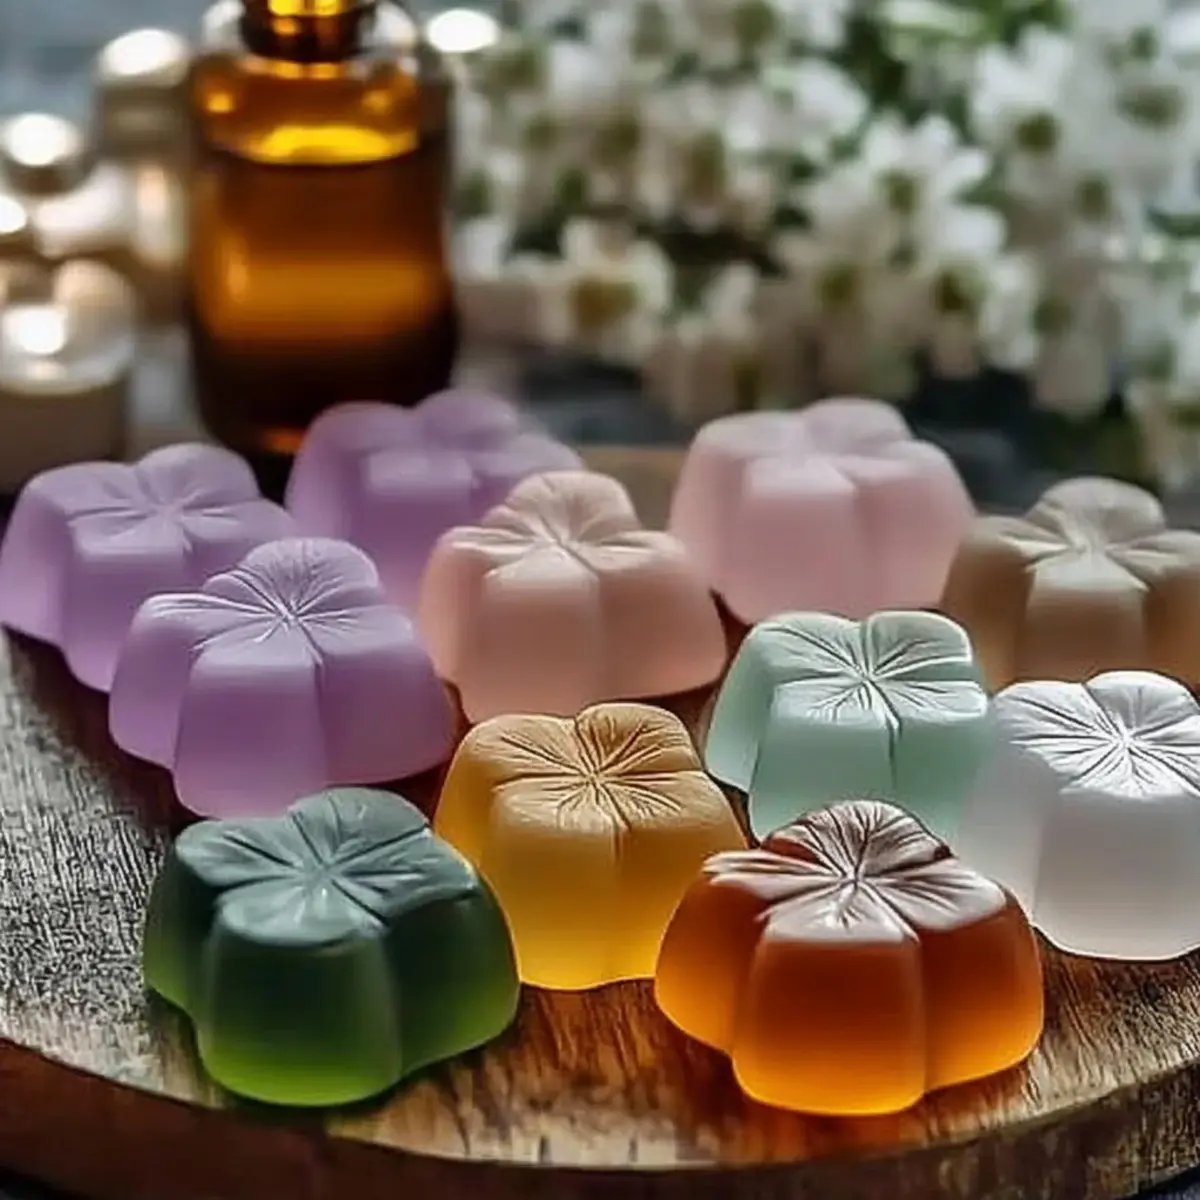
Natural Beauty: They not only smell delightful but also look charming, adding an artisanal touch to your home decor.
Versatile Scents: Tailor the aroma to your preference by choosing your favorite essential oils and colors!
Eco-Friendly Choice: By opting for DIY aroma stones, you’re contributing to a more sustainable lifestyle while reducing reliance on commercial air fresheners.
These delightful stones are perfect for creating cozy vibes and make fantastic gifts, too! Plus, if you enjoy DIY projects, check out my guide on how to make eco-friendly bioplastic suncatchers for more creative fun!
DIY Bioplastic Suncatchers Ingredients
• Dive into crafting your own colorful, eco-friendly creations!
For the Base
- Baking Soda – Acts as a thickener; substitute with arrowroot powder for a smoother texture.
- Cornstarch – Provides necessary structure; stick with this ingredient for best results.
- Warm Water – Activates the powders, ensuring a workable paste; room temperature water can be an alternative.
For Fragrance
- Essential Oil – Adds lovely scent; choose lavender or lemon for a fresh aroma, or leave it out for a pure craft experience.
For Color
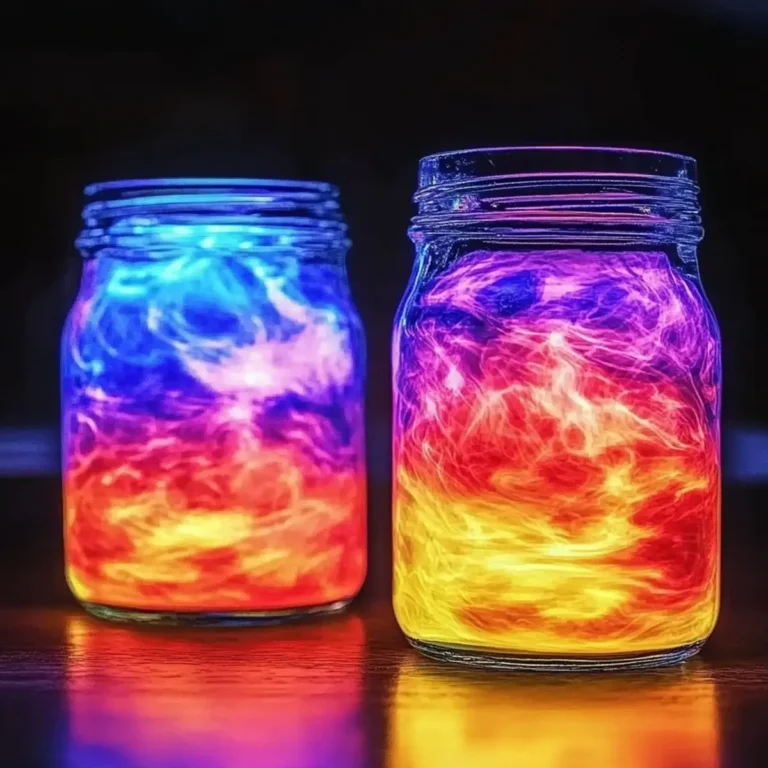
- Mica Powder or Natural Food Coloring – Bring your suncatchers to life with vibrant tones; beet juice serves as a fantastic natural option.
Get ready to unleash your creativity while you make this engaging and sustainable project!
How to Make DIY Bioplastic Suncatchers
Combine Ingredients: In a medium bowl, mix together ½ cup of baking soda and ½ cup of cornstarch. This will be the base for your bioplastic, providing both thickness and structure.
Add Water: Gradually pour in ¼ cup of warm water, stirring continuously until a thick paste forms. The right consistency is key, so keep mixing until you achieve a smooth texture.
Incorporate Fragrance: Add 15–30 drops of your favorite essential oil into the mixture and stir well. This is where your suncatchers will get their lovely scent, so choose a fragrance that makes you smile!
Introduce Color: For those vibrant hues, add mica powder or natural food coloring and mix until you reach your desired shade. Don’t be afraid to be bold and creative—this is your masterpiece!
Mold the Mixture: Carefully pour the prepared mixture into your chosen molds. Shape them according to your preference, perhaps heart-shaped or star-shaped for added fun.
Allow to Set: Let your suncatchers sit for several hours, or until they’re completely hardened. You want them to feel firm and dry to the touch, ensuring they’ll hold up once removed.
Demold and Dry: Gently pop your suncatchers out of the molds and allow them to dry fully. This extra drying time helps to achieve a beautiful, glossy finish that sparkles in the light.
Optional: Add natural elements like flower petals inside for a unique touch!
Exact quantities are listed in the recipe card below.
Storage Tips for DIY Bioplastic Suncatchers
Room Temperature: Keep your suncatchers in a cool, dry area to maintain their color and texture for up to 3 months.
Fridge: If you live in a humid environment, consider placing them in the fridge for extra longevity. Just ensure they are wrapped in parchment paper to avoid moisture.
Freezer: For longer storage, seal them in an airtight container and freeze for up to 6 months. Thaw before use to restore their original beauty.
Reheating: If your suncatchers lose scent, reapply essential oil to refresh their aroma.
DIY Bioplastic Suncatchers Variations
Feel free to explore these creative twists, adding your unique touch to the crafting experience!
Scent Variations: Experiment with different essential oils like eucalyptus or sweet orange to change the mood of your creations. The right scent can completely transform the vibe in your home.
Color Boost: Include a mix of mica powders to create a marbled effect, giving your suncatchers a whimsical and artistic flair. Swirling colors can evoke a stunning visual that truly shines.
Natural Add-ins: Add dried flower petals, leaves, or glitter to your mixture for added beauty and texture. Natural elements can lend an enchanting feel that enhances your suncatcher’s charm.
Themed Shapes: Use seasonal molds like stars or snowflakes for special occasions to celebrate the moment with themed decorations. Crafting becomes even more fun when you have shapes that resonate with the season!
Textured Finishes: Experiment with different materials in your molds, such as lace or patterned fabric for interesting textures. This textural dimension can add a layer of elegance to your final pieces.
DIY Color Blocks: Create layers in your molds by pouring different colors one at a time to get a stunning two-toned effect. This fun technique allows for a more dynamic design that captures attention.
Gift Wrap Instructions: Consider making smaller suncatchers for gifts and pair them with beautifully crafted tags or instructions for recipients. This personal touch not only shares your love for crafting but spreads the joy of creativity!
Edible Scented Variants: If you want to play with scents further, use food-safe flavoring extracts like vanilla or almond for a sweet twist. Although they won’t last as long, they’ll fill your space with inviting aromas for a short time!
Embrace these variations to craft a diverse collection of bioplastic suncatchers that reflect your creativity and personality!
What to Serve with DIY Bioplastic Suncatchers?
Craft these colorful pieces to add a vibrant touch to your home while embracing sustainability.
Natural Lighting: Showcase your suncatchers in bright, sunlit spaces like windows or porches to enhance their colorful glow and maximize their charm.
Fresh Greenery: Pair with potted plants to create a lively atmosphere, blending earthiness with handmade artistry. The contrast between the organic shapes of plants and your suncatchers can make a lovely display.
Artisan Candles: Use scented or unscented candles nearby to curate a cozy, aromatic setting. The soft glow of candles complements the bright colors and brings warmth to the room.
Craft Station: Set up a crafting area with additional DIY projects. Invite friends for a creative afternoon filled with laughter and shared artistry, enhancing connections through craft.
Gift Wrapping Supplies: These suncatchers make thoughtful, personalized gifts. Have beautiful wrapping materials on hand to create perfect gift presentations for those who appreciate handmade treasures.
Refreshing Beverages: Sip on herbal teas or infused waters while crafting. The light and pleasant flavors can refresh your spirits as you immerse yourself in your creative projects.
DIY Workshops: Coordinate crafting workshops to inspire others in your community. Everyone will cherish the memories created while making art and promoting sustainable practices together.
Embrace creativity and connection, making every moment with your suncatchers as colorful and inspiring as the pieces themselves!
Expert Tips for DIY Bioplastic Suncatchers
Mix Thoroughly: Ensure your baking soda and cornstarch blend seamlessly to avoid lumps, which can spoil the smooth finish of your suncatchers.
Use Warm Water: The warmth is essential for activating the ingredients properly. If you opt for room temperature water, you might end up with a less pliable mixture.
Choose Quality Oils: Select high-quality essential oils for the best scent and experience. Some oils can overpower others, so start with a smaller amount.
Experiment with Colors: Don’t hesitate to mix different mica powders or natural food colorings for unique shades; this is your time to let your creativity shine in making these DIY bioplastic suncatchers.
Safety First: Keep the crafting area tidy and safe from kids or pets during the drying process to prevent mishaps with the mixture or molds.
Make Ahead Options
These DIY Bioplastic Suncatchers are perfect for those who love to craft but may have tight schedules! You can prepare the bioplastic mixture up to 24 hours in advance by combining all dry ingredients (½ cup baking soda, ½ cup cornstarch) and storing them in an airtight container. Additionally, you can pre-mix your essential oils and coloring separately; just keep them sealed until you’re ready to craft. When you’re ready to complete your suncatchers, simply add the warm water, pour the mixture into your molds, and let them set. This way, you’ll have vibrant, eco-friendly suncatchers just as delightful as if made fresh, saving you time for other activities!
DIY Bioplastic Suncatchers Recipe FAQs
How do I select ripe ingredients for my DIY suncatchers?
Absolutely! When choosing baking soda, make sure it’s fresh and free of clumps by checking the expiration date. For cornstarch, look for a fine texture, and ensure it’s stored in a cool, dry place. Additionally, if you opt for essential oils, choose high-quality oils that are 100% pure with no synthetic additives, as this impacts both scent and safety.
How can I store my finished suncatchers?
To keep your DIY bioplastic suncatchers in top shape, store them in a cool, dry place, ideally at room temperature, where they can last for up to 3 months. If you live in a humid area, it’s wise to place them in the fridge wrapped in parchment paper to prevent moisture buildup.
Can I freeze the suncatchers for extended storage?
Yes, indeed! For longer storage, seal your completely dried suncatchers in an airtight container and freeze them for up to 6 months. When you’re ready to use them, simply thaw at room temperature. To refresh the scent, you might want to reapply some of your favorite essential oil after thawing.
What should I do if my suncatchers are not setting properly?
The more the merrier with mixing! If your suncatchers fail to set, it might be due to insufficient mixing or not allowing enough drying time. Ensure your mixture is smooth before pouring it into molds and let them sit undisturbed for several hours, or until completely dry. If you notice lumps during preparation, mixing can help eliminate those before it sets.
Are there any dietary considerations I should keep in mind?
Very! While these suncatchers are made with natural ingredients, they’re not intended for consumption. Keep them out of reach of pets and children to avoid any accidental ingestion. Additionally, if you’re sensitive to certain scents, like those from essential oils, feel free to skip that ingredient or choose a fragrance that suits your needs.
How can I change the color of my suncatchers?
Absolutely, customizing colors is part of the fun! You can use mica powder or natural food coloring for vibrant hues. Start with small amounts and mix until you achieve the color you desire, ensuring a good blend for even distribution. For an even more unique touch, try adding tiny flower petals right into the mixture before molding!
Create Cozy Vibes with DIY Aroma Stones: A Natural Way to Scent
Ingredients
Equipment
Method
- In a medium bowl, mix together ½ cup of baking soda and ½ cup of cornstarch.
- Gradually pour in ¼ cup of warm water, stirring continuously until a thick paste forms.
- Add 15–30 drops of your favorite essential oil and stir well.
- Add mica powder or natural food coloring and mix until you reach your desired shade.
- Carefully pour the prepared mixture into your chosen molds.
- Let your aroma stones sit for several hours, or until they're completely hardened.
- Gently pop the aroma stones out of the molds and allow them to dry fully.