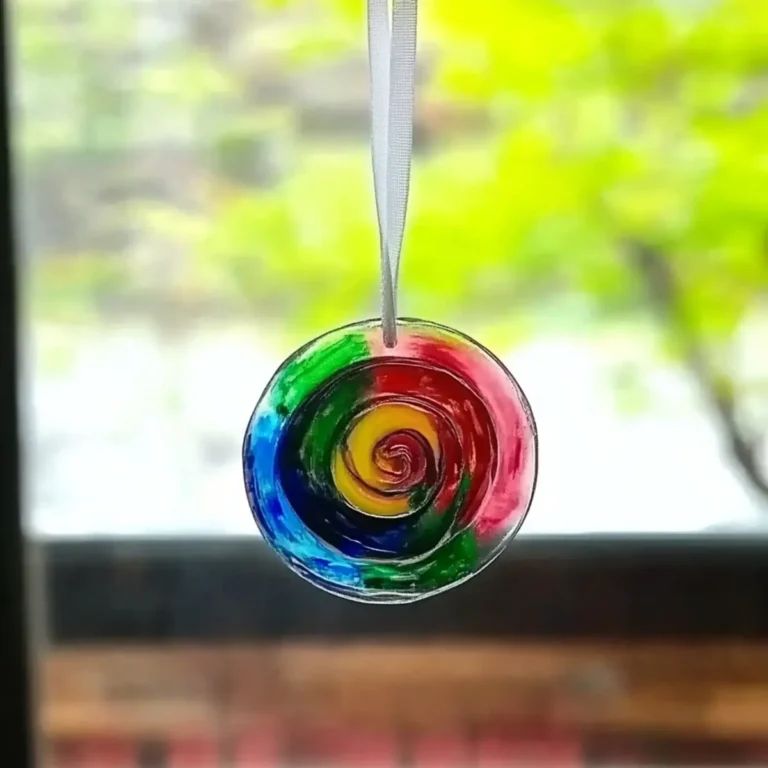
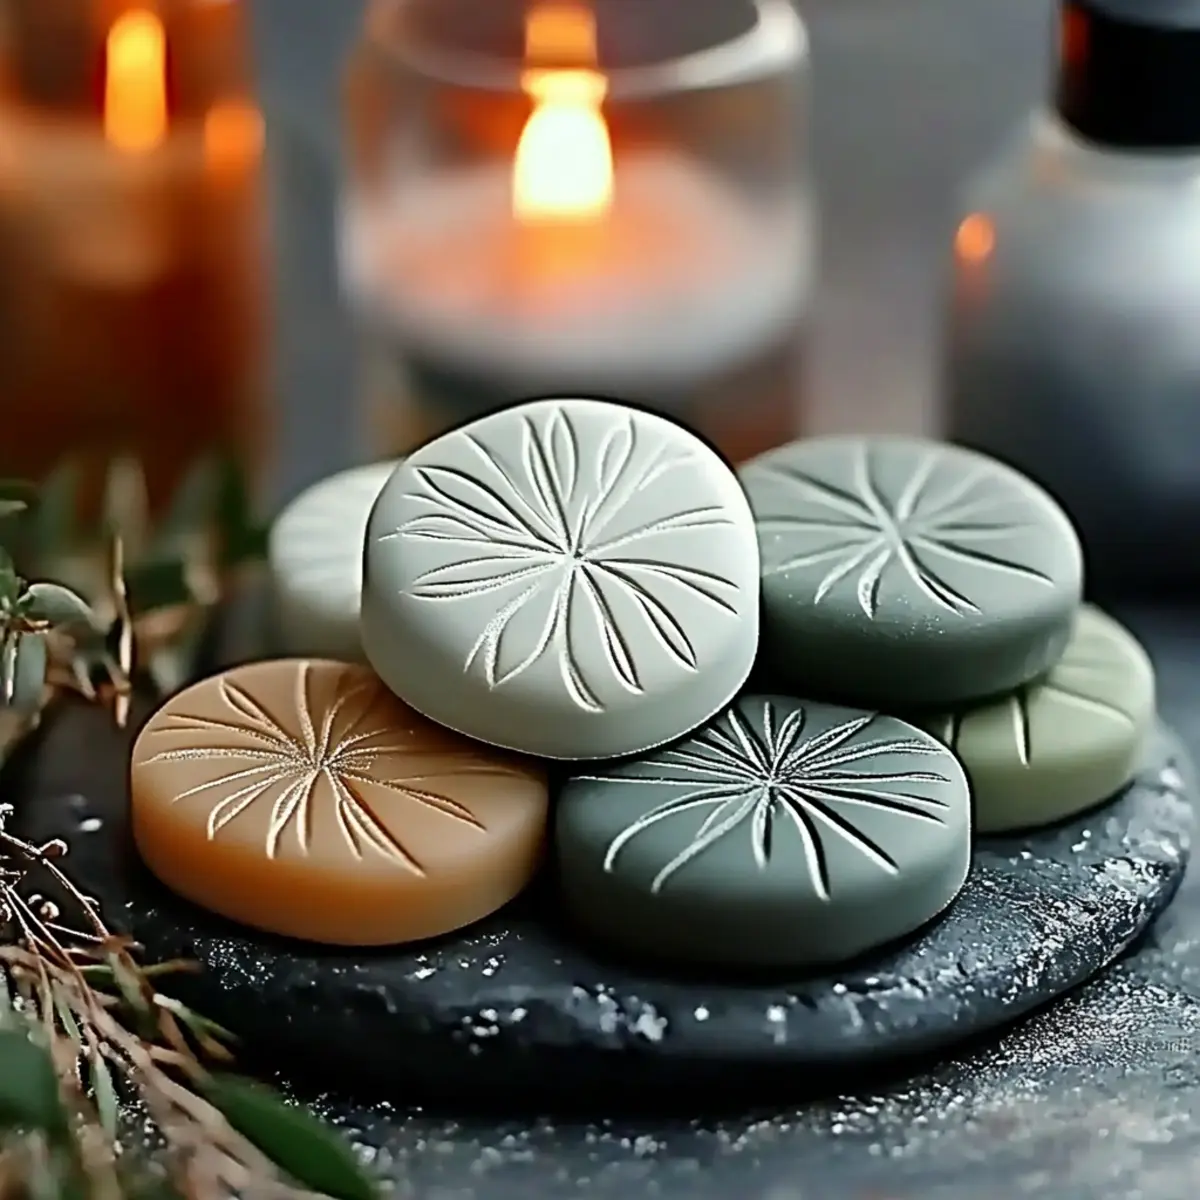
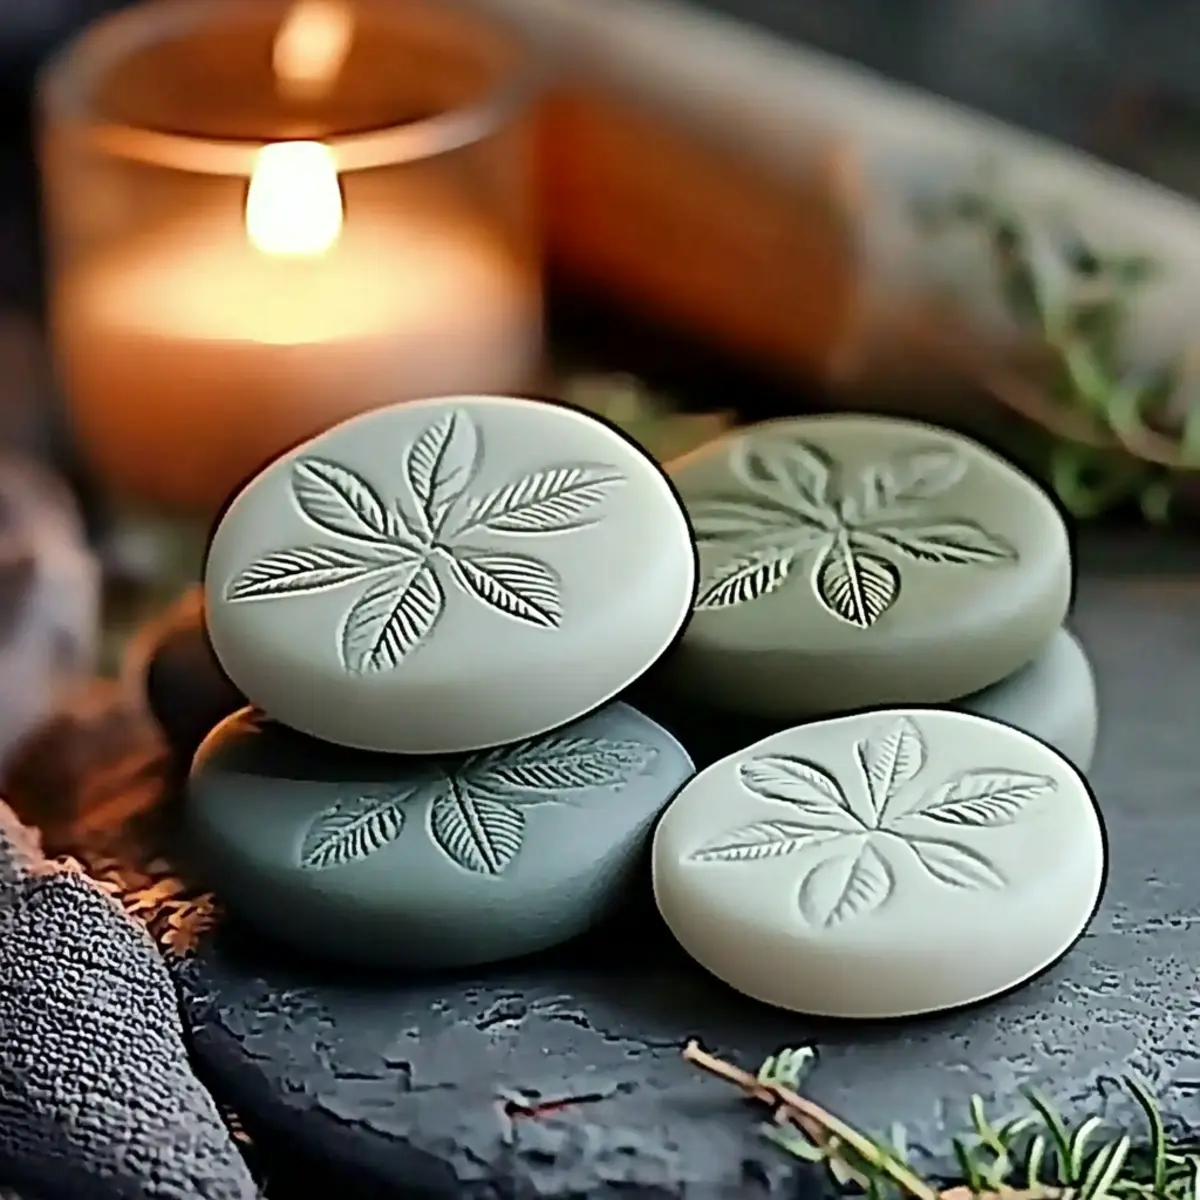
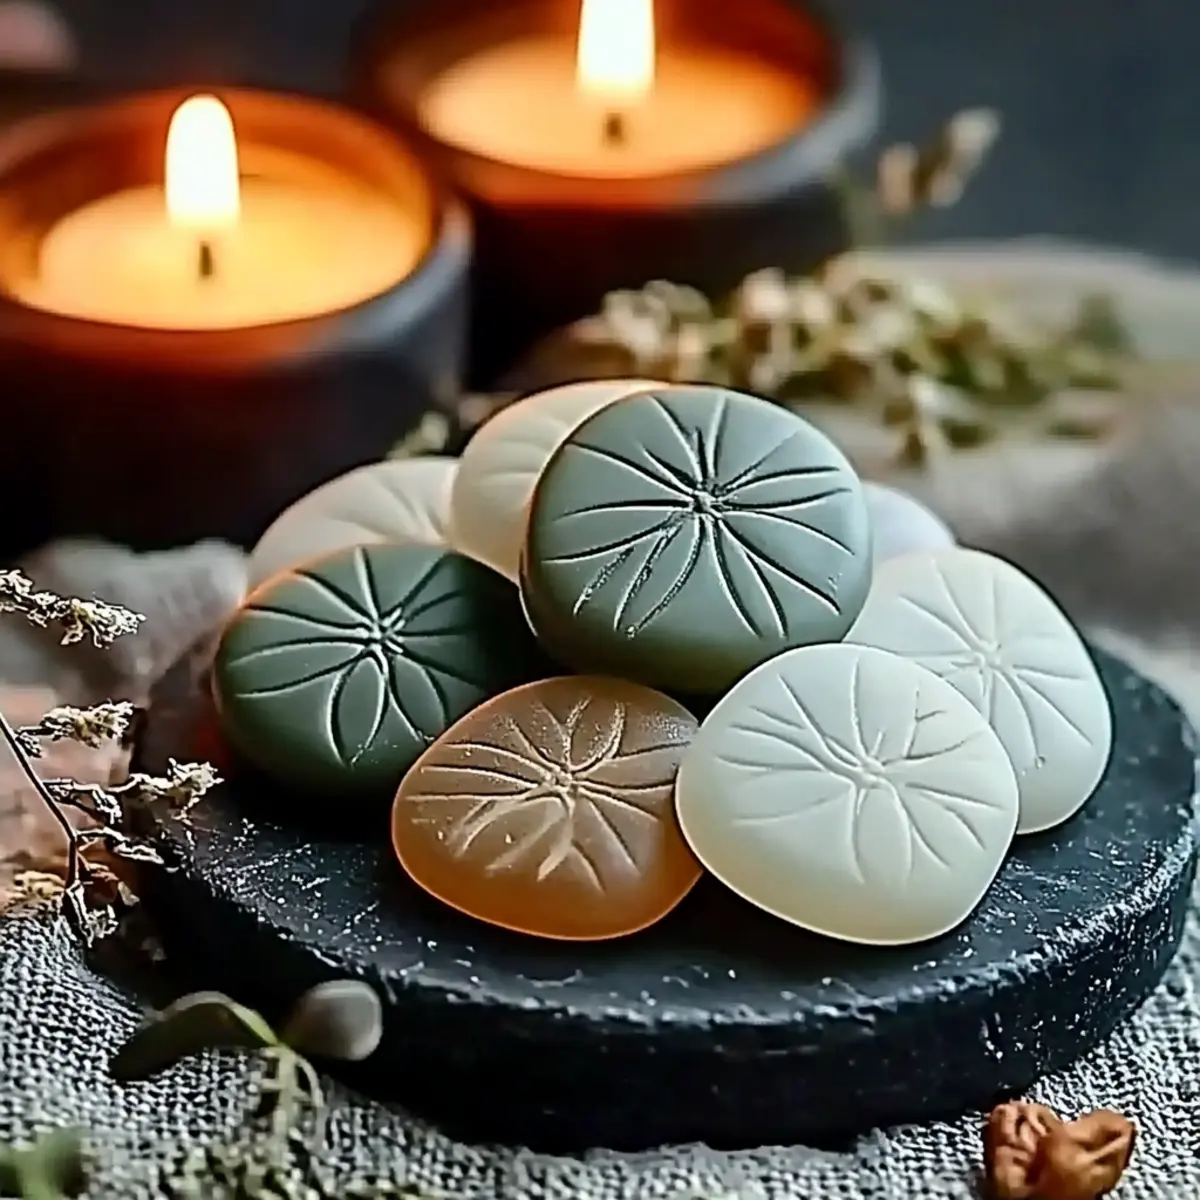
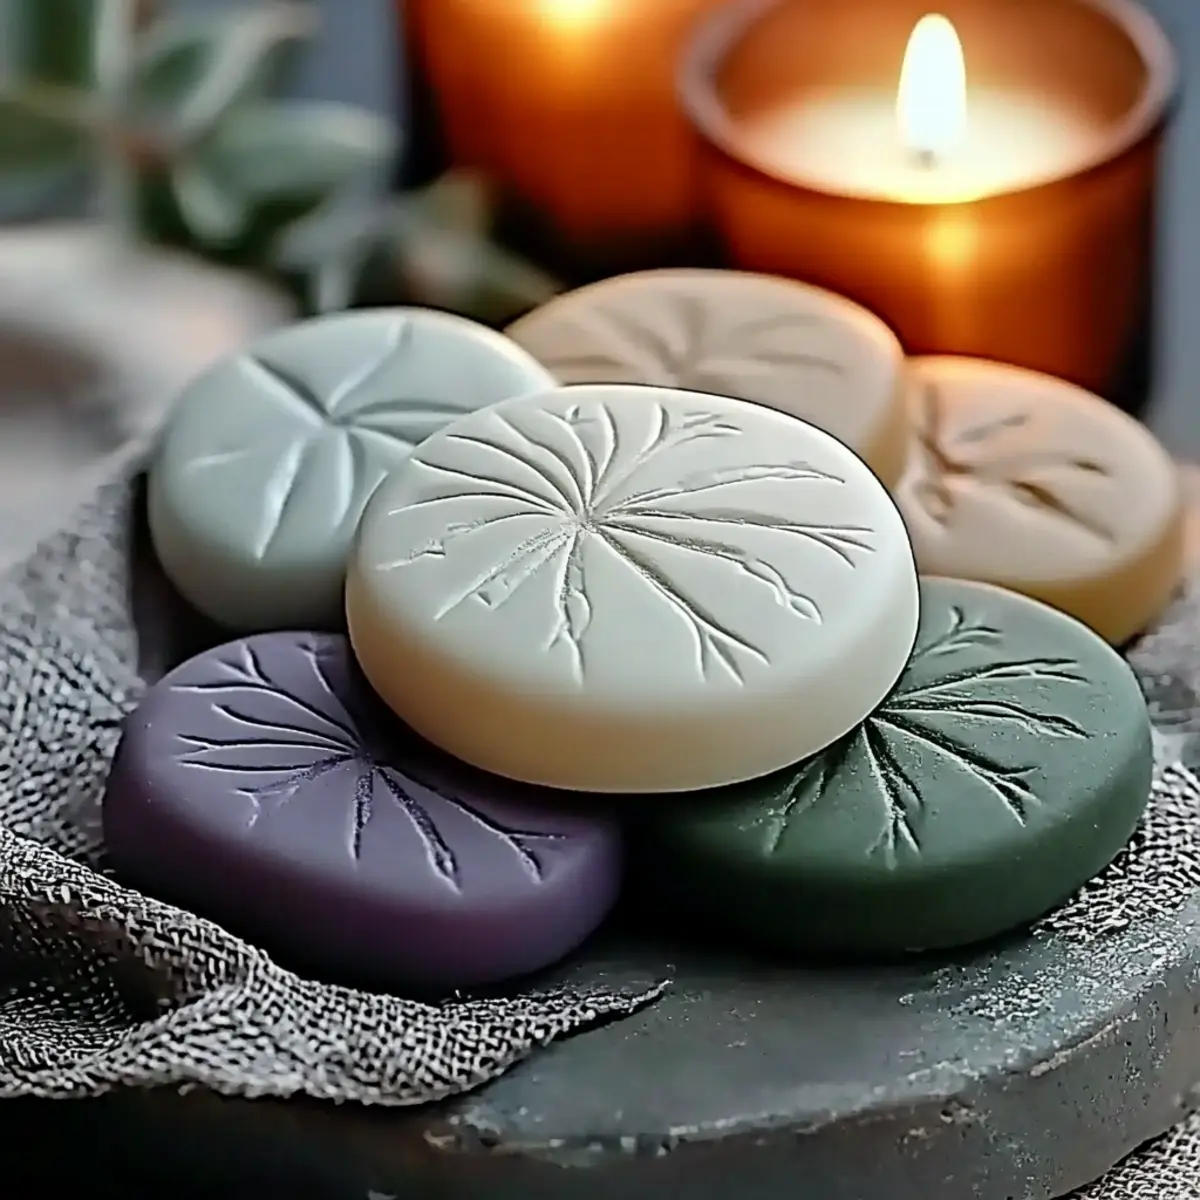
Create Blissful Scents with DIY Aroma Stones: A Natural Way to Scent Your Space
There’s something immensely satisfying about transforming everyday ingredients into something that not only beautifies a space but also brings joy and comfort. Imagine stepping into your home and being greeted by the soothing scents of lavender or uplifting notes of citrus, all without a hint of synthetic fragrances. Recently, I found myself in need of a fresh new scent for my living room but wanted to avoid store-bought air fresheners filled with chemicals. That’s when I discovered the delightful world of DIY aroma stones.
These eco-friendly creations allow you to infuse your home with the calming aroma of your favorite essential oils while adding a charming decorative element to any room. With just a few simple ingredients, you can customize them to match your style and fragrance preferences. The best part? You’ll find that crafting these delightful stones is as enjoyable as using them afterward. So, let’s roll up our sleeves and get started on making your space smell divine with these homemade aroma stones!
Why You’ll Love DIY Aroma Stones
Eco-Friendly Appeal: These DIY aroma stones are a sustainable choice for scenting your home, using natural ingredients that are kind to the environment.
Personalized Fragrance: Enjoy the freedom of crafting your own unique aromas by mixing your favorite essential oils, ensuring a scent that’s perfect for you.
Effortless Fun: This simple project is a creative outlet that requires minimal crafting skills—perfect for anyone looking to infuse their space with charm.
Versatile Decor: Use these stones in any space, whether it’s your bedroom, living room, or even your car, adding a decorative touch along with delightful scents.
Cost-Effective Solution: Say goodbye to expensive, chemical-laden air fresheners—making your aroma stones is a budget-friendly way to enjoy wonderful fragrances daily.
Consistency in Scent: Create a long-lasting fragrance experience that can be recharged with essential oils, enhancing your home’s atmosphere for weeks.
DIY Aroma Stones Ingredients
For the Dough
• Baking Soda – Provides structure in the dough; can be replaced with baking powder for a softer stone.
• Cornstarch – Aids in creating a smooth texture; substitute with arrowroot powder for a similar effect.
• Warm Water – Hydrates dry ingredients to form a dough; adjust as needed for the right consistency.
For Scenting
• Essential Oil – Adds fragrance and therapeutic benefits; use any preferred scent (e.g., lavender, lemon, peppermint) for your DIY aroma stones.
• Natural Coloring (optional) – Enhances the aesthetic appeal; use mica powder or food coloring as desired.
For Shaping
• Silicone Molds/Cookie Cutters – For shaping the stones; use any available molds for unique designs.
• Parchment Paper or Drying Tray – Provides a surface for drying the stones without sticking.
How to Make DIY Aroma Stones
Combine Ingredients: In a mixing bowl, combine ½ cup of baking soda with ½ cup of cornstarch. This mix will form the foundation of your aroma stones, creating a sturdy yet pleasant texture.
Add Water: Gradually add ¼ cup of warm water to the dry ingredients while stirring constantly. Mix until the dough reaches a clay-like consistency, ensuring no lumps remain.
Incorporate Color: If you’d like vibrant stones, add natural coloring and knead the dough until the color is evenly distributed. This optional step enhances both the beauty and uniqueness of your creations.
Shape the Dough: Press the dough into silicone molds or roll it out and use cookie cutters to create shapes. Your choice of shapes can add a personalized flair to your aroma stones!
Smooth the Edges: Take a moment to smooth any rough edges with your fingers for a polished look. This step ensures your stones are aesthetically pleasing and ready for display.
Dry the Stones: Unmold the shapes and place them on parchment paper or a drying tray. Let them air-dry for 24–48 hours, flipping halfway through for even drying.
Store Properly: Once dry, store your finished aroma stones in an airtight container to maintain their delightful scents until you’re ready to use them.
Optional: Add a few drops of your favorite essential oil to refresh the scent as needed.
Exact quantities are listed in the recipe card below.
What to Serve with DIY Aroma Stones?
Creating your own delightful aroma stones is just the beginning of your aromatic journey.
- Essential Oil Diffuser: Enhance your home fragrance experience with an essential oil diffuser, allowing for an even distribution of scents throughout your space.
- Dried Flower Arrangements: Complement the aesthetic charm of your aroma stones by displaying dried flowers nearby, creating a beautiful sensory synergy.
- Scented Candles: Pairing your stones with natural soy or beeswax candles will elevate the aromatic ambience, making your environment warm and inviting.
- Herb Bundles: Create small herb bundles—like lavender or sage—adding both visual appeal and a delightful herbal touch to your decor that echoes the scents of your aroma stones.
- Crisp White Sheets: For a sensory escape, consider laying fluffy, freshly washed sheets scented with a hint of essential oil in the bedroom, making a cozy and fragrant retreat.
- Aromatic Teas: Sip on fragrant herbal teas such as chamomile or peppermint while enjoying the soothing scents of your DIY aroma stones; it’s a perfectly uplifting pairing for relaxation.
- Soft Background Music: Create a tranquil atmosphere by playing soft instrumental music, enhancing the overall sensory experience while your aroma stones work their magic.
Expert Tips for DIY Aroma Stones
Avoid Over-Saturation: Apply essential oils sparingly to the stones, as too much can lead to them breaking down and losing their shape.
Storage Safety: Keep unutilized stones in airtight jars away from sunlight to maximize scent retention. Exposure can diminish their fragrance over time.
Labeling Scents: If you make multiple scents, label each container or package. This simple step helps you quickly identify your favorite DIY aroma stones.
Experiment Freely: Don’t hesitate to mix and match different essential oils or add dried herbs. This customization allows for unique scents tailored to your preferences.
Check Consistency: When forming the dough, adjust the warm water gradually. A too-wet or too-dry mix can affect the molding and final texture of your aroma stones.
How to Store and Freeze DIY Aroma Stones
Room Temperature: Store your aroma stones in a cool, dry place to maintain their integrity and fragrance. They can last for several months when kept away from direct sunlight.
Airtight Container: Keep finished stones in an airtight container to preserve their delightful scents. This is essential for ensuring that your DIY aroma stones remain fresh and effective.
Refreshing the Fragrance: To keep the aroma vibrant, reapply drops of your favorite essential oil every few weeks. This simple act can enhance the longevity of the scent experience.
Avoid Moisture: Ensure that the storage environment is moisture-free, as high humidity can cause the stones to become soft or break down, diminishing their aromatic qualities.
DIY Aroma Stones Variations
Feel free to explore these fun variations and substitutions to personalize your aroma stones experience!
Arrowroot Powder: Swap cornstarch with arrowroot powder for a similar, smooth texture in your dough. This alternative is just as effective!
Dried Herbs: Add dried herbs like lavender buds or rose petals for enhanced visual appeal and a touch of nature’s beauty in your stones.
Citric Acid: Incorporate a pinch of citric acid for a fizzing reaction when used in high-moisture environments, making your stones even more delightful!
Essential Oil Blends: Experiment with essential oil combinations, like mixing uplifting citrus scents with grounding cedarwood for a balanced aroma.
Natural Color Variations: Use different natural colorings to create vibrant, eye-catching stones. Think earthy browns or soft pastels to match your decor.
Scented Surface: Consider using a scented wax paper for drying instead of regular parchment, allowing your stones to absorb an additional layer of fragrance.
Shaped Stones: Use cookie cutters in various seasonal shapes, like hearts or stars, to create themed stones for holidays or special occasions.
Layered Scents: Create layered stones by allowing one colored layer to dry before adding another, producing a beautiful and aromatic stacked effect.
Make Ahead Options
These DIY aroma stones are perfect for busy home cooks who appreciate the beauty of homemade decor and delightful scents! You can prepare the initial dough up to 24 hours ahead, storing it in an airtight container to prevent it from drying out. Once ready, simply shape the stones and let them air-dry for 24–48 hours. If you’re looking to infuse your space with delightful aromas faster, consider preparing different essential oil blends ahead of time—just label them to easily identify each scent. When you’re ready to use them, refresh the aroma with a few drops of your favorite essential oil for an extra boost, and enjoy the cheerful atmosphere they bring!
DIY Aroma Stones Recipe FAQs
What type of essential oils can I use for the aroma stones?
Absolutely! You can use any essential oils that you enjoy—lavender, lemon, or peppermint are popular choices. Each oil brings its own unique benefits, from calming effects to energizing aromas, so feel free to experiment with your favorites!
How long will my DIY aroma stones last?
Very! When stored in an airtight container in a cool, dry place, your aroma stones can last for several months. Just remember to keep them out of direct sunlight to maintain their fragrance and integrity.
Can I freeze my DIY aroma stones for long-term storage?
Yes, you can! To freeze your DIY aroma stones, place them in a freezer-safe bag or container, ensuring they’re separated to prevent sticking. They can be stored this way for up to 3 months. When you’re ready to use them, simply thaw at room temperature and refresh with essential oils as needed.
What should I do if my aroma stones start to crumble?
If your aroma stones begin to crumble, it could be a sign that too much essential oil was applied or that they were exposed to moisture. To prevent this, apply oils sparingly and store in a dry environment. If they’re still intact, you can try gently reshaping them or adding a little water back into the mixture to use them again.
Are DIY aroma stones safe for pets?
While the ingredients in DIY aroma stones are generally homemade and eco-friendly, some essential oils can be harmful to pets, especially cats and dogs. Always consult with your veterinarian before using any new scents around your furry friends, and consider opting for pet-safe essential oils to ensure safe use in your home.
How should I reapply essential oils to refresh the stones?
To refresh your aroma stones, simply place a few drops of your chosen essential oil directly onto the surface of the stone. Allow it to absorb for a few moments before using or placing in your desired location. If you have a variety of stones with different scents, label them for easy identification!
Create Blissful Scents with DIY Aroma Stones: A Natural Way to Scent Your Space
Ingredients
Equipment
Method
- Combine Ingredients: In a mixing bowl, combine ½ cup of baking soda with ½ cup of cornstarch.
- Add Water: Gradually add ¼ cup of warm water to the dry ingredients while stirring constantly.
- Incorporate Color: If you'd like vibrant stones, add natural coloring and knead the dough until the color is evenly distributed.
- Shape the Dough: Press the dough into silicone molds or roll it out and use cookie cutters to create shapes.
- Smooth the Edges: Smooth any rough edges with your fingers for a polished look.
- Dry the Stones: Unmold the shapes and place them on parchment paper or a drying tray. Let them air-dry for 24–48 hours.
- Store Properly: Once dry, store your finished aroma stones in an airtight container.