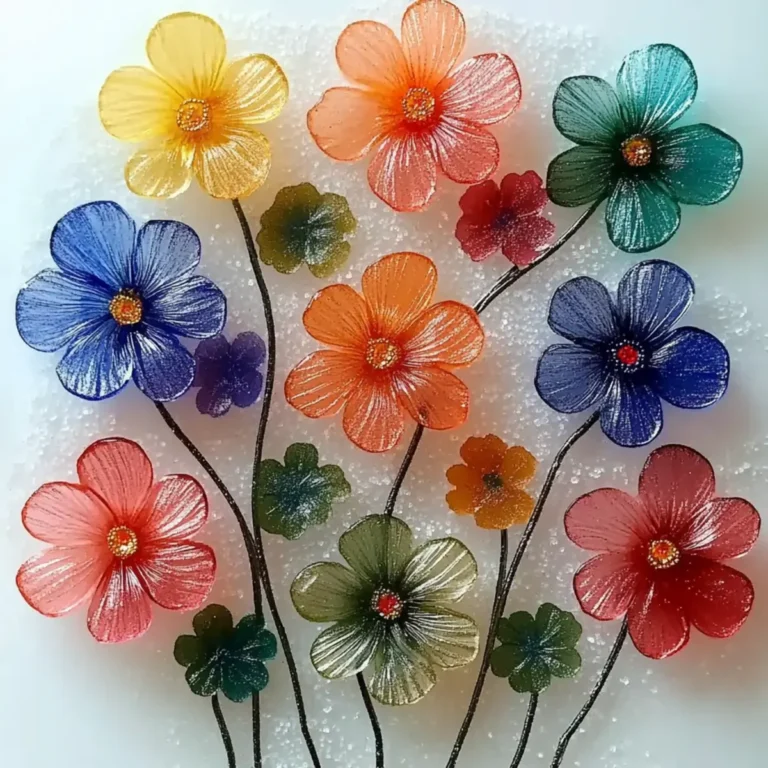
DIY Aroma Stones: The Best Natural Way to Scent Your Space!
There’s something incredibly satisfying about creating your own aromas for the home, especially when the results are not only beautiful but also eco-friendly. When I first made DIY Aroma Stones, I was amazed by how simple they were to whip up—taking just about 10 minutes of my time. These little gems have become my go-to for adding a touch of fragrant charm to every room, and they make thoughtful gifts, too!
The best part? You can customize them with your favorite essential oils, making each stone a reflection of your unique style. Whether you want the refreshing scent of lemon for a boost on a dull day or the soothing aroma of lavender for a calming effect, these stones deliver. Plus, they’re reusable and perfect for anyone looking to move away from chemical-laden air fresheners. Let’s dive into this delightful DIY project that will not only elevate your space but also keep your home smelling fresh and inviting!
Why are DIY Aroma Stones the perfect choice?
Eco-Friendly and Cost-Effective: Ditch store-bought air fresheners—these stones are made from simple ingredients, making them a sustainable choice for your home.
Customization at Your Fingertips: With various essential oils and optional colorants, you can tailor each stone to suit your mood or décor.
Quick and Easy to Make: In just 10 minutes, you can create these charming pieces, saving you time while enhancing your space.
Great Gifting Idea: Whether for housewarmings or special occasions, these personalized stones are thoughtful gifts that anyone would appreciate.
Unique and Reusable: Unlike disposable air fresheners, your DIY Aroma Stones last for ages and can be refreshed easily with more essential oil, making them both practical and beautiful!
Honest Touch to Your Home: They add a handcrafted element to your decor, bringing warmth and character to any room while promoting natural living.
DIY Aroma Stones Ingredients
• Create beautiful and fragrant stones with these simple ingredients!
For the Base
- Baking Soda – Provides structure and helps form the base of the stones.
- Cornstarch – Adds binding properties to the mixture; arrowroot can work as a natural alternative if desired.
- Warm Water – Activates the baking soda and cornstarch to create soft, pliable dough.
For the Fragrance
- Essential Oil – Adds lovely scents to your stones; consider lavender, lemon, peppermint, or eucalyptus to make your DIY Aroma Stones uniquely fragrant.
For Color (Optional)
- Mica Powder or Food Coloring – Use to enhance the visual appeal and customize your stones to fit any decor style.
How to Make DIY Aroma Stones
Mix Ingredients: In a mixing bowl, combine 0.5 cup of baking soda with 0.5 cup of cornstarch. Stir well until they’re evenly blended, creating a solid base for your stones.
Add Water: Gradually stir in 0.25 cup of warm water. Keep mixing until a soft, pliable dough forms that feels like playdough—this should take just a minute or two.
Incorporate Color (Optional): If you want some color in your stones, mix in a few drops of mica powder or food coloring now. Have fun with your choices to match your decor!
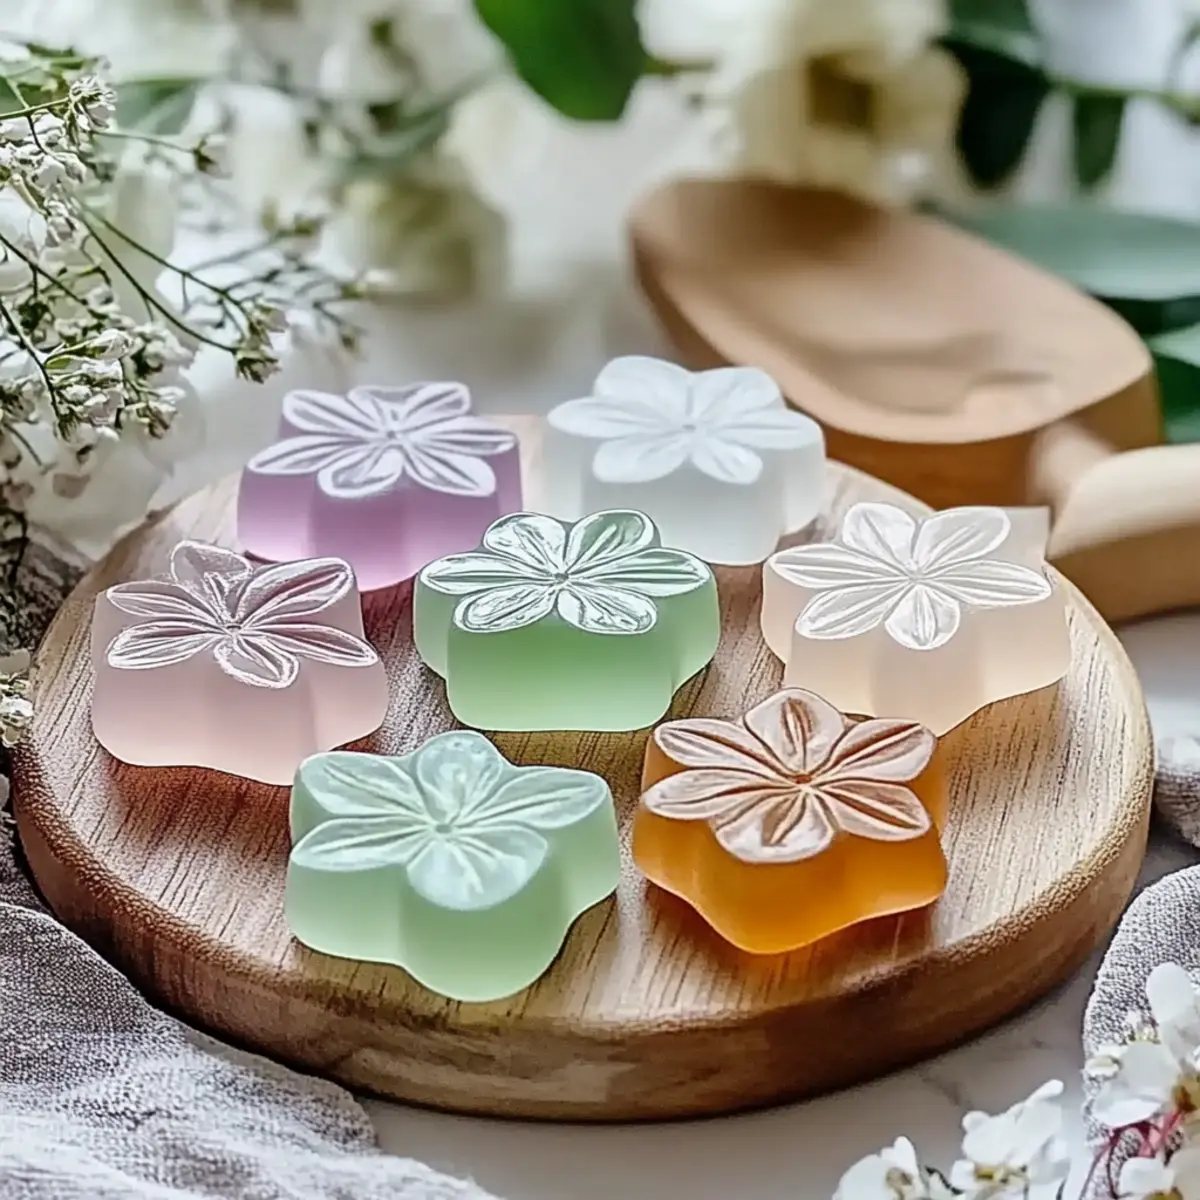
Shape the Dough: Firmly press the dough into silicone molds or shape it by hand using fun cookie cutters. Get creative with different shapes and sizes!
Dry the Stones: Transfer the formed stones onto parchment paper or a drying tray. Allow them to dry for 24-48 hours, flipping them halfway through for evenly dried stones.
Add Fragrance: Once dry, add 3-5 drops of your chosen essential oil onto each stone. Let them sit for a little while to absorb the scent before placing them around your home or gifting them!
Optional: For an extra touch, include dried herbs in the mixture for a rustic feel!
Exact quantities are listed in the recipe card below.
Make Ahead Options
These DIY Aroma Stones are perfect for meal prep enthusiasts looking to save time! You can prepare the base dough up to 24 hours in advance by mixing the baking soda, cornstarch, and warm water—just store it in an airtight container to maintain moisture. Additionally, you can shape and mold the stones, leaving them to dry for up to 48 hours ahead of time. When you’re ready to enjoy or gift your DIY Aroma Stones, simply apply 3-5 drops of your chosen essential oil to each stone and let them absorb the fragrance for a few minutes. This way, you’ll have beautifully crafted, eco-friendly home fragrances just waiting to be displayed or gifted—saving you time for other delightful projects!
What to Serve with DIY Aroma Stones?
Elevate your natural decor with delightful fragrance!
Scented Candles: Pair with your aroma stones for a layered scent experience and cozy ambiance. Choose complementary fragrances to create harmony in your space.
Fresh Flowers: Brighten up your home and enhance the aromatic atmosphere with seasonal blooms; they add a touch of nature’s beauty to any room.
Herbal Sachets: Use these alongside your aroma stones for added fragrance spots. Fill sachets with dried lavender or rose petals to provide a soothing and homey atmosphere.
Decorative Bowls: Place your aroma stones in beautiful bowls or trays as an eye-catching centerpiece that combines function with aesthetic appeal.
Essential Oil Diffuser: Use a diffuser with similar essential oils to your stones for an effortless, fragrant experience throughout your home, maintaining an inviting scent.
Craft Kits: For a fun twist, consider gifting DIY kits alongside your aroma stones. They encourage creativity while spreading the joy of handmade gifts.
Stylish Containers: Personalize the way your stones are displayed in glass jars or decorative canisters that reflect your style and keep everything beautifully organized.
Expert Tips for DIY Aroma Stones
- Start Small: Begin with 3-5 drops of essential oil; you can always add more later if you prefer a stronger scent.
- Avoid Oversaturation: To prevent your stones from becoming too oily, don’t douse them. A light touch keeps them fragrant without mess.
- Experiment with Textures: Consider adding natural herbs or clay to the dough for unique textures and rustic appeal in your DIY Aroma Stones.
- Proper Storage: Store any unused stones in airtight containers to lock in the fragrance until you’re ready to use or gift them.
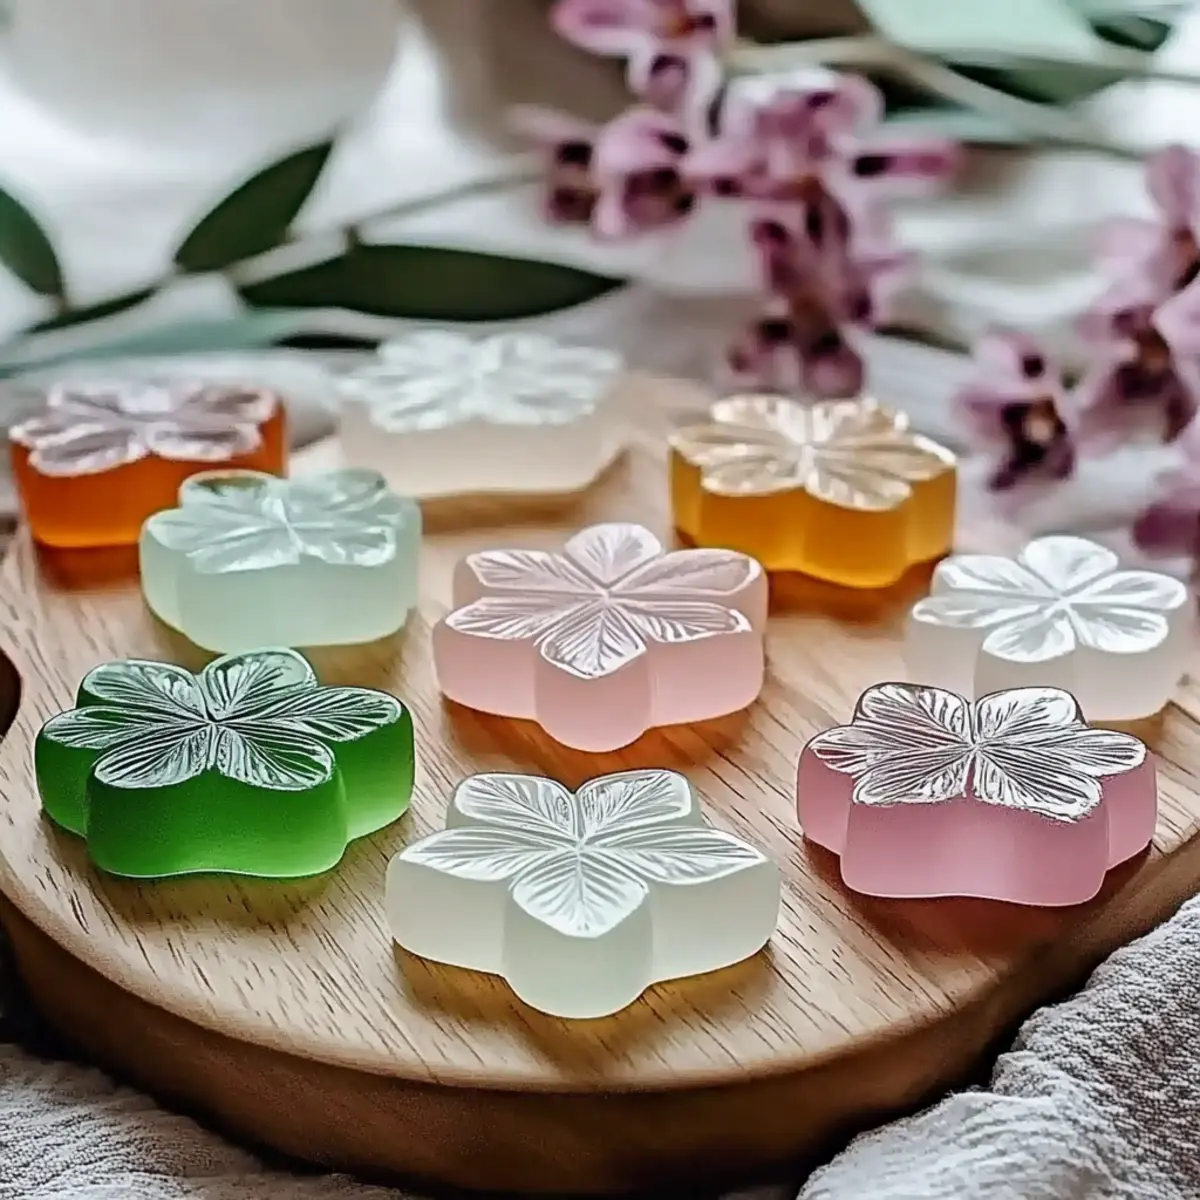
- Custom Colors: Get creative with mica powder or food coloring to match themes or seasons, making your home decor even more delightful!
Storage Tips for DIY Aroma Stones
Airtight Containers: Store unused DIY Aroma Stones in airtight containers to preserve their delightful fragrance, ensuring they stay fresh and ready for use.
Cool, Dry Place: Keep your aroma stones in a cool, dry area, away from direct sunlight, to maintain their shape and scent for up to 6 months.
Refreshing Fragrance: If the scent fades, simply add a few drops of your favorite essential oil onto each stone to rejuvenate them before placing them around your home.
Labeling: If you create multiple scents, consider labeling the containers to keep track of your fragrant creations easily—the perfect way to enjoy customized scents each time!
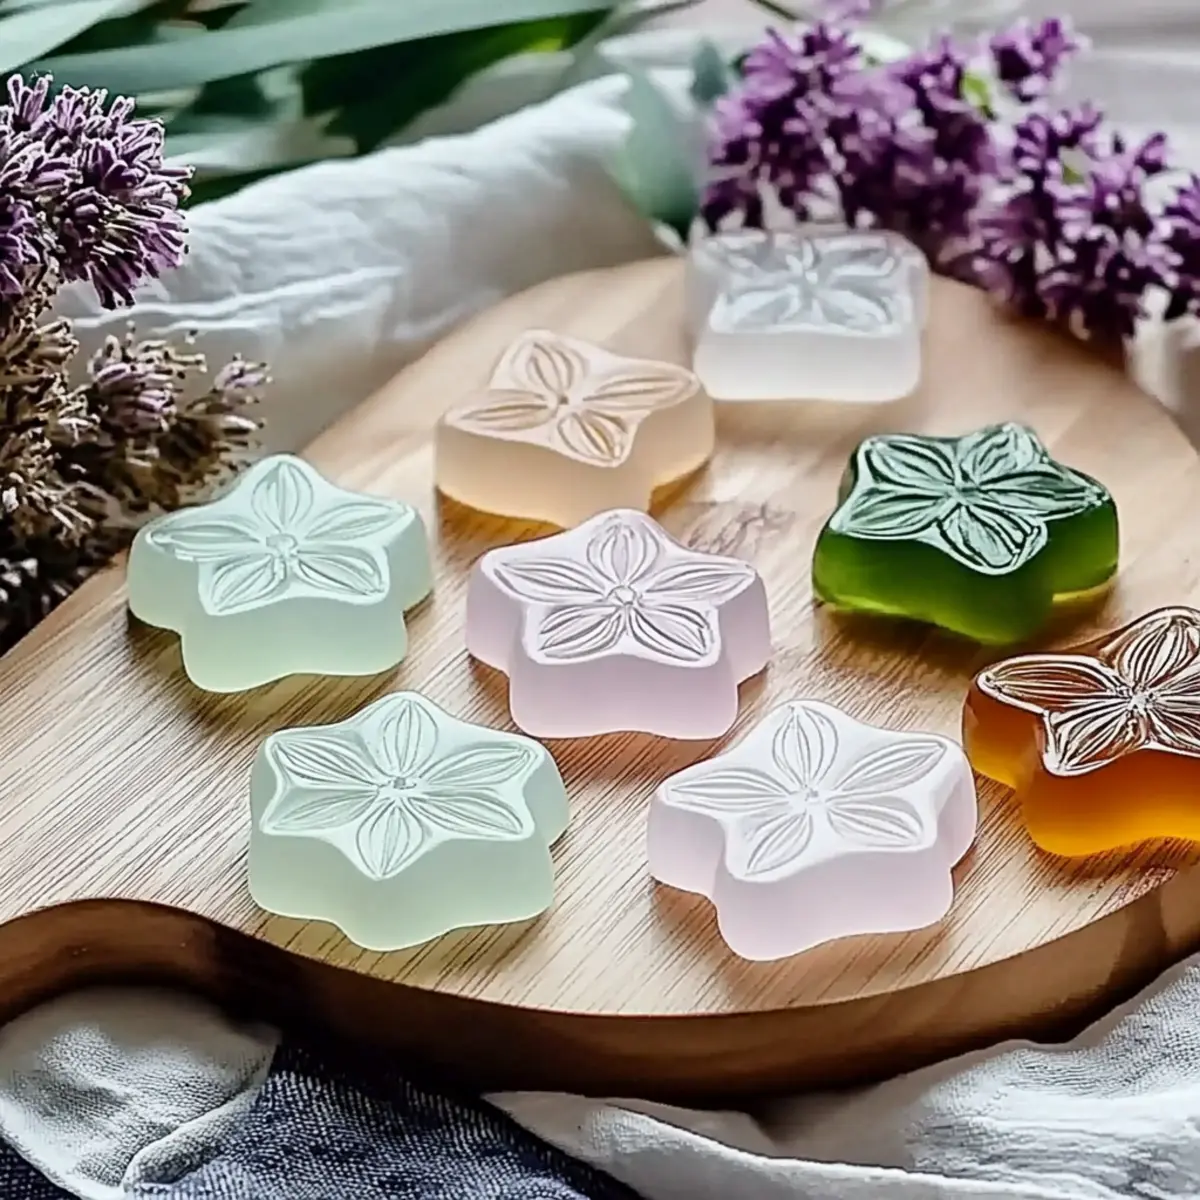
DIY Aroma Stones Variations
Feel free to unleash your creativity and tailor these delightful aroma stones to fit your unique style and preferences!
- Seasonal Scents: Use essential oils like peppermint for winter cheer or fresh citrus for a summer lift, changing fragrances to suit the time of year.
- Herb-Infused: Mix dried herbs like rosemary or lavender directly into the dough for a rustic touch and a more pronounced natural scent. They add an earthy aroma that’s simply enchanting!
- Natural Color Swaps: Explore with different natural colorants like beet juice for a red hue or spinach for green, adding a playful visual element that reflects your personality.
- Strength Adjustments: If you prefer a bolder scent, simply add more drops of essential oil to each stone. Start with 3-5 drops and increase until you achieve your desired fragrant level.
- Clay Addition: Incorporate clay into the mixture for a smoother texture and an artisanal finish. This gives the stones a unique look and feel that enhances their handmade charm!
- Scent Blend: Create your own signature scent by blending essential oils—try lavender with chamomile for calming or lemon with eucalyptus for an uplifting aroma.
- Essential Oil Combinations: Use a mix of oils to create complex fragrances that linger longer, turning your stones into aromatic treasures that reflect your mood.
- Aromatic Layering: Consider making multiple batches with different scents. Layer them around your home for a curated experience of delightful aromas wafting through each room.
With these variations, your DIY Aroma Stones can be as exquisite and personalized as you like, enhancing the tranquility and charm of your living space!
DIY Aroma Stones Recipe FAQs
What ingredients should I use for making DIY Aroma Stones?
For the best results, you’ll need baking soda, cornstarch, and warm water as the base. Essential oils, like lavender or lemon, give your stones their lovely fragrance. Additionally, you can use mica powder or food coloring for visual appeal!
How should I store my DIY Aroma Stones to preserve fragrance?
Absolutely! Store your unused aroma stones in airtight containers. Make sure to keep them in a cool, dry place away from sunlight for up to 6 months. This helps maintain both their shape and lovely scent.
Can I freeze DIY Aroma Stones?
It’s not necessary to freeze DIY Aroma Stones, as they are sturdy and should retain their fragrance if stored properly. However, if you want to preserve their freshness for longer, you can place them in airtight bags and keep them in a cool, dark place instead.
What’s the best way to troubleshoot if my aroma stones aren’t drying properly?
If your aroma stones aren’t drying as expected, make sure they are spaced out on the drying tray. If they’re too close together, humidity can affect their drying time. Flipping them halfway through is crucial for even drying as well. Allow them 24-48 hours to dry completely.
Can I customize the essential oils I use for scent?
Very much so! You can mix and match essential oils to create your unique scents. Whether seasonal or personal, combinations like peppermint and eucalyptus, or lavender and lemon can yield beautiful results. Just start with 3-5 drops and adjust according to your preference!
Are DIY Aroma Stones safe for pets?
While essential oils can provide fabulous aromas, some can be harmful to pets. If you have pets, it’s essential to research which oils are safe to use. Always consult your vet or an essential oil expert when considering their use around animals.
DIY Aroma Stones: The Best Natural Way to Scent Your Space!
Ingredients
Equipment
Method
- In a mixing bowl, combine 0.5 cup of baking soda with 0.5 cup of cornstarch. Stir well until they're evenly blended.
- Gradually stir in 0.25 cup of warm water until a soft, pliable dough forms.
- If desired, mix in a few drops of mica powder or food coloring to customize the stones.
- Firmly press the dough into silicone molds or shape by hand.
- Transfer to parchment paper and allow stones to dry for 24-48 hours, flipping halfway through.
- Once dry, add 3-5 drops of your chosen essential oil onto each stone and let them sit.