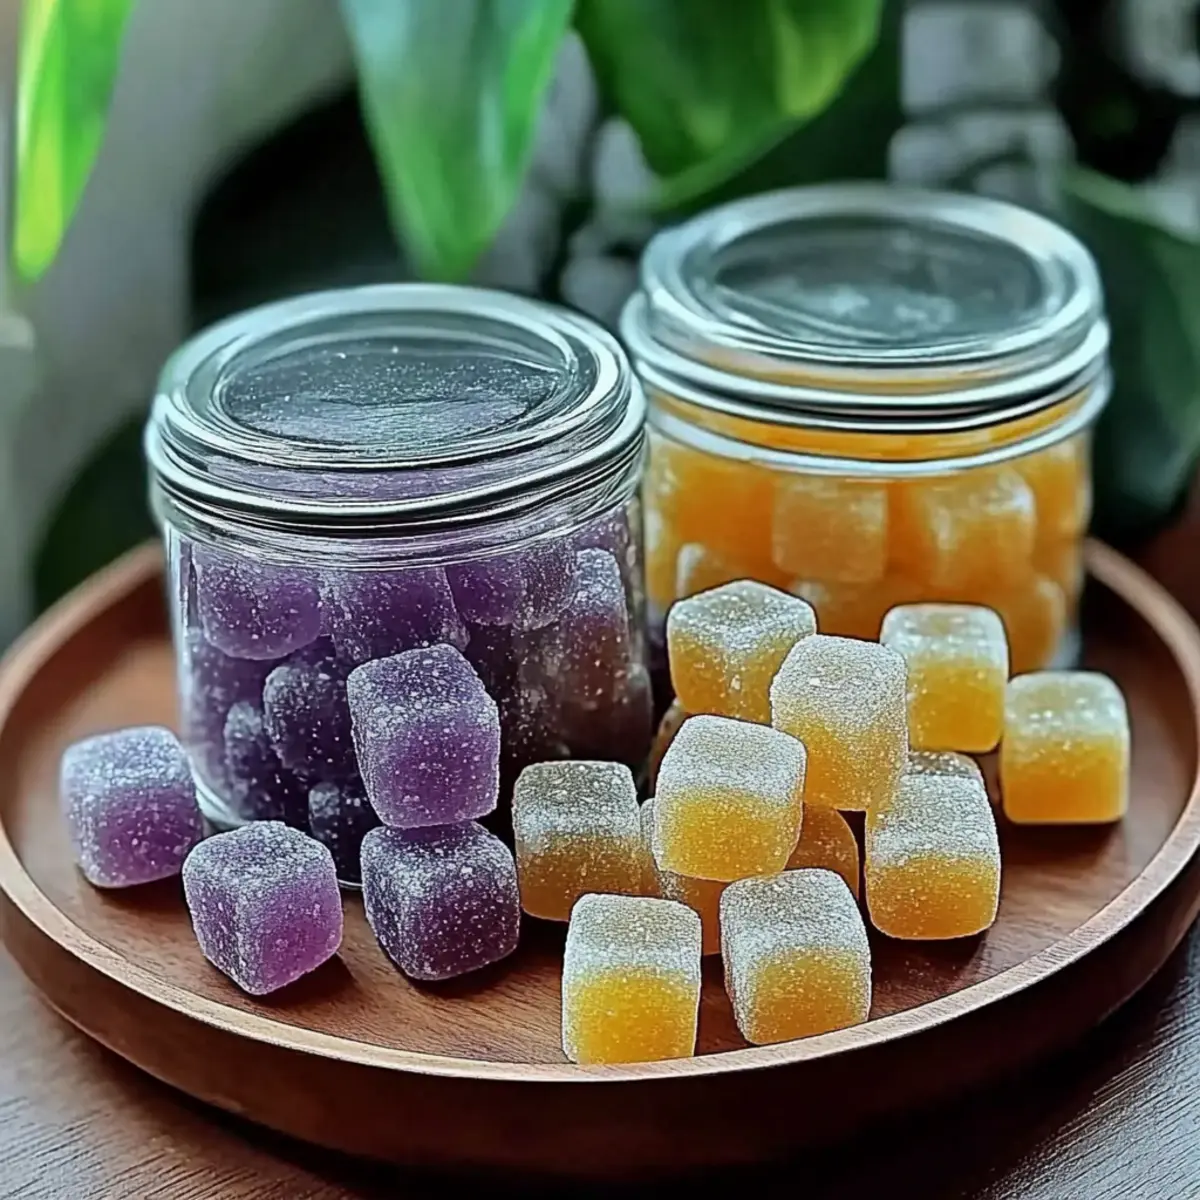
DIY Aroma Stones: Naturally Scented for a Blissful Home
There’s something truly satisfying about creating your own soothing atmosphere at home, and these DIY Aroma Stones make it incredibly easy! Imagine walking into a room filled with the gentle scents of lavender, citrus, or whatever your heart desires, all thanks to your own handcrafted creations. I stumbled upon this idea while searching for a way to bring natural fragrances into my space without relying on store-bought air fresheners filled with chemicals. With just a few simple ingredients—baking soda, cornstarch, and essential oils—these charming stones can be molded into beautiful shapes and infused with your favorite aromas.
Not only do these aroma stones delight the senses, but they are also a wonderful way to embrace a naturally sustainable living philosophy. In about ten minutes of prep time, you’ll have stunning air fresheners, perfect for placing in drawers, closets, or as thoughtful gifts for friends. Join me as we dive into this delightful DIY project that’s as enjoyable to make as it is to experience!
Why DIY Aroma Stones are a Must-Try?
DIY Aroma Stones offer a unique blend of functionality and creativity! Simplicity: With only three main ingredients, this project is beginner-friendly and quick. Customizable scents: Infuse them with your favorite essential oils for a personal touch. Eco-friendly: They align perfectly with a natural living lifestyle, reducing reliance on synthetic air fresheners. Aesthetic appeal: Shape them into charming designs that add a decorative element to your space. Thoughtful gifting: Share the joy of these lovely creations with friends or family! Transform your home naturally and effortlessly; check out our tips to embrace a naturally sustainable living philosophy.
DIY Aroma Stones Ingredients
• Unleash your creativity with these DIY Aroma Stones!
For the Base Mixture
• Baking Soda – Acts as the primary binding agent and softener for your aroma stones.
• Cornstarch – Provides structure and a firm texture to hold your designs together.
• Water – Activates the dry ingredients, making it moldable; adjust the amount for humidity.
For the Fragrance
• Essential Oils – Infuses the aroma stones with delightful scents; choose any natural oil you love, such as lavender for a calming effect.
Optional for Aesthetic Appeal
• Food Coloring – Adds a splash of color; use mica powder for a shimmery finish instead.
These DIY Aroma Stones not only beautify your home but also bring nature’s fragrances indoors! Enjoy crafting your own naturally scented gems.
How to Make DIY Aroma Stones
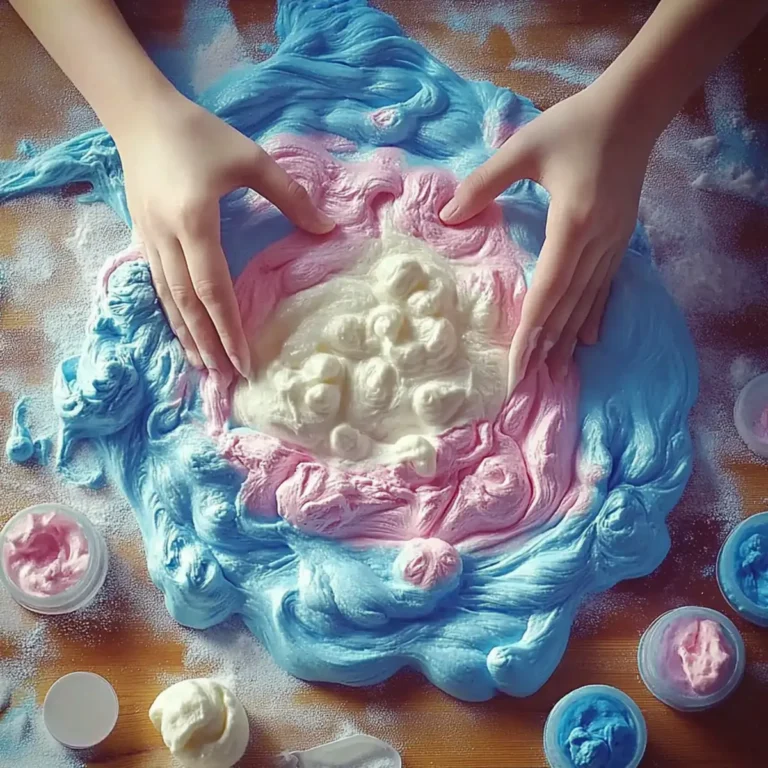
Combine Ingredients: In a large bowl, mix 2 cups of baking soda and 1 cup of cornstarch. Whisk together until the mixture is smooth and free of lumps.
Add Water Gradually: Slowly stir in 1¼ cups of water while mixing. Aim for a texture that resembles wet sand—moldable yet not overly runny.
Color the Mixture: If you’d like to add color, divide the mixture into separate bowls. Add food coloring to each bowl, thoroughly mixing until your desired hues are achieved.
Infuse with Essential Oils: Add 10-15 drops of your chosen essential oil to each colored bowl. Stir well to ensure the fragrance is evenly distributed throughout the mixture.
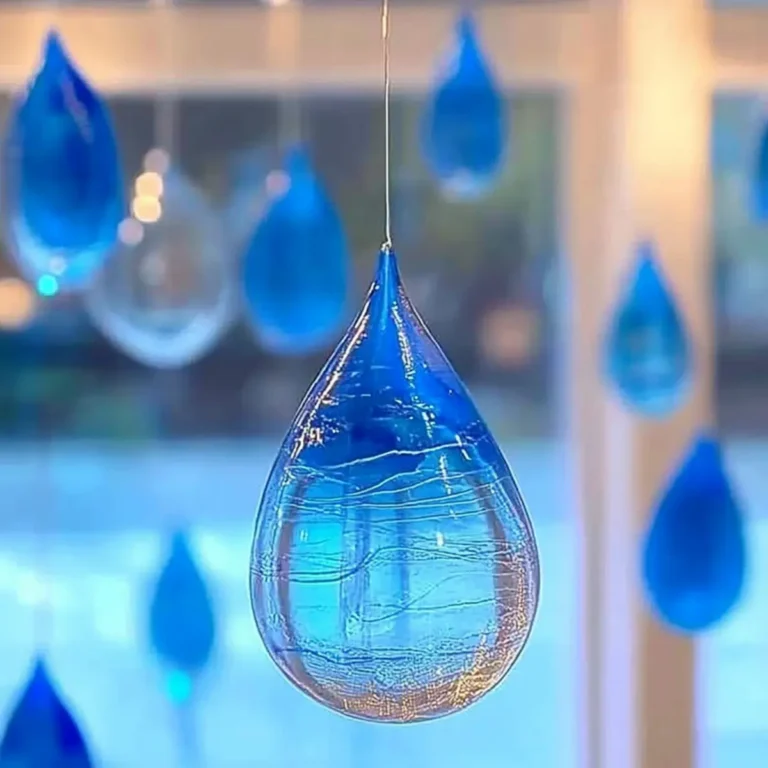
Shape the Stones: Using your hands or silicone molds, shape the mixture into stones or any fun form that you prefer.
Drying Time: Place your shaped stones on wax paper or a drying rack. Allow them to dry for 24 to 48 hours, depending on the size and humidity level in your space.
Enjoy Your Creations: Once fully dried, place your aroma stones in various locations around your home and refresh their scent occasionally with additional essential oils as needed.
Optional: For a decorative touch, add dried flowers or herbs to your stones before they dry.
Exact quantities are listed in the recipe card below.

How to Store and Freeze DIY Aroma Stones
Room Temperature: Keep your finished aroma stones in a cool, dry place to preserve their fragrance and shape. They can last for several months when properly stored.
Fridge: If you notice any softness in your aroma stones, placing them in the fridge for a short time can help firm them up without compromising their scent.
Freezer: While freezing is not recommended due to texture changes, if you must store them for an extended period, ensure they are in an airtight container to prevent moisture absorption.
Reheating: Avoid reheating your stones; instead, refresh their scent by applying a few drops of essential oil directly onto the stones when the fragrance fades. Enjoy your DIY Aroma Stones as they continue to charm your home!
What to Serve with DIY Aroma Stones?
Enhance your fragrance-making experience with delightful and aromatic accompaniments that inspire and elevate your space.
- Fresh Herbs: Placing fresh herbs like rosemary or mint nearby will enhance the aromatic experience, creating a lush and invigorating atmosphere.
- Citrus Accents: Slices of lemon or orange can visually complement your aroma stones, providing a refreshing backdrop of natural fragrance.
- Decorative Bowls: Use beautiful bowls to display your aroma stones, turning them into an eye-catching centerpiece while complementing their natural beauty.
- Essential Oil Diffuser: Pair your DIY aroma stones with a diffuser, allowing you to expand your scent profiles throughout the home for an immersive experience.
- Homemade Potpourri: Fill your bowls with a mix of dried flowers, spices, and the scent of nature, enhancing the ambiance and aroma in any room.
- Tea or Herbal Infusions: Brew a soothing cup of tea or herbal infusion nearby as you craft, enveloping your space in warm and calming aromas, perfect for relaxation.
- Candles: Light some natural-scented candles in the same area to create a cozy, fragrance-filled environment that perfectly complements your DIY creations.
- Music Playlist: Curate a playlist of calming tunes to enhance the enjoyable atmosphere while you craft, making the entire experience more delightful.
- Scented Wax Melts: Use scented wax melts alongside your aroma stones for an added layer of fragrance that suits your mood and enhances the overall ambiance.
Make Ahead Options
These DIY Aroma Stones are perfect for busy home cooks looking to save time! You can prepare the base mixture (baking soda, cornstarch, and water) up to 24 hours in advance; simply store it in an airtight container to prevent drying out. If you’d like, divide the mixture into bowls and add food coloring, as well as essential oils, just before shaping the stones to keep the fragrance fresh. Once shaped, let them dry for 24 to 48 hours. Just remember, keep them in a cool, dry place to maintain quality. When you’re ready to enjoy your newly crafted air fresheners, simply place them around your home, and feel the delightful ambiance infused with your favorite scents!
DIY Aroma Stones Variations
Feel free to let your creativity shine as you personalize your DIY Aroma Stones with these delightful adjustments!
Essential Oil Blends: Mix various oils like citrus and mint for an invigorating scent. Blending adds complexity and uniqueness to your aroma stones, letting you create a signature fragrance for your home.
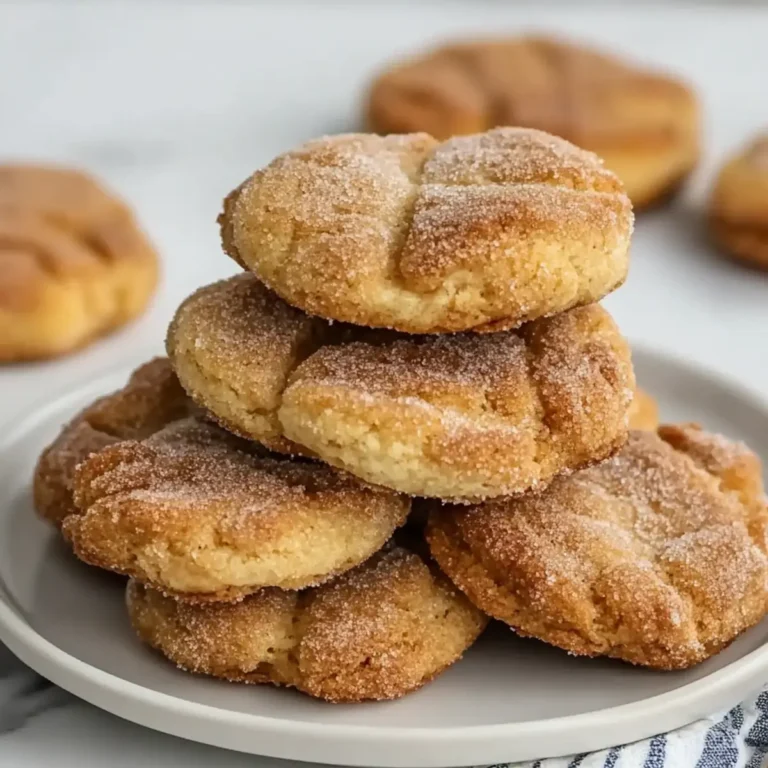
Spice Infusion: Incorporate cloves or cinnamon for a warm, inviting aroma, perfect for cozy atmospheres. These spices not only enhance the scent but also evoke a sense of nostalgia—think of baked goods fresh out of the oven!
Colorful Layers: Create layered stones by carrying out your mixture in different colors. This visually striking technique turns your stones into beautiful decor, showcasing your artistic flair.
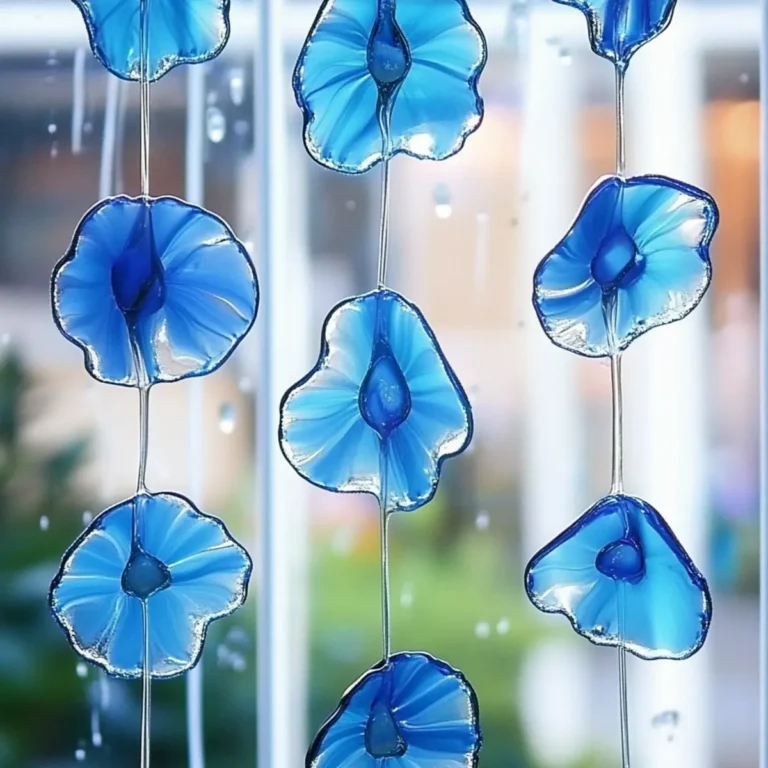
Seasonal Themes: Shape your stones into holiday-themed figures using cookie cutters. Brought out for different occasions, these themed stones will keep your home smelling festive and fresh all year round.
Texture Variations: Add dried flowers or herbs like lavender or rosemary for a rustic touch and texture. Not only do they look beautiful but they lend an extra layer of fragrance that goes beyond the essential oils.
Scent Boosters: If your stones start to fade, mix more essential oil into the mixture and reshape them. This simple tweak ensures your creations remain fragrant and refreshing over time.
Eco-Friendly Touch: Use natural food colorings or skip coloring altogether for an earthy look. This aligns beautifully with your natural living philosophy, showcasing your commitment to sustainability.
Gifting Options: Wrap your aroma stones in eco-friendly packaging with a small note on scent benefits. This personal touch makes for thoughtful gifts that spread joy—who wouldn’t love receiving a handcrafted fragrant gem?
Expert Tips for DIY Aroma Stones
Texture Matters: Ensure the mixture resembles wet sand; too much water will prevent the stones from holding their shape.
Essential Oil Variety: Experiment with different essential oils for unique scents, but avoid overly perfumed oils as they can be overpowering.
Humidity Check: Drying times can vary based on humidity; adjust by checking firmness throughout the process for perfect DIY Aroma Stones.
Mold Release: If using silicone molds, grease them lightly to avoid tearing your beautiful shapes upon removal.
Storage Solution: Keep any leftover mixture in an airtight container; it stays fresh and ready for your next crafting session!
Gift Idea: Consider decorating the stones with dried flowers or personalized tags to make lovely homemade gifts!
DIY Aroma Stones Recipe FAQs
How do I select the best ingredients for DIY Aroma Stones?
Absolutely! For the best aroma stones, use fresh baking soda and cornstarch—check for no clumps. When choosing essential oils, opt for pure, high-quality oils without synthetic fragrances. This ensures the best aroma that positively fills your home. If you prefer natural alternatives, consider arrowroot powder instead of cornstarch.
What is the best way to store my finished aroma stones?
Very! Store your dried aroma stones in a cool, dry spot, ideally in a breathable container like a mesh bag or a cardboard box. This allows them to maintain their fragrances for 3 to 6 months. If they start losing their scent, simply apply a couple of drops of essential oil to refresh them.
Can I freeze DIY Aroma Stones?
Not really! While you can freeze the mixture before shaping the stones, freezing finished aroma stones isn’t recommended due to potential texture changes. If you need to store them for longer, place them in an airtight container to prevent moisture absorption. Be sure to keep them in a dry area instead, so they last beautifully.
What if my aroma stones crack or break during drying?
Ah, that can happen! If your stones crack, it’s likely due to either too much moisture or rapid drying. To troubleshoot, ensure the mixture is thick and moldable but not runny, resembling wet sand. If they seem overly wet, add a little more baking soda and cornstarch. During drying, maintain them in a cool, shady spot, avoiding direct sunlight which can cause them to dry too fast.
Are DIY Aroma Stones safe for pets and kids?
Very! While the ingredients in DIY aroma stones are generally non-toxic, it’s wise to supervise young children and curious pets around them. If you choose essential oils, some may not be safe for pets. For example, avoid citrus oils, which can be harmful to cats. Always read up on each oil to ensure safety for your furry friends!
How do I refresh the scent of my aroma stones?
Certainly! For a fragrance boost, simply add 2-3 drops of essential oil to each stone when you notice the scent fading. Place them in a warm spot to help the aroma disperse. If you’re feeling creative, try blending different scents to discover new favorites!
DIY Aroma Stones: Naturally Scented for a Blissful Home
Ingredients
Equipment
Method
- In a large bowl, mix 2 cups of baking soda and 1 cup of cornstarch. Whisk until smooth.
- Slowly stir in 1¼ cups of water while mixing, aiming for a wet sand texture.
- If coloring, divide mixture into bowls and add food coloring, mixing until desired hues are achieved.
- Add 10-15 drops of your chosen essential oil to each bowl and mix well.
- Shape the mixture into stones using your hands or silicone molds.
- Place stones on wax paper or a drying rack and dry for 24 to 48 hours.
- Once dried, place aroma stones around your home and refresh scent as needed.