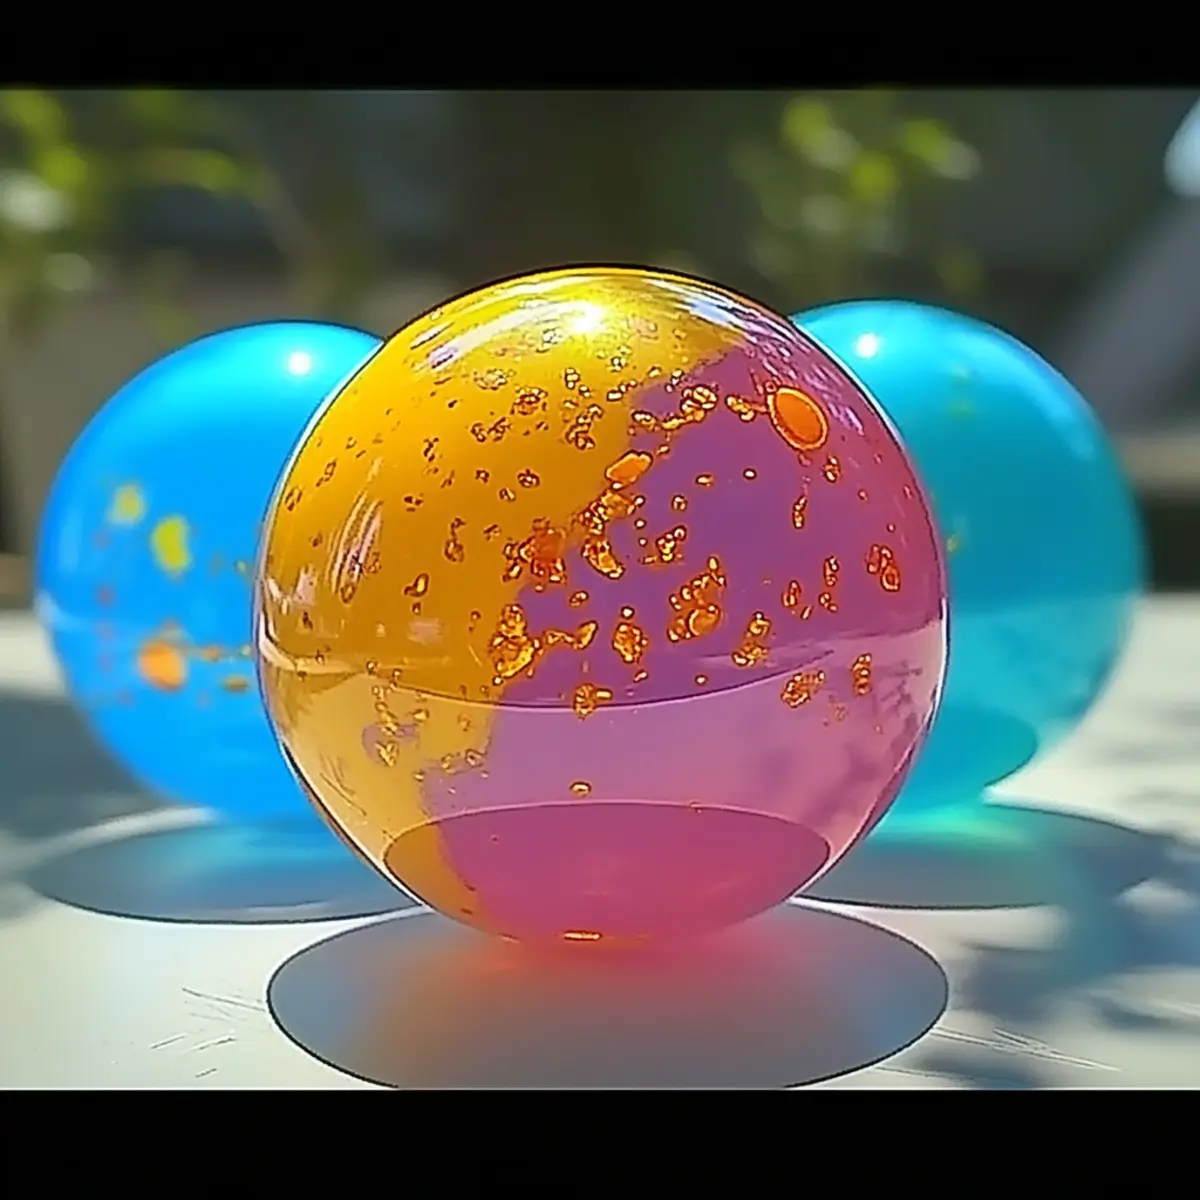
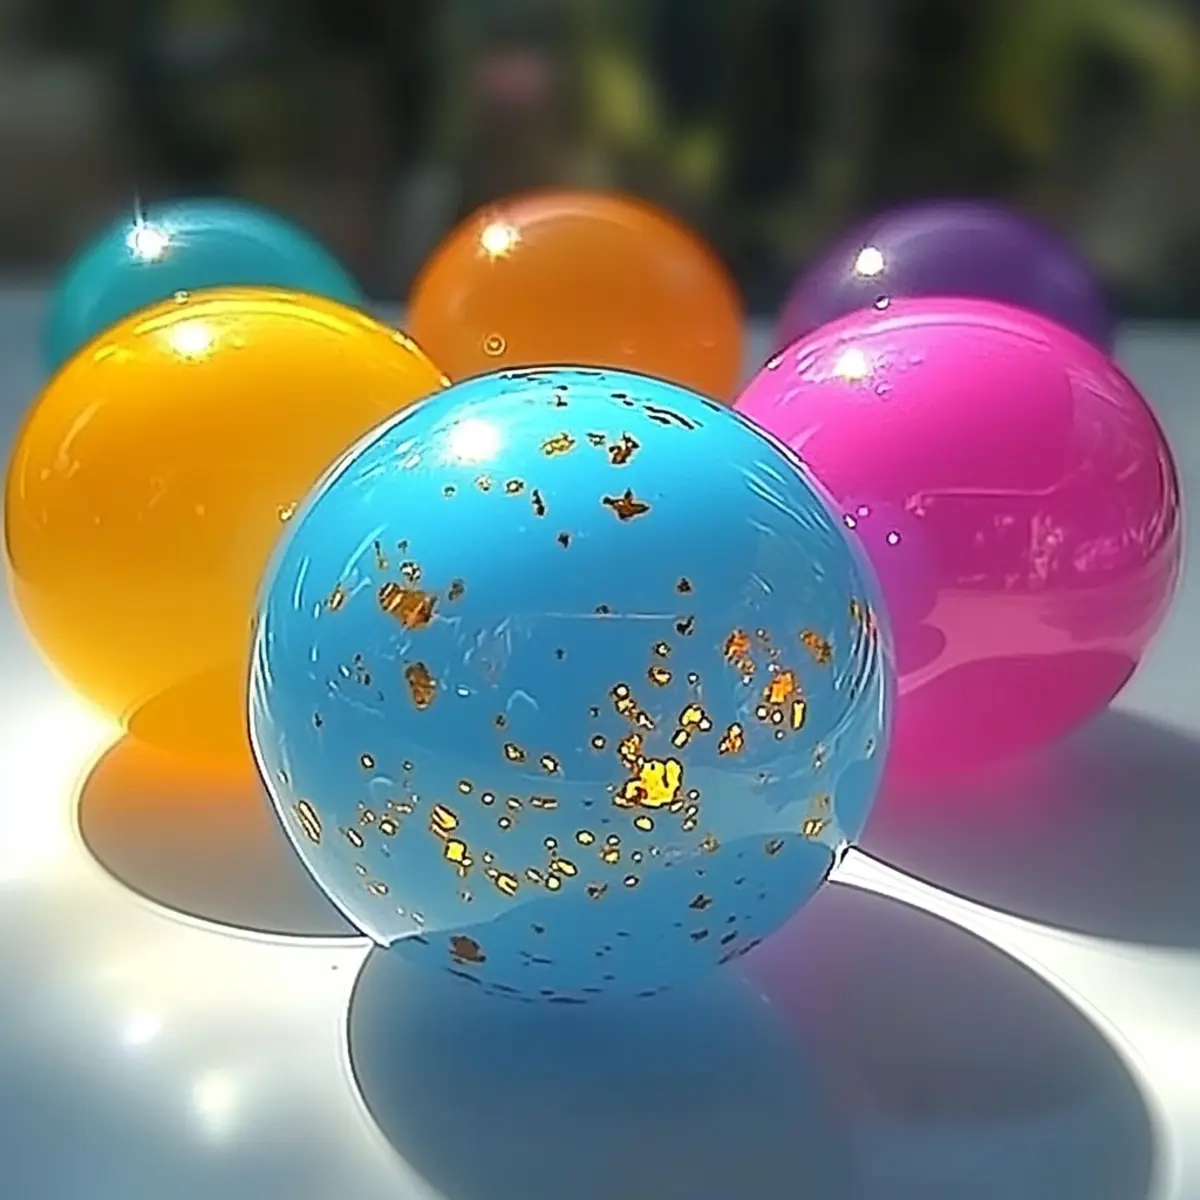
Craft the Best DIY Bouncy Ball Recipe: A Fun Science Craft for Kids
Caught in the routine of everyday life, it’s easy to forget the simple joys of crafting. One afternoon, while my kids were bouncing around the house with boundless energy, I had an idea—what if we created something just as lively? Enter the DIY Bouncy Ball Recipe: A Fun, Hands-On Science Craft for Kids!
In just 30 minutes, we transformed basic household ingredients into vibrant, bouncy spheres. The sensation of watching them morph from a sticky mixture into playful balls brought laughter and excitement back into our home. Not only is this craft simple enough for kids, but it also doubles as a delightful science experiment, showcasing the magic of chemistry.
With customizable colors and the option for a sprinkle of glitter or a hint of scent, these bouncy balls are more than just toys—they’re a canvas for creativity! Gather your supplies, roll up your sleeves, and let’s make some unforgettable memories together!
Why Choose the DIY Bouncy Ball Recipe?
Creativity Unleashed: This DIY Bouncy Ball Recipe is more than a craft; it’s an adventure for the whole family!
Quick and Easy: Enjoy this simple, hands-on project that takes just 30 minutes to complete.
Educational Fun: Teach kids the basics of chemistry while they mix their bouncing creations.
Customizable Fun: Add glitter, scents, or colors for unique designs that reflect each child’s personality.
Hands-On Learning: A perfect blend of science and creativity, making it great for art projects or educational settings.
Great for All Ages: This craft is designed for everyone—from kids discovering science to adults joining in on the fun!
DIY Bouncy Ball Ingredients
Get ready for crafting fun!
For the Glue Mixture
White School Glue – Essential for creating the ball’s elasticity and structure; PVA glue can also be used for a different texture.
Water (for Glue Mixture) – Helps to combine the glue; using room temperature water yields the best results.
For the Borax Solution
Borax Powder – A key ingredient that forms the bouncy texture of the ball; no direct substitutes recommended.
Warm Water (for Borax Solution) – Needed to dissolve the borax quickly; ensure it’s warm but not boiling.
For the Bouncy Ball Mixture
Cornstarch – Adjusts the bounce; more cornstarch makes firmer balls—flour can be substituted, but results may vary.
Food Coloring – Optional for vibrant creations; consider using natural dyes or colored glitter glue for extra flair.
With these simple ingredients, you’re all set to embark on your colorful crafting adventure with this DIY Bouncy Ball Recipe!
How to Make DIY Bouncy Balls
Mix Glue and Water: In a bowl, combine 1/2 cup of white school glue with 1 tablespoon of water, mixing until smooth and fully blended.
Prepare Borax Solution: In a separate container, mix 1 tablespoon of borax powder with 1/4 cup of warm water until the borax is completely dissolved.
Combine Mixtures: Slowly add the glue mixture to the borax solution. Stir continuously as it starts to thicken, ensuring an even consistency.
Add Cornstarch and Color: Gradually fold in 1/4 cup of cornstarch and your choice of food coloring until everything is nicely integrated.
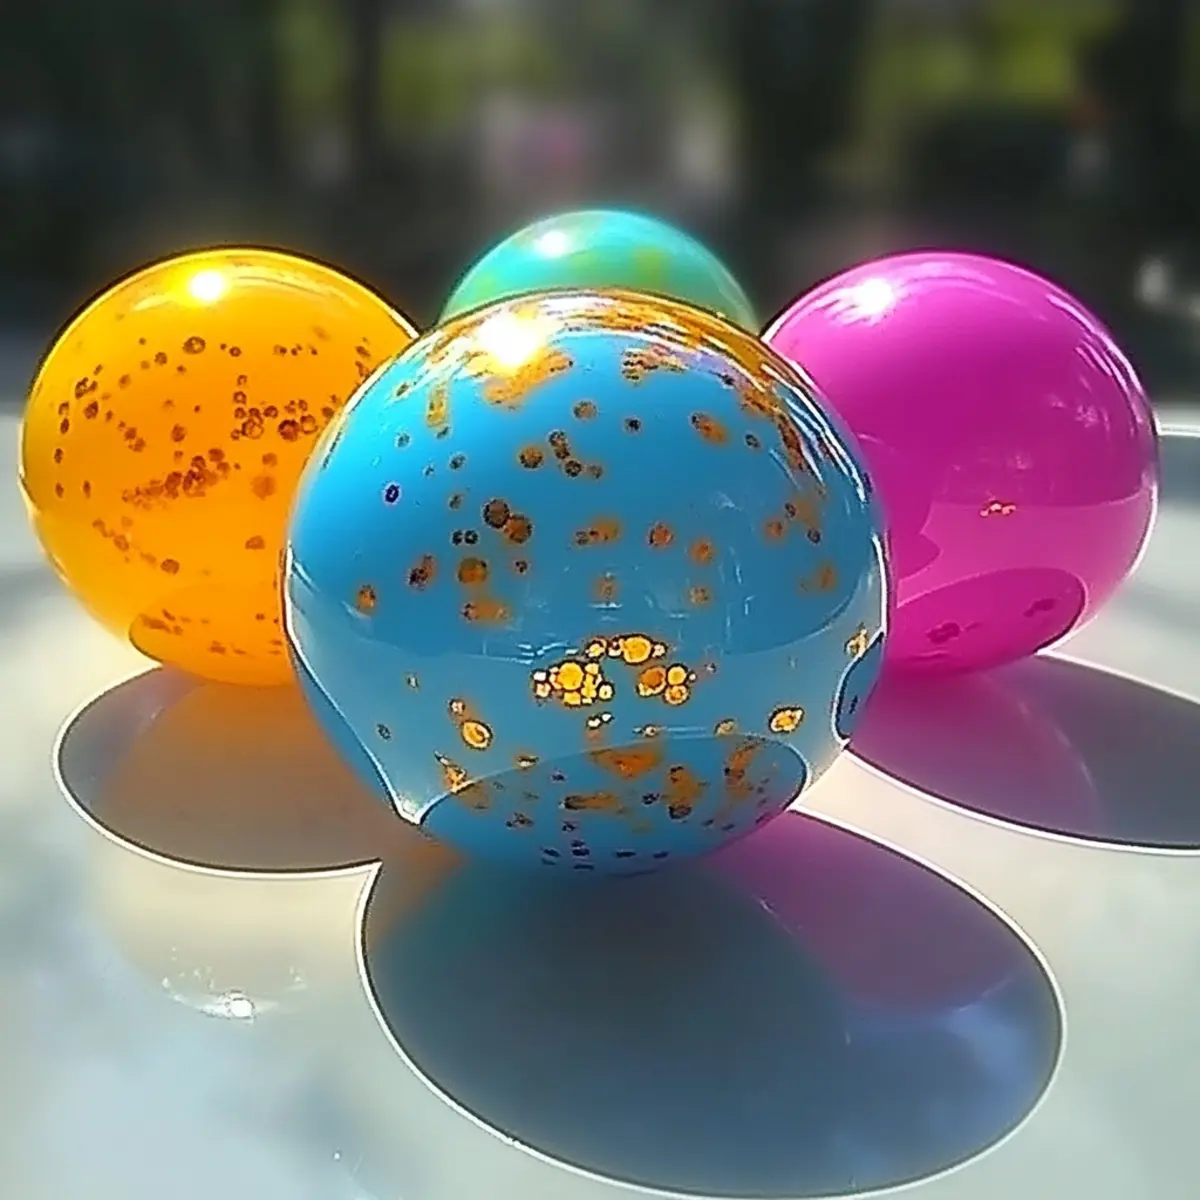
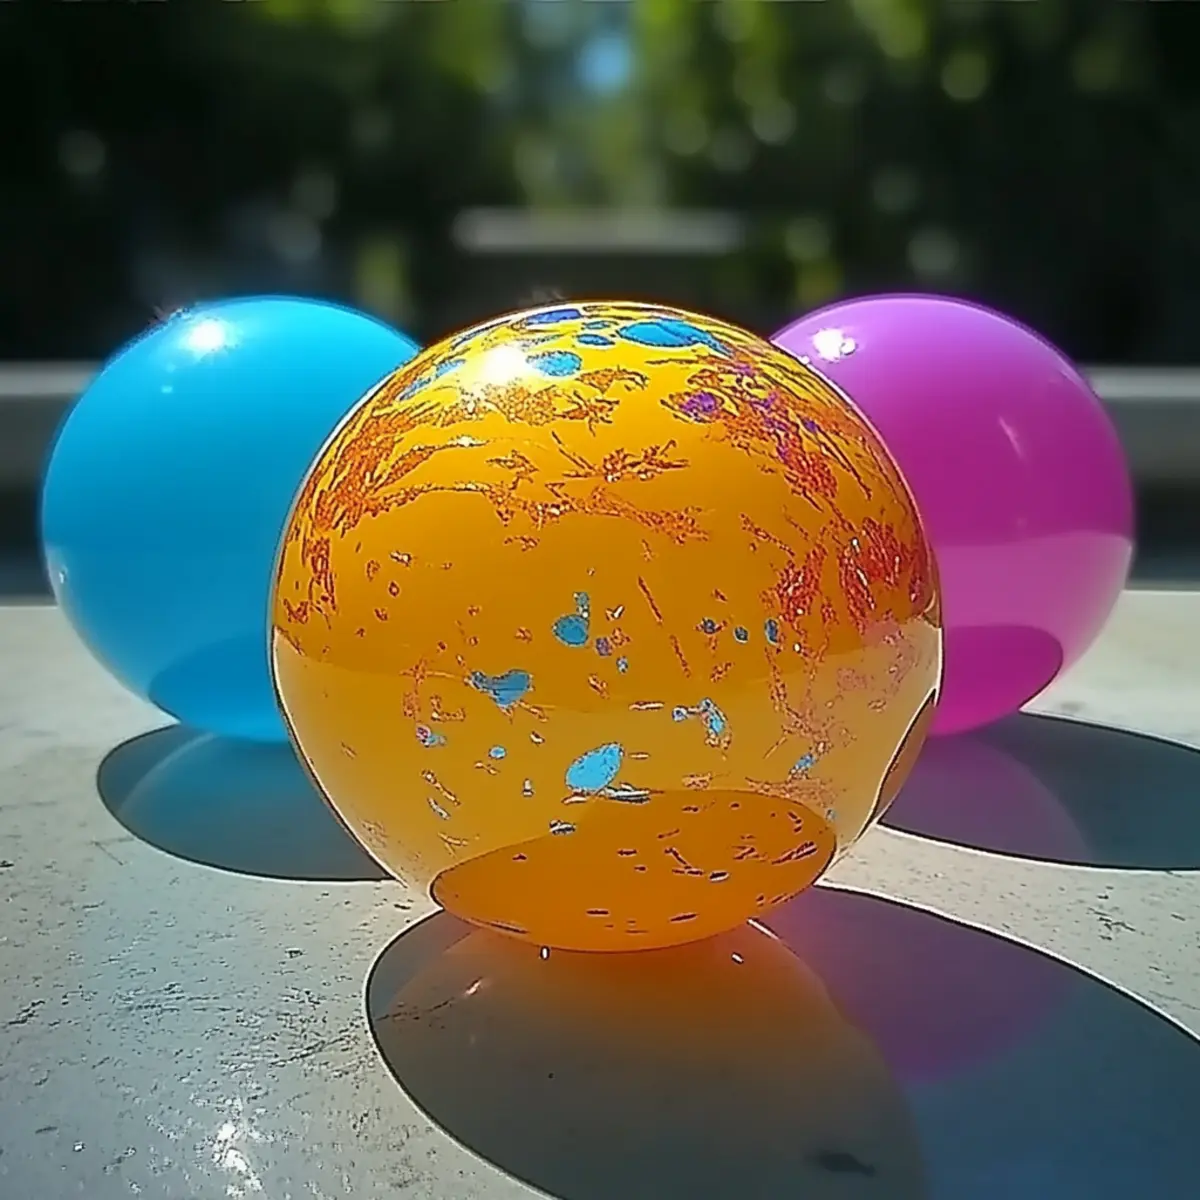
Form Balls: Using your hands, knead the mixture until it’s smooth, then shape it into 1-inch balls, feeling the delightful bounce in your hands.
Set to Dry: Allow your bouncy balls to dry for a few minutes before enjoying. Remember to store them in an airtight container to keep them bouncy!
Optional: For extra flair, incorporate glitter glue during the mixing process for some sparkle!
Exact quantities are listed in the recipe card below.
Variations & Substitutions for DIY Bouncy Balls
Get ready to elevate your crafting experience with these fun twists on your bouncy ball creations!
- Natural Dyes: Opt for beet juice or turmeric to achieve vibrant colors without artificial ingredients. This makes your craft not only fun but also eco-friendly.
- Scented Delight: Add a few drops of essential oils like lavender or lemon for a sensory experience that turns playtime into aromatherapy. Imagine the joyful giggles as they bounce around smelling delightful!
- Glitter Explosion: Incorporate glitter into the glue mixture for an eye-catching effect. Kids will adore the sparkly bouncy balls, making them even more exciting to toss and catch!
- Textured Fun: Substitute cornstarch with fine rice flour for a unique texture. This will yield a softer bounce, perfect for those who prefer a different feel while playing.
- Glow-in-the-Dark: Add glow powder to the mix for bouncy balls that light up the night! Perfect for evening fun, these glowing orbs will captivate any child’s imagination.
- Color Swirls: Mix multiple food coloring shades into the glue for stunning marbled effects. Each child can create their own masterpiece, ensuring that no two bouncy balls are alike.
- Bouncing Challenge: Experiment with varying the amount of cornstarch or flour to create different bounce heights. This adds an element of friendly competition among family and friends!
- Themed Colors: Craft bouncy balls in colors that match a holiday or event, like red and green for Christmas or pastels for Easter. It’s a great way to infuse seasonal spirit into your crafting sessions.
With these delightful variations, your DIY bouncy ball journey will be bursting with creativity and endless fun!
Make Ahead Options
Creating your DIY Bouncy Balls is a fantastic option for busy families looking to enjoy a fun craft day without the last-minute rush! You can prep the glue mixture and the borax solution up to 24 hours in advance by storing them separately in airtight containers at room temperature. Just be sure to stir both mixtures well before combining them right before crafting. The cornstarch and food coloring can also be pre-measured and packed together to streamline the process. When you’re ready to make your bouncy balls, simply combine the prepared mixtures and follow the remaining steps to enjoy this delightful creation. These preparations will save you precious time while ensuring your craft remains just as enjoyable and vibrant!
Expert Tips for the DIY Bouncy Ball Recipe
- Start Small: Begin with one ball to get a feel for the dough’s consistency. It helps to perfect your technique!
- Use Gloves: If the mixture feels sticky, donning gloves can keep your hands clean while you knead the dough.
- Store Properly: Keep your bouncy balls in an airtight container to maintain their bounce and freshness for weeks.
- Add Creativity: Don’t hesitate to mix in glitter or essential oils when incorporating colors; it enhances the fun and personalization!
- Watch the Mixture: Stir continuously while combining the glue and borax solution; this prevents lumps and ensures a smoother, more effective consistency in your DIY bouncy ball recipe.
How to Store and Freeze DIY Bouncy Balls
Airtight Container: Store your DIY bouncy balls in an airtight container to prevent them from drying out and losing their bounciness. They can last for several weeks this way.
Room Temperature: Keep bouncy balls at room temperature, away from direct sunlight or heat sources, to maintain their springy texture for optimal play.
Avoid Moisture: Ensure the bouncy balls are completely dry before sealing them in the container to prevent any stickiness or deformation.
Reusing: If they start to lose bounce after a while, give them a gentle squeeze to restore their shape; refreshing the mix isn’t needed if stored correctly!
What to Serve with DIY Bouncy Balls?
Bring the joy of crafting to life with vibrant creations that bounce and delight!
- Creative Coloring Sheets: Engage the kids with fun coloring pages featuring bright designs, allowing for a playful themed afternoon.
- Sensory Play Bin: Fill a bin with rice or beans and hide the bouncy balls for a treasure hunt, adding an extra layer of excitement to this craft activity.
- Snack Time: Pair the crafting fun with colorful fruit skewers or fruity smoothies to keep the energy levels high as everyone plays!
- Art Supply Station: Set up a table with glitter, stickers, and markers for kids to decorate their bouncy ball creations, sparking imagination and creativity.
- Outdoor Games: After making the bouncy balls, encourage family fun with outdoor toss games or races, showcasing the bouncing skills everyone developed.
- Creative Themed Music: Play upbeat songs that keep everyone dancing while crafting, enhancing the cheerful atmosphere of this exciting project!
DIY Bouncy Ball Recipe FAQs
What is the best type of glue to use for this recipe?
Absolutely! White school glue is ideal for making these bouncy balls, as it provides excellent elasticity and structure. You may also use PVA glue for a slightly different texture, but avoid using other types of craft glue, as they may not achieve the same bounce.
How should I store my DIY bouncy balls?
To keep your bouncy balls in tip-top shape, store them in an airtight container at room temperature. This way, they can last several weeks without losing their fun bounce. Remember to keep them away from direct sunlight and heat sources, which can affect their texture.
Can I freeze the bouncy balls to make them last longer?
Freezing isn’t necessary for these DIY bouncy balls, and it might not yield desirable results. Instead, stick with storing them in an airtight container at room temperature. If they start to lose their bounce over time, giving them a gentle squeeze can help restore their original shape and elasticity.
What are some troubleshooting tips if my bouncy balls aren’t forming correctly?
Very! If your mixture is too sticky, consider adding a bit more cornstarch to adjust the consistency. If they aren’t bouncy enough, it may be due to not mixing the borax solution properly—ensure it is fully dissolved before adding it to the glue mixture. Stir continuously and allow the mixture to thicken adequately for a perfect result.
Are there any allergy considerations I should be aware of?
Absolutely! For those allergic to borax, it’s important to avoid this recipe. While most of the ingredients are safe for kids and adults, depending on your preferences, you might want to opt for natural dyes or avoid any additives if sensitivities are a concern.
Can I add scents to my DIY bouncy balls?
Yes, you can! For a scented version of your bouncy balls, consider adding a few drops of essential oils after you mix in the cornstarch and coloring. Just ensure you use non-toxic, child-safe oils so that everyone can enjoy the delightful fragrances while playing!
Craft the Best DIY Bouncy Ball Recipe: A Fun Science Craft for Kids
Ingredients
Equipment
Method
- In a bowl, combine 1/2 cup of white school glue with 1 tablespoon of water, mixing until smooth and fully blended.
- In a separate container, mix 1 tablespoon of borax powder with 1/4 cup of warm water until the borax is completely dissolved.
- Slowly add the glue mixture to the borax solution. Stir continuously as it starts to thicken.
- Gradually fold in 1/4 cup of cornstarch and your choice of food coloring until everything is nicely integrated.
- Using your hands, knead the mixture until it's smooth, then shape it into 1-inch balls.
- Allow your bouncy balls to dry for a few minutes before enjoying.