Gorgeous DIY Floral Wax Melts: Natural Bliss for Your Home
There’s a certain joy that comes from crafting something special with your own hands, and these DIY floral wax melts are just that—a fragrant delight for your home! Imagine walking into a room filled with the soft, soothing scent of lavender, rose, or chamomile, all created from natural ingredients that are gentle on the environment. These homemade wax melts not only beautify your space but also provide a non-toxic alternative to store-bought air fresheners, making them perfect for anyone looking to enhance their home’s aroma naturally.
After a long week, I found myself yearning for a cozy ambiance, and that’s when I decided to blend my love for florals with a touch of creativity. In just a few simple steps, you can whip up these waxy wonders using soy or beeswax, fragrant essential oils, and your favorite dried flowers. They make for lovely decorative pieces that brighten up any room, and best of all, they’re customizable to suit your mood! So let’s roll up our sleeves and transform your living space into a fragrant retreat with these enchanting floral wax melts!
Why DIY Floral Wax Melts Are Amazing?
Simplicity at its best: With just a few ingredients, these melts come together quickly and easily.
Natural ingredients: Made with eco-friendly materials, they’re safe for your home and the environment.
Customizable scents: Mix and match essential oils and dried flowers to create your favorite aroma every time.
Decorative charm: Not only do they smell divine, but they also add a touch of elegance to your decor.
Perfect for gifting: Share the joy of DIY with friends and family—these make thoughtful, homemade gifts.
Try out different variations by swapping flowers or oils to discover your unique blend!
DIY Floral Wax Melts Ingredients
For the Wax Base
• Soy Wax Flakes or Beeswax Pellets – Choose soy for a smooth melt or go for beeswax for a stronger scent throw.
For the Floral Touch
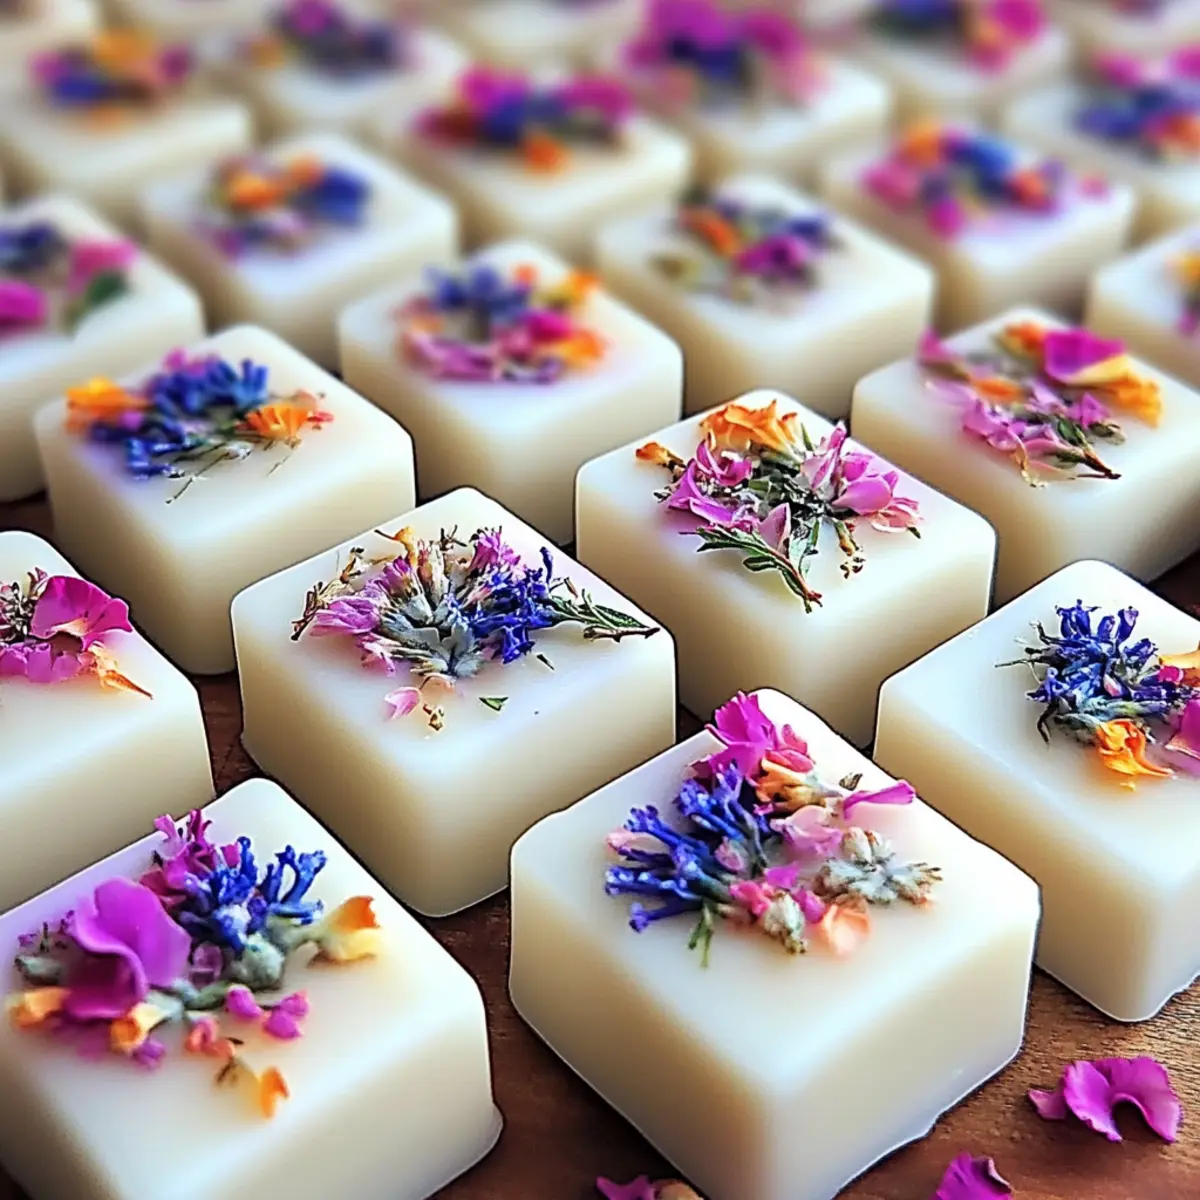
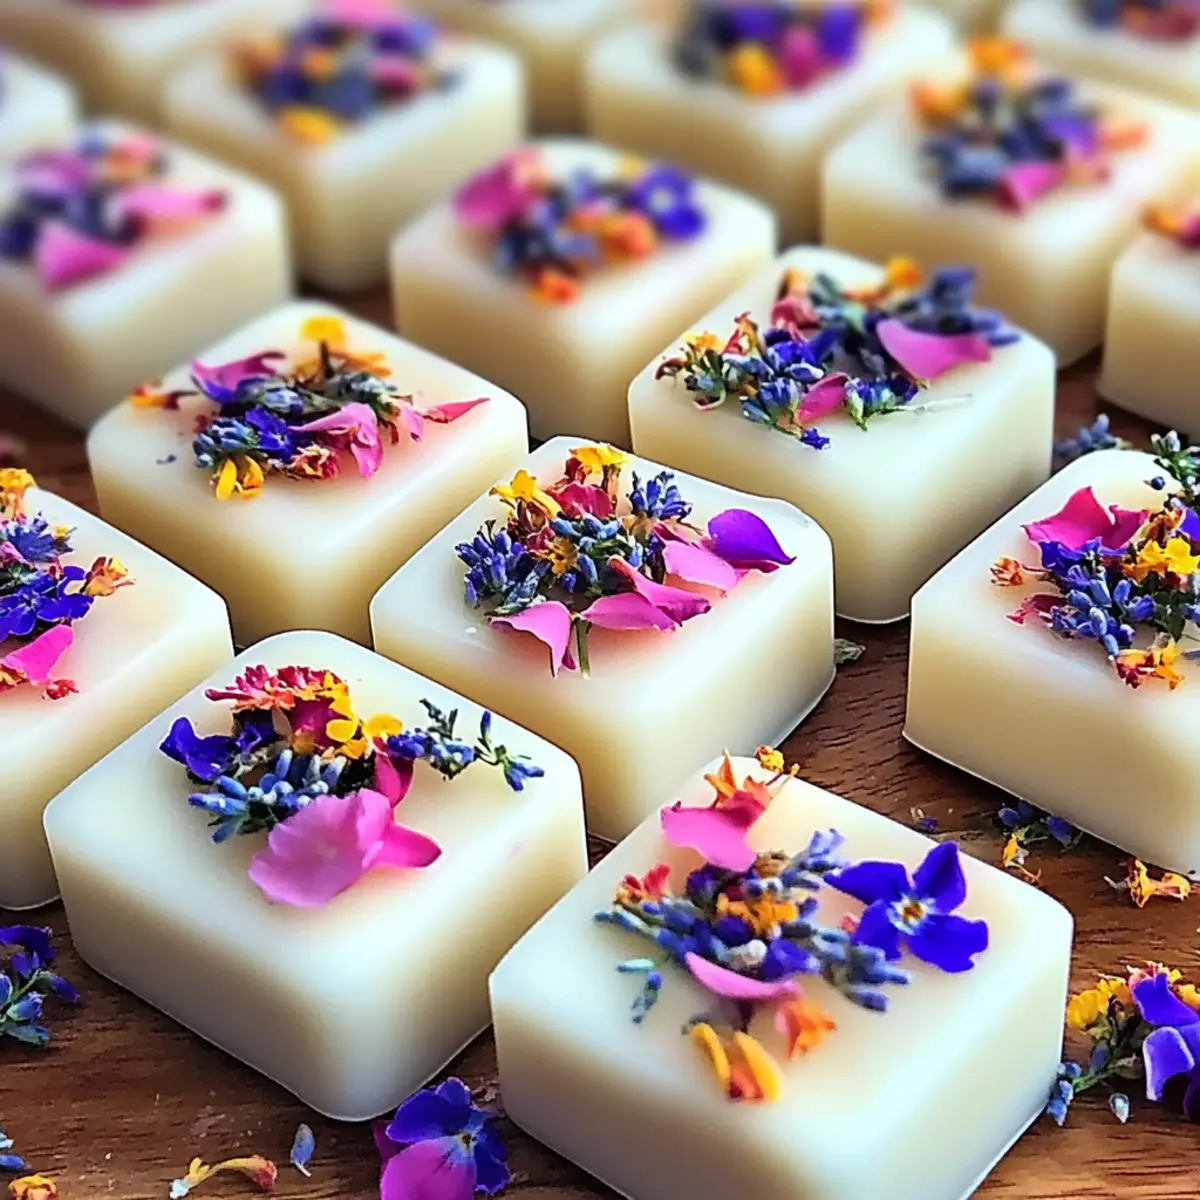
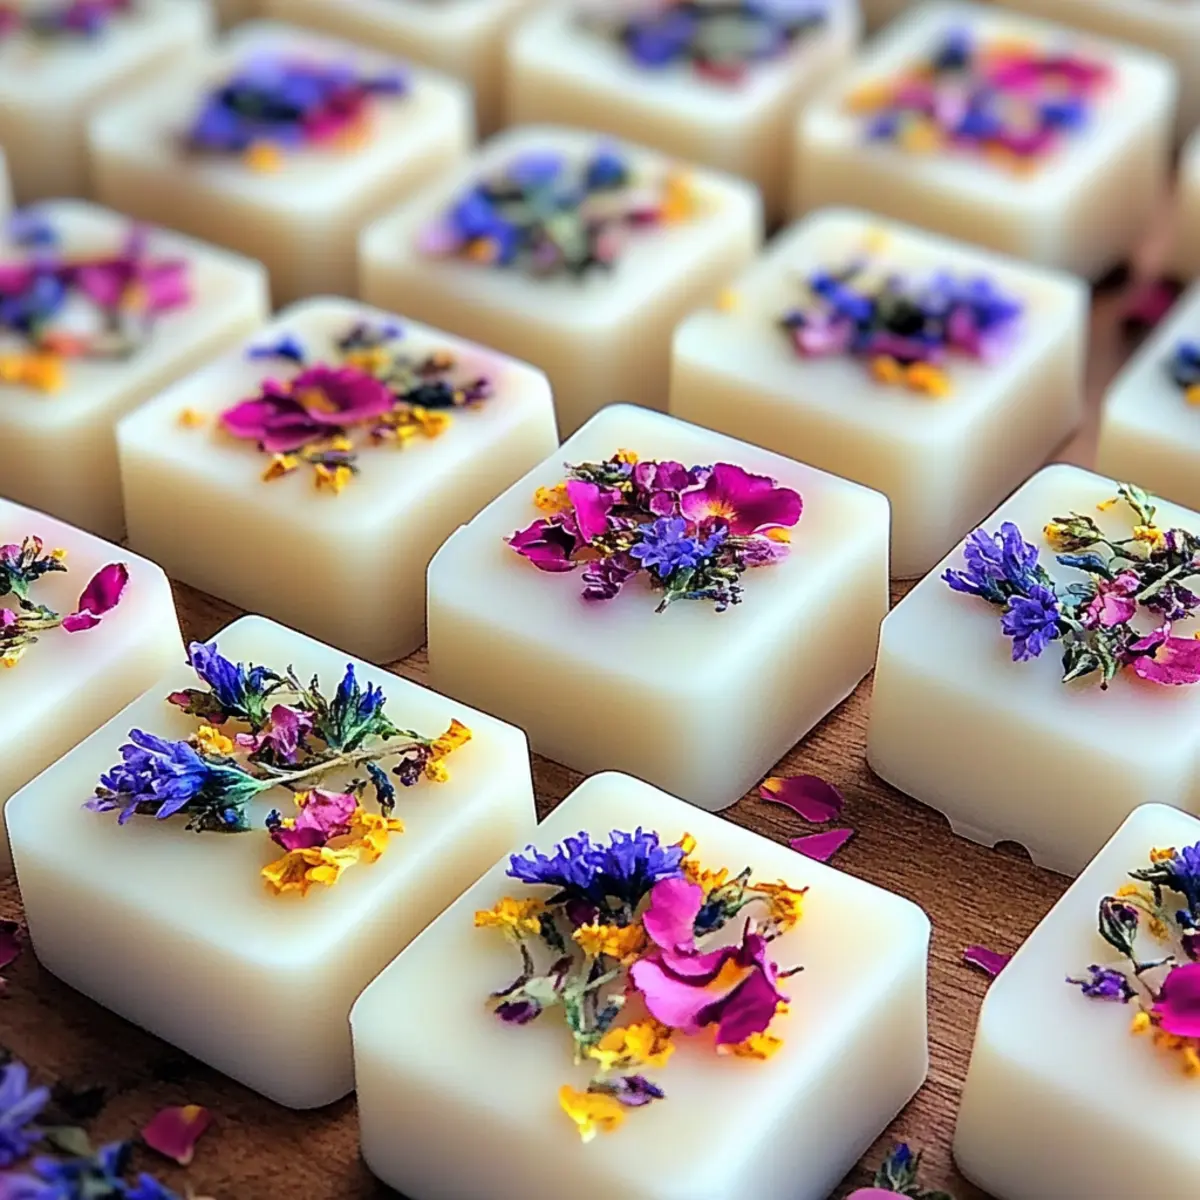
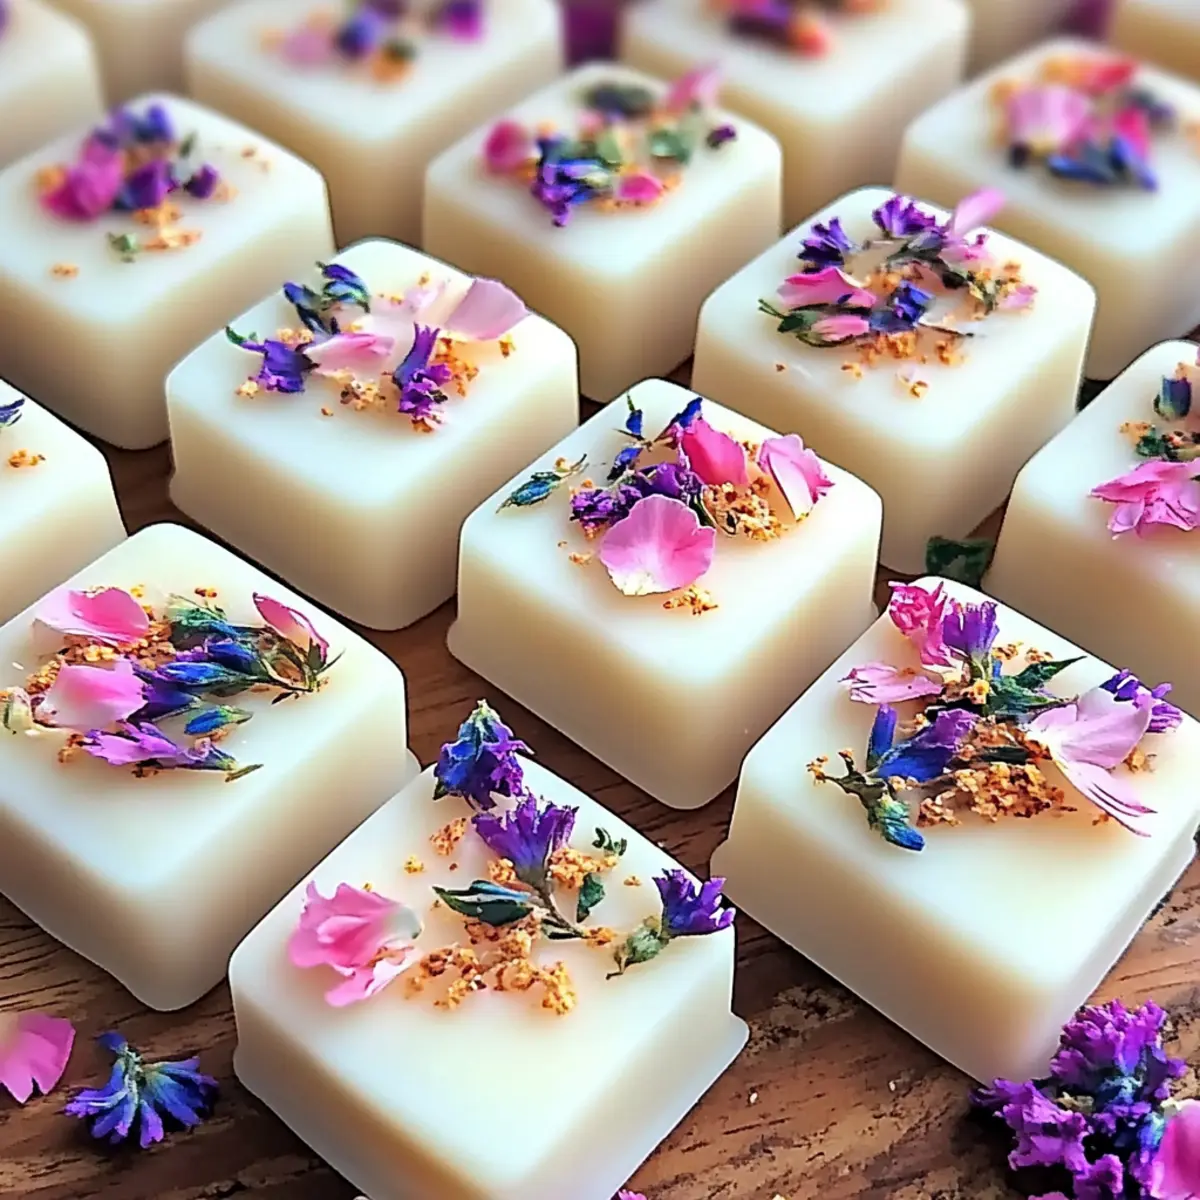
• Dried Flowers (Lavender Buds, Rose Petals, Chamomile Blossoms, Calendula Petals) – These add a beautiful texture and natural aroma; feel free to substitute with any edible flowers you love!
For the Fragrance
• Essential Oils (Lavender, Geranium, Ylang Ylang, Lemon, Peppermint, Eucalyptus) – These enhance the aroma; adjust the drops based on how strong you want the scent to be, but avoid non-pet-safe oils if you have furry friends.
For Coloring
• Mica Powder – Use this for natural coloring in the melts; just make sure it’s skin-safe to avoid any irritation.
Get ready to infuse your home with delightful scents and a touch of charm by crafting these DIY Floral Wax Melts!
How to Make DIY Floral Wax Melts
Measure: Start by measuring 1 cup of soy wax flakes or beeswax pellets and place them into a double boiler. Heat gently until fully melted, stirring occasionally.
Cool: Once melted, remove the wax from heat and allow it to cool for about 5 minutes. This prevents the temperature from being too high when you add the flowers and essential oils.
Mix: Stir in 1-2 tablespoons of your chosen dried flowers and 15-30 drops of essential oils of your choice. Feel free to combine scents for a unique blend!
Color: If desired, add a pinch of mica powder for coloring and stir until evenly distributed throughout the wax mixture. This step is optional but adds a lovely visual touch!
Pour: Carefully pour the wax mixture into silicone molds, filling each cavity just below the rim. Let them cool completely, which will take about 1-2 hours.
Unmold: Once fully set, gently remove the wax melts from the molds by pushing from below. Store your delightful creations in a cool, dry place until ready to use!
Optional: Add a sprinkle of dried flowers on top before they solidify for an extra touch of beauty.
Exact quantities are listed in the recipe card below.
What to Serve with DIY Floral Wax Melts?
Transforming your space into a fragrant haven is one thing, but pairing your freshly made wax melts with the right ambiance elevates the experience!
- Cozy Blankets: Perfect for snuggling up, they add warmth and comfort to the aromatic atmosphere.
- Soft Lighting: Use dim lamps or candles to create a welcoming glow, enhancing the overall sensory experience.
- Fresh Flowers: Surround your melts with seasonal blooms that echo their scents, bringing nature indoors.
- Herbal Teas: Sip on a soothing cup of chamomile or lavender tea to deepen the connection with your wax melts.
- Natural Decor: Incorporate wooden elements or plants to design a serene space where the scent can thrive.
- Meditation Music: Soft background tunes can heighten relaxation while enjoying the delightful aroma wafting throughout your home.
- Scented Candles: Pair your melts with complementary candles for a layered fragrance experience, enhancing your home’s atmosphere.
- Essential Oil Diffusers: Utilize them alongside the melts for a fully immersive scent journey, harmonizing different floral notes.
Storage Tips for DIY Floral Wax Melts
Room Temperature: Store the wax melts in a cool, dry place away from direct sunlight to maintain their scent and appearance for up to 6-8 months.
Fridge: If you live in a warmer climate, consider placing the wax melts in the fridge for a short time before use; this can help maintain their firmness.
Freezer: For long-term storage, you can freeze your DIY floral wax melts in an airtight container for up to 1 year; just allow them to come to room temperature before using.
Reheating: To enjoy the scent, place 1-2 melts in your warmer and allow them to melt completely; reuse until the aroma diminishes.
Make Ahead Options
These DIY Floral Wax Melts are perfect for busy home cooks looking to add a delightful aroma to their space without the last-minute rush. You can prepare the wax base and mix in your essential oils and dried flowers up to 24 hours ahead of time. Simply melt the wax, let it cool slightly, then combine the other ingredients as directed. Once you’ve poured them into the molds, allow them to cool completely. To maintain their quality, store the mold in a cool, dry place until you’re ready to use them. When it’s time to enjoy your fragrant creation, simply pop out the wax melts and place them in your warming device for a stress-free, aromatic experience!
Expert Tips for DIY Floral Wax Melts
- Temperature Control: Use a thermometer to monitor wax temperature; exceeding 180°F can degrade essential oils and alter their scent in DIY floral wax melts.
- Mixing Caution: Avoid overmixing after adding essential oils; it can lead to a weaker scent throw when melted.
- Clean Workspace: Ensure your workspace is clean and dry to prevent contamination or bubbles in your wax melts.
- Customizations: Experiment with varying flower types and essential oil combinations to find your perfect blend and fragrance profile.
- Storage Recommendations: Keep your wax melts in a cool, dry place and use them within 6-8 months for optimal scent performance.
DIY Floral Wax Melts Variations & Substitutions
Feel free to unleash your creativity with these charming options to personalize your wax melts!
Oils Swap: Try using sweet orange or cedarwood essential oil for a fresh or woodsy scent, adding variety to your aroma palette.
Herbal Touch: Replace dried flowers with fresh herbs like mint or basil for a unique twist that brings a refreshing scent into your home.
Color Boost: Use natural colorants like beetroot powder or turmeric to give your melts a warm hue, while keeping it eco-friendly.
Mix & Match: Blend different essential oils, like lavender with eucalyptus, for a calming yet refreshing fragrance that lifts the spirit.
Zesty Kick: Add lemon zest or dried citrus slices for an invigorating scent and a pop of color, making each melt visually appealing.
Seasonal Scents: Incorporate seasonal flowers or festive oils like cinnamon for a holiday-inspired fragrance that warms the heart.
Texture Play: Experiment by adding a few drops of natural honey to the wax mixture for a glossy finish and a lovely scent essence.
Cocoa Delight: Mix in a touch of cocoa powder or a few drops of chocolate fragrance oil for a deliciously cozy vibe that entices the senses.
DIY Floral Wax Melts Recipe FAQs
What type of wax should I use for DIY floral wax melts?
You can choose either soy wax flakes for a smoother melt or beeswax pellets for a more robust scent throw. Both options are excellent, but soy wax is a bit easier to work with for beginners.
How should I store my DIY floral wax melts?
Store your wax melts in a cool, dry place, away from direct sunlight. They will last up to 6-8 months when stored properly. If you’re in a warmer climate, consider refrigerating them for a bit to help maintain their firmness.
Can I freeze my DIY floral wax melts?
Absolutely! For long-term storage, freeze your wax melts in an airtight container for up to 1 year. When you’re ready to use them, just let them thaw at room temperature before placing them in your warmer. This helps maintain their scent and texture.
What if I don’t have certain dried flowers? Can I use alternatives?
Yes, you can get creative! Feel free to substitute with any edible dried flowers or botanicals that you enjoy. Options like dried hibiscus or even citrus peels can add unique textures and scents. Just keep in mind that some flowers may have a stronger aroma than others!
How do I troubleshoot if my wax melts aren’t releasing enough scent when heated?
First, consider the number of essential oil drops you added; try increasing to 30 drops for a stronger scent. Ensure the wax temperature during mixing didn’t exceed 180°F, as overheating can degrade fragrance. If needed, next time, avoid overmixing after adding essential oils to preserve their potency.
Are these wax melts safe if I have pets?
Most essential oils are not pet-safe. Be cautious by avoiding eucalyptuses, tea tree, and citrus oils if you have cats or dogs. Always check labels for pet safety, and choose oils like lavender or peppermint for a safer option when crafting these delightful DIY floral wax melts.
Gorgeous DIY Floral Wax Melts: Natural Bliss for Your Home
Ingredients
Equipment
Method
- Measure 1 cup of soy wax flakes or beeswax pellets and place them into a double boiler. Heat gently until fully melted, stirring occasionally.
- Once melted, remove the wax from heat and allow it to cool for about 5 minutes.
- Stir in 1-2 tablespoons of your chosen dried flowers and 15-30 drops of essential oils.
- If desired, add a pinch of mica powder for coloring and stir until evenly distributed.
- Carefully pour the wax mixture into silicone molds, filling each cavity just below the rim. Let them cool completely for about 1-2 hours.
- Once fully set, gently remove the wax melts from the molds. Store in a cool, dry place until ready to use.