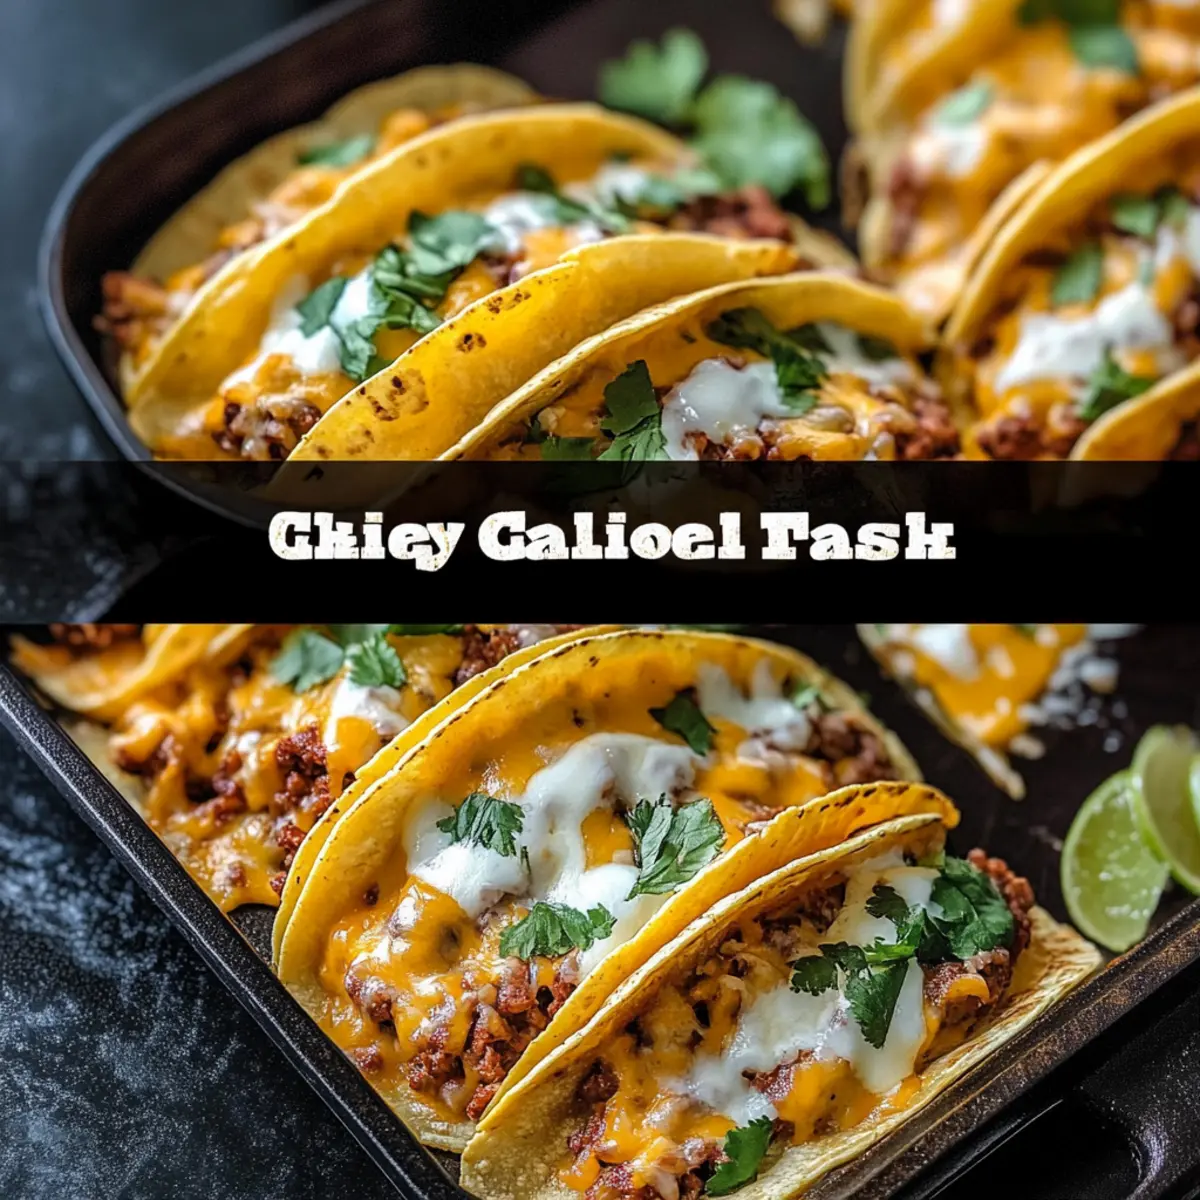
Irresistibly Crispy Loaded Cheesy Tacos for Taco Night Bliss
There’s a certain kind of joy that comes from the first bite of a crispy taco, especially when it’s loaded with warm, cheesy goodness. One evening, while trying to escape the lure of another takeout menu, I decided to whip up a batch of Oven-Baked Cheesy Tacos. These delightful creations turned my dull dinner routine into a vibrant fiesta.
What makes these tacos truly special is their versatility; you can choose ground beef, turkey, or even vegetarian options like black beans or lentils. Plus, the addition of whatever cheese you love makes them uniquely your own! The best part? They come together in a flash, making them perfect for busy weeknights or any family gathering.
So gather your loved ones and get ready for a homemade meal that not only fills bellies but also warms hearts—these crispy loaded cheesy tacos are about to become your go-to dish!
Why love Crispy Loaded Cheesy Tacos?
Deliciously Crunchy: Each bite offers a satisfying crunch that pairs perfectly with gooey, melted cheese and savory toppings.
Quick to Prepare: Ready in just 30 minutes, making them the perfect solution for busy weeknights or spontaneous gatherings.
Customizable for Everyone: Whether you’re craving beef, turkey, or a vegetarian twist with lentils, the options are endless.
Family-Friendly Fun: Turn dinner into a taco bar experience, allowing everyone to personalize their own taco with fresh toppings.
Crowd-Pleasing Appeal: Perfect for gatherings, these tacos are sure to please even the pickiest eaters! Enjoy more taco fun with my additional variations.
Crispy Loaded Cheesy Tacos Ingredients
For the Filling
• Ground Beef – The classic choice for a hearty filling; swap for ground turkey or chicken for a lighter option.
• Taco Seasoning – Essential for flavor; make your own blend for a personal touch!
• Olive Oil – Helps sauté the onion and adds moisture; any cooking oil will work in a pinch.
• Onion – Gives sweetness and depth; shallots can be a milder substitute.
• Garlic – Enhances flavor; fresh is best, but garlic powder can speed up your cooking.
• Tomato Sauce/Salsa – Adds moisture and a burst of flavor; diced tomatoes provide a chunkier texture.
• Salt & Black Pepper – Essential for seasoning; adjust to taste for your ideal flavor balance.
For the Tacos
• Taco Shells – Choose sturdy, small shells that hold up well during baking.
• Shredded Cheddar Cheese – Melts beautifully; try Monterey Jack or Pepper Jack for a spicy kick.
For the Toppings
• Shredded Lettuce – Adds a fresh crunch; feel free to use spinach for a different texture.
• Diced Tomatoes – Brightens the dish with freshness; pico de gallo is a great alternative.
• Diced Red Onion – Adds a pop of color and tang; green onions give a milder flavor.
• Fresh Cilantro – Lifts the flavors with its herbaceous note; parsley can be used instead if you prefer.
• Sour Cream – Creamy and delicious; Greek yogurt serves as a healthy alternative.
• Sliced Jalapeños/Hot Sauce – Adds that perfect spicy touch; fresh chilies can be used for a kick.
• Guacamole – Adds richness and creaminess; make it fresh or grab your favorite store-bought version.
Now that you have all the ingredients gathered, you’re just a few steps away from enjoying your own crispy loaded cheesy tacos! Gather your loved ones, and let’s get cooking!
How to Make Crispy Loaded Cheesy Tacos
Preheat the Oven: Begin by preheating your oven to 375°F (190°C). This ensures that your tacos bake evenly, resulting in the perfect crispy texture.
Sauté the Aromatics: In a large skillet, heat 1 tablespoon of olive oil over medium heat. Add the diced onion and minced garlic, sautéing for 2-3 minutes until fragrant and translucent—your kitchen will smell amazing!
Brown the Meat: Introduce your ground beef (or turkey/chicken) into the skillet. Cook, breaking it apart with a spoon, until browned and cooked through, about 5-7 minutes. Drain any excess grease for a healthier filling.
Season it Up: Stir in 2 tablespoons of taco seasoning, along with a cup of tomato sauce or salsa, salt, and black pepper. Let this simmer for 5 minutes to meld the flavors, stirring occasionally.
Prepare the Taco Shells: Lightly warm the taco shells to prevent them from cracking. Fill each shell with the flavorful meat mixture and sprinkle in a generous amount of shredded cheddar cheese.
Bake to Perfection: Arrange the filled taco shells upright in a greased baking dish. Bake for 10-15 minutes, or until the cheese is melted and the shells are golden brown, creating that delightful crunch.
Add Your Fresh Toppings: Remove from the oven, and top with shredded lettuce, diced tomatoes, red onion, and fresh cilantro. Serve immediately with your choice of nacho toppings for an extra touch!
Optional: Try adding a squeeze of lime juice for a zesty twist.
Exact quantities are listed in the recipe card below.

Crispy Loaded Cheesy Tacos Variations
Feel free to give these tacos your unique twist and make them your own!
Turkey Swap: Use ground turkey instead of beef for a lighter, leaner taco that still packs flavor.
Vegetarian Delight: Substitute ground meat with black beans or lentils for a hearty yet meat-free option.
Cheese Mix: Experiment with an assortment of cheeses like Pepper Jack or crumbled cotija for extra depth of flavor. A blend can elevate the taste significantly!
Bulk it Up: Add diced bell peppers or corn into the meat mixture for an extra layer of texture and taste.
Spicy Kick: Toss in sliced jalapeños or a sprinkle of chili flakes for those who crave some heat. Adjust levels to your liking!
Fresh Herb Twist: Swap out cilantro for fresh parsley or add in diced green onions to lighten the flavor profile.
Crunchy Layers: Top with crushed tortilla chips for added crunch and a delightful texture contrast.
Zesty Upgrade: Mix in a squeeze of lime juice or some fresh salsa directly into the meat before filling the shells for a fresh, zesty kick.
Every option brings its own charm to your crispy loaded cheesy tacos—enjoy the adventure of customization!
What to Serve with Crispy Loaded Cheesy Tacos?
Transform your taco night into a memorable feast with delightful pairings that complement the bold flavors of your tacos.
- Spanish Rice: This flavorful dish adds a hearty component, soaking up any delicious taco juices and enhancing the meal’s overall experience.
- Refried Beans: Creamy and rich, they provide a satisfying texture that balances the crunchy tacos. Plus, they’re a great source of protein!
- Mexican Street Corn: Tossed in lime, chili, and cotija cheese, this dish introduces a sweet, savory twist that pairs perfectly with the cheesy goodness of tacos.
- Fresh Guacamole: This creamy topping not only enhances your taco experience but also adds a refreshing touch that cuts through the richness.
- Taco Salad: Create a vibrant salad using leftover toppings, adding freshness and crunch while making use of ingredients you already have at hand.
- Chips and Salsa: The classic snack provides a crunchy element, perfectly complementing the dish’s flavors and adding a fun element to your meal.
- Lime-Cilantro Rice: Bursting with zesty flavor, this light and fragrant side is a lovely contrast to the savory tacos.
Pairing your Crispy Loaded Cheesy Tacos with these delicious sides creates a festive meal that will leave everyone feeling satisfied and delighted!
Make Ahead Options
These Crispy Loaded Cheesy Tacos are a brilliant choice for meal prep aficionados! You can prepare the meat mixture up to 3 days in advance, storing it in an airtight container in the refrigerator to maintain its delicious flavor. To do this, simply cook the meat, seasoning, and tomato sauce as directed, then cool down before refrigerating. When you’re ready to assemble, slightly warm up the taco shells to prevent cracking, fill them with the prepped meat and cheese, and bake for 10-15 minutes until golden. This way, you enjoy a quick, homemade meal that’ll taste just as scrumptious and save you time on busy weeknights!
How to Store and Freeze Crispy Loaded Cheesy Tacos
Fridge: Keep assembled tacos in an airtight container for up to 2 days. Reheat in the oven at 350°F until warmed through, keeping the shells crispy.
Freezer: For longer storage, freeze the taco filling in a sealed freezer bag for up to 3 months. Thaw overnight in the fridge before reheating.
Reheating: If you have leftover baked tacos, reheat in the oven at 350°F for about 10 minutes for crispy shells and melted cheese.
Make-Ahead: Prepare the meat mixture beforehand and store it in the fridge for up to 4 days, making Taco Night even easier!
Expert Tips for Crispy Loaded Cheesy Tacos
Warm the Shells: Briefly heating the taco shells helps prevent cracking, making assembly smoother and your tacos easier to handle.
Pre-Cook the Filling: Preparing the meat mixture ahead of time saves you valuable minutes on busy nights. Store it in the fridge for up to 3 days for easy meals!
Don’t Overfill: Be cautious not to overstuff your taco shells. This helps maintain their shape and ensures even baking—no one wants a taco explosion!
Cheese Matters: Choose cheeses that melt well, like cheddar or Monterey Jack, for that delightful gooeyness. Mixing cheeses can elevate flavor!
Experiment with Toppings: Get creative with toppings! Including various fresh elements like guacamole or picante salsa adds excitement, allowing your Crispy Loaded Cheesy Tacos to shine.

Crispy Loaded Cheesy Tacos Recipe FAQs
How do I choose the right ripeness of avocados for guacamole?
Absolutely! For guacamole, look for avocados that are slightly firm but yield to gentle pressure. A ripe avocado will have a dark green to black skin, depending on the variety, and should feel creamy when squeezed gently. If they’re too hard, let them ripen at room temperature for a couple of days.
What’s the best way to store leftover tacos?
To keep assembled tacos fresh, store them in an airtight container in the fridge for up to 2 days. When reheating, place them in the oven at 350°F for about 10 minutes to keep the shells crispy while warming the insides. I often line the baking dish with foil to prevent sticking!
Can I freeze the taco filling?
Yes! For long-term storage, freeze the taco filling in a sealed freezer bag for up to 3 months. When you’re ready to enjoy it again, simply thaw it overnight in the fridge. When ready to serve, reheat in a skillet until heated through, and then follow the taco assembly instructions. This is a fantastic time-saver!
What if my taco shells crack before baking?
Very! To prevent cracking, warm the taco shells slightly in the oven or microwave before filling. This softens them, allowing for easier handling and helps them maintain their shape during baking, ensuring you won’t face a taco explosion at dinner!
Are there any dietary considerations I should keep in mind?
The more the merrier! If you have family members with food allergies, opt for gluten-free taco shells and ensure your seasoning blend is free from common allergens. For lactose intolerance, you can replace dairy cheese with plant-based cheese options. Plus, there are vegetarian variations using black beans or lentils if needed. Always check ingredient labels for any hidden allergens.
How can I keep my leftover tacos crispy when reheating?
Absolutely! To restore the crispiness of leftover tacos, reheat them in the oven at 350°F for about 10 minutes. This method revives the crunchiness of the shells while melting the cheese perfectly. If you don’t want to heat them in the oven, consider placing them in a toaster oven to achieve that delightful crunch!

Irresistibly Crispy Loaded Cheesy Tacos for Taco Night Bliss
Ingredients
Equipment
Method
- Preheat your oven to 375°F (190°C).
- In a large skillet, heat 1 tablespoon of olive oil over medium heat. Add the diced onion and minced garlic, sautéing for 2-3 minutes.
- Introduce your ground beef into the skillet. Cook until browned, about 5-7 minutes. Drain excess grease.
- Stir in 2 tablespoons of taco seasoning, a cup of tomato sauce or salsa, salt, and pepper. Simmer for 5 minutes.
- Lightly warm the taco shells. Fill each shell with the meat mixture and sprinkle with shredded cheddar cheese.
- Arrange the filled taco shells in a greased baking dish. Bake for 10-15 minutes until cheese is melted and shells are golden.
- Top with shredded lettuce, diced tomatoes, red onion, and cilantro. Serve immediately.