Brighten Your Home with Bioplastic Suncatchers: Easy Eco Craft
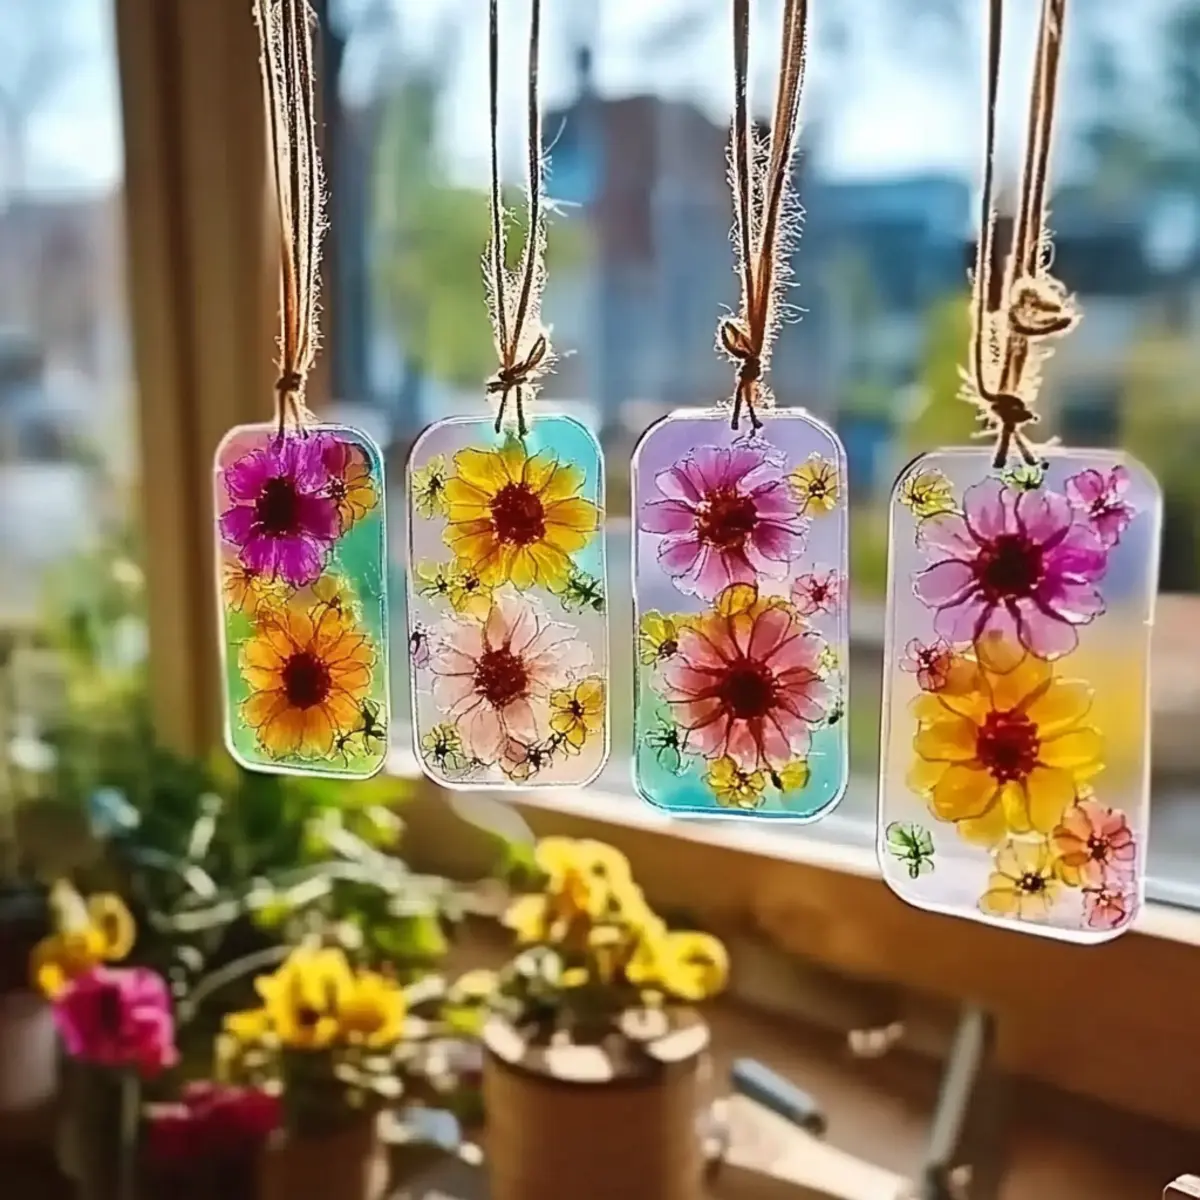
As the sun shines brightly on a warm afternoon, transforming your living space into a vibrant display of color is simple and rewarding. I recently embarked on a charming adventure creating DIY eco-friendly suncatchers that not only brighten my home but also let my creativity soar. Using natural, biodegradable materials, this craft marries fun and eco-consciousness—perfect for both kids and adults.
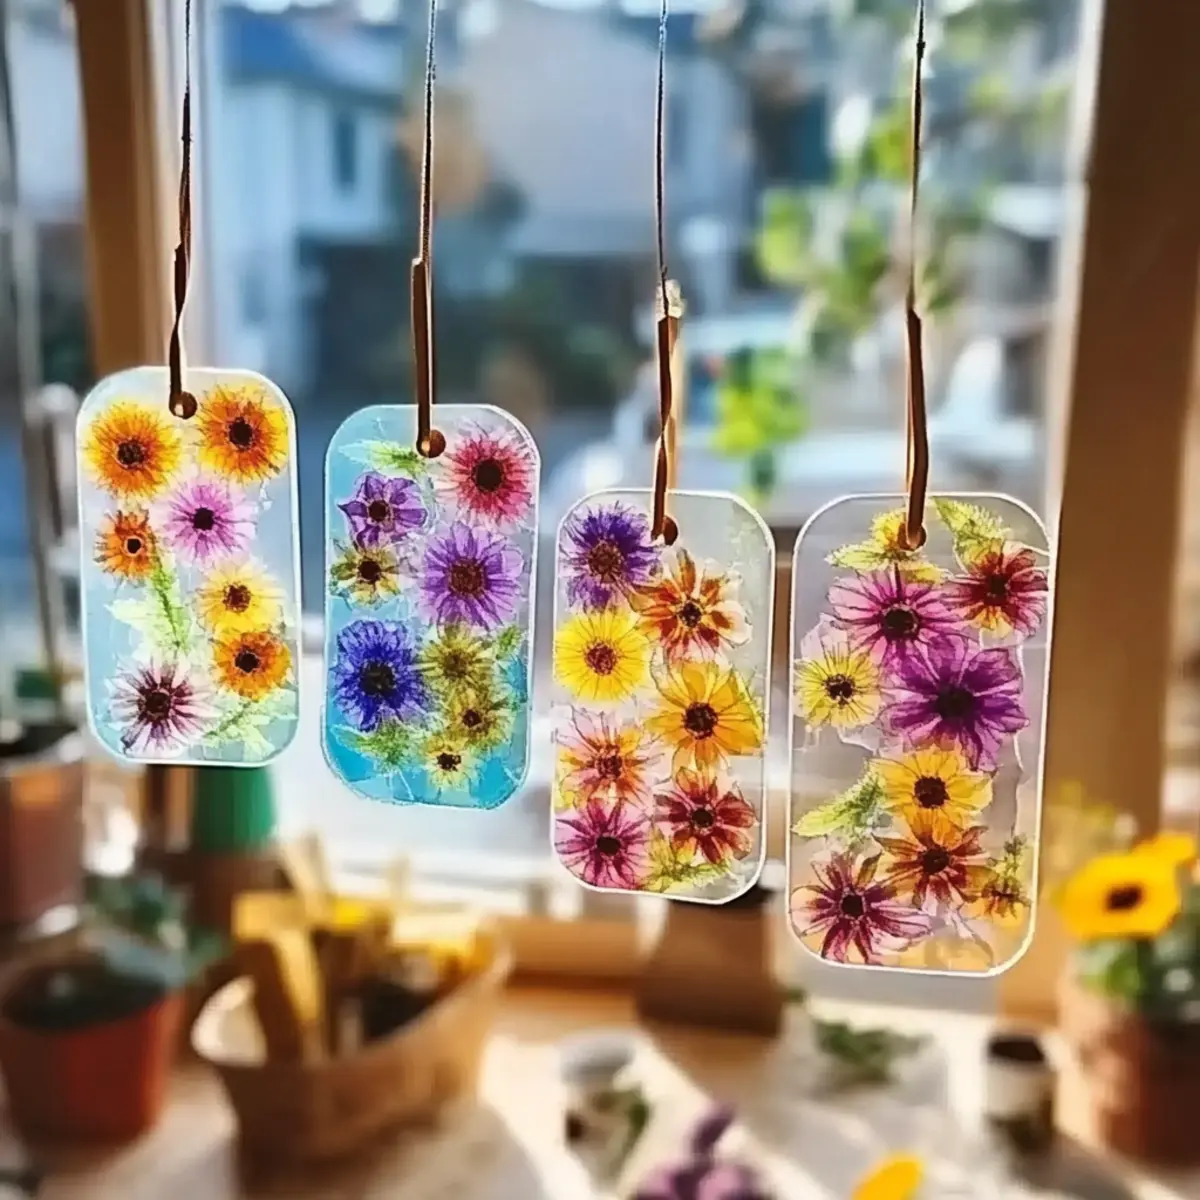
In just 10 minutes, you can blend art with the science of colors, resulting in stunning pieces that dance in the light, casting rainbow reflections across your walls. With a few basic ingredients and limitless creative possibilities, you’ll be amazed at how a little time spent in the kitchen can lead to such beautiful transformations. Plus, these suncatchers invite family members young and old to join in! Grab your materials, unleash your imagination, and let’s create something spectacular together!
Bioplastic Suncatchers: Why You’ll Love Them!
Simplicity: With just a few ingredients, this craft is easy to make and perfect for all skill levels.
Biodegradable: Using eco-friendly materials, you’re creating beautiful art while caring for the environment.
Creative Freedom: Personalize your suncatchers with vibrant colors and unique embellishments to suit your style.
Family Fun: Engage the whole family in a delightful activity that fosters creativity and cooperation.
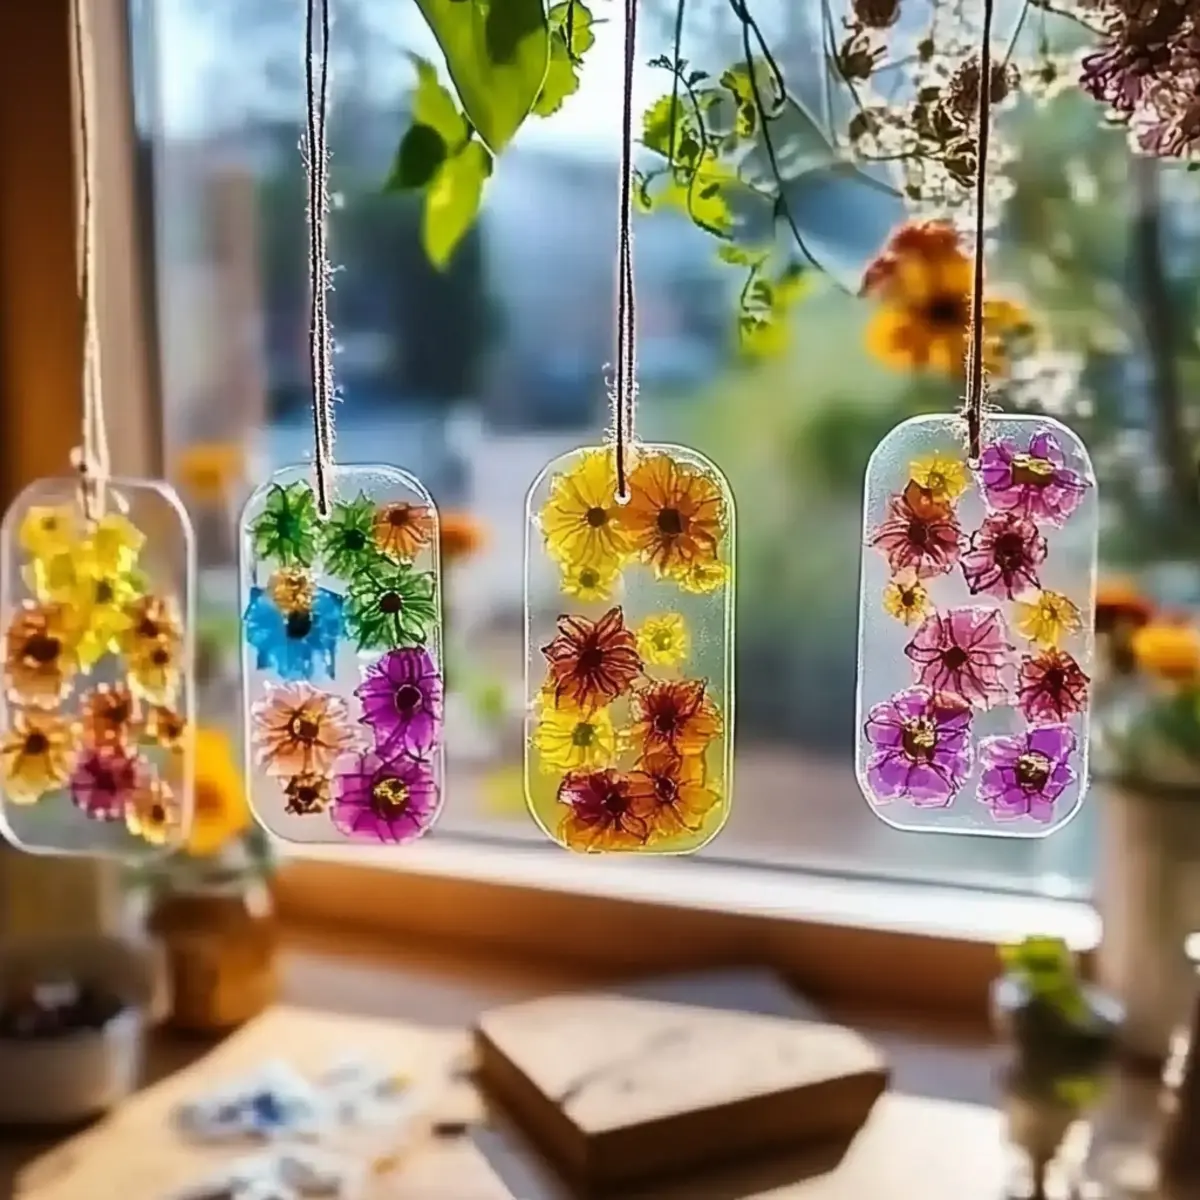
Beautiful Décor: Once completed, these stunning suncatchers will illuminate your home, bringing joy and color to your space.
For additional creative inspiration, check out our eco-friendly projects.
Bioplastic Suncatcher Ingredients
Create vibrant and stunning bioplastic suncatchers with these eco-friendly components!
For the Base Mixture
- Water – Acts as the essential base for your gel mixture, ensuring smooth consistency.
- Cornstarch – Provides thickness and structure; a staple for achieving that perfect gel-like texture.
- White Vinegar – Enhances binding properties of the mixture; if needed, you can substitute with lemon juice or apple cider vinegar.
- Unflavored Gelatin Powder – Crucial for the gel consistency; alternatively, use agar-agar for a vegetarian-friendly option.
For Coloring and Decoration
- Natural or Food-Safe Coloring – Imparts vibrant colors to your suncatchers; try beet juice, spirulina, or turmeric for natural hues.
- Optional Embellishments – Fine glitter, dried flower petals, or bits of tissue paper for added creativity; remember to choose biodegradable materials to keep it eco-friendly.
With these key ingredients, you’ll be set to craft beautiful bioplastic suncatchers that can brighten any space while staying true to your eco-conscious values!
How to Make Bioplastic Suncatchers
Mix Ingredients: In a saucepan, combine ½ cup of water, 2 tbsp cornstarch, 1 tbsp white vinegar, and 1 tbsp gelatin. Stir the mixture until it’s smooth and well combined.
Heat Mixture: Place the saucepan over medium-low heat and continuously stir the mixture. Watch for it to thicken into a gooey gel, which should take about 3-5 minutes. Once it’s smooth and pourable, remove from the heat.
Color Mixture: Divide your thickened gel into several bowls and add your chosen natural colorants, mixing well. Feel free to experiment with different shades!
Shape Suncatchers: On a non-stick surface—think parchment paper or a silicone mat—spread the colored gel into fun shapes. Let your creativity shine!
Decorate: Before the gel sets, use toothpicks to carefully press in your chosen decorations, like glitter or dried petals, ensuring they are evenly embedded for a lovely finish.
Drying Process: Allow your suncatchers to air dry in a well-ventilated area for 24-48 hours. Flip them halfway through to prevent curling and ensure an even drying process.
Add Hanging Feature: Once completely dry, use a hole punch to create holes for hanging. You can thread string through these holes or opt for suction cups to display them beautifully.
Optional: Add a touch of fragrance by using flavored extracts (not for consumption) in the gel for a delightful twist.
Exact quantities are listed in the recipe card below.
Expert Tips for Bioplastic Suncatchers
Stir Constantly: Avoid burning the mixture by stirring continuously while heating. This ensures a smooth, gooey gel for your suncatchers.
Layer Thickness: Keep your decorated layer thin. Overloading with embellishments can lead to uneven drying and curling.
Use Natural Colors: Opt for natural food-safe coloring to achieve vibrant results while keeping your craft eco-friendly.
Ventilation is Key: When drying your suncatchers, choose a well-ventilated space to help them dry evenly and prevent moisture buildup.
Test Materials First: If you’re trying new decorating materials, test a small batch first to ensure they adhere well and don’t affect the drying process.
These expert tips will help you create stunning bioplastic suncatchers that shine beautifully and brighten your home!
Make Ahead Options
These DIY Eco-Friendly Colorful Suncatchers are perfect for busy home cooks and families looking to save time while enjoying a creative project! You can prepare the mixture up to 24 hours in advance by combining all the base ingredients and storing them in an airtight container in the refrigerator. If you want to add color, do so just before shaping the suncatchers. Once you’ve created your shapes, allow them to air dry for 24-48 hours. To maintain their vibrant quality, be sure to flip them halfway through drying to prevent curling. When it’s time to display your suncatchers, simply punch holes for hanging and use strings or suction cups. This makes it incredibly easy to include a fun activity in your schedule without the last-minute rush!
What to Serve with DIY Eco-Friendly Colorful Suncatchers?
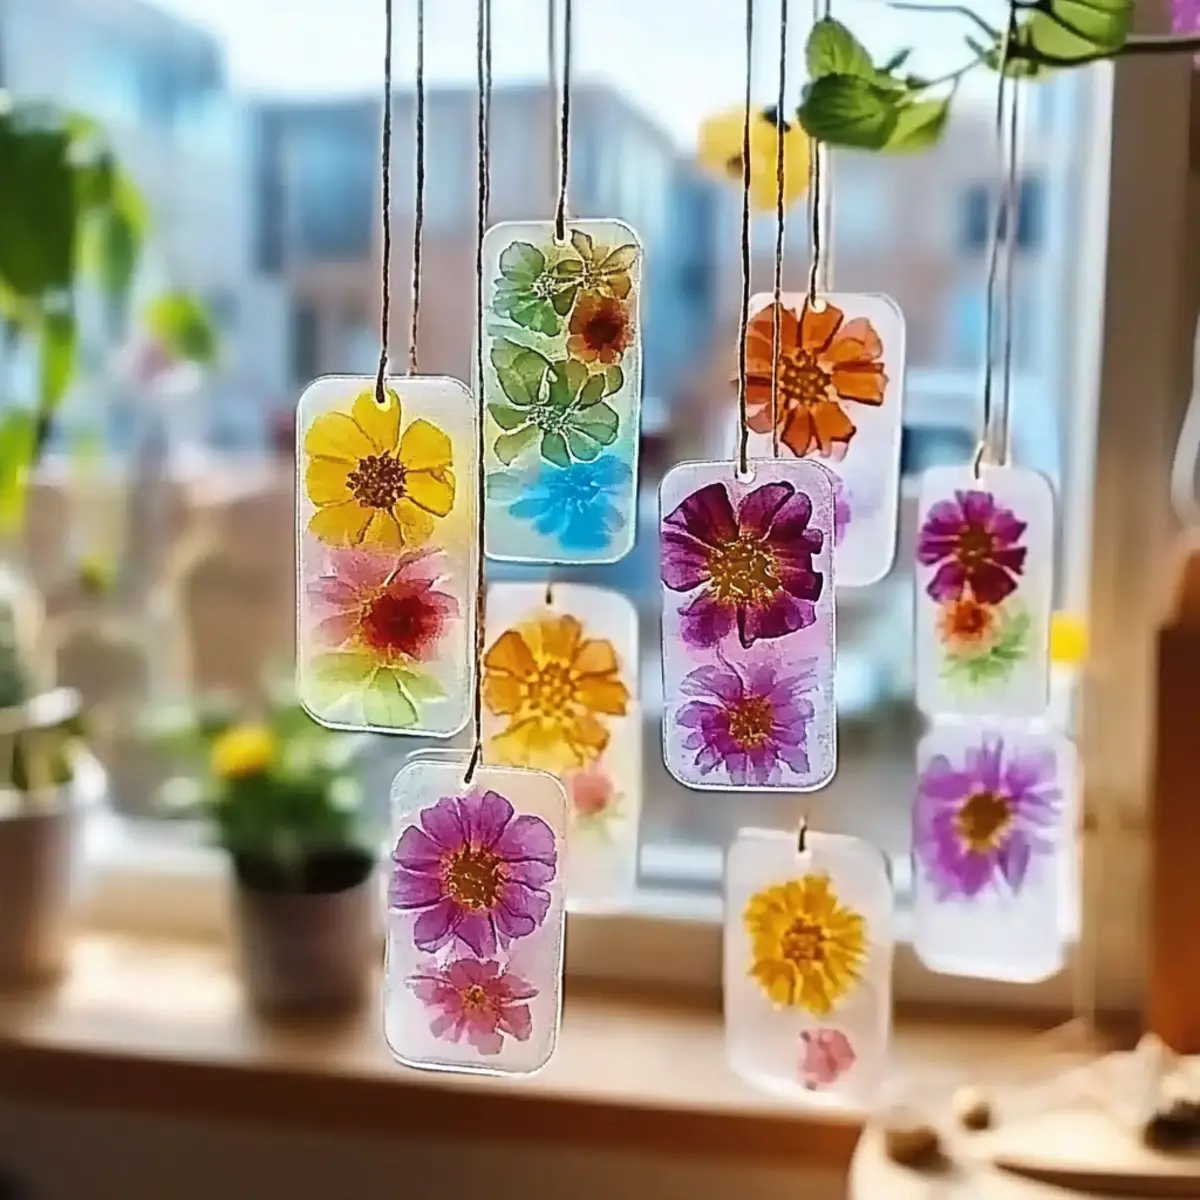
Bring sunshine and creativity indoors with charming suncatchers that promise vibrant reflections!
- Creative Playtime: Pair your crafting session with a fun family game day to enhance bonding and laughter.
- Healthy Snacks: Set out fresh fruits or colorful veggie platters to fuel artistic energy, like rainbow carrot sticks and juicy strawberries.
- Refreshing Lemonade: Enjoy a glass of homemade lemonade while crafting. Its refreshing tang perfectly balances warm, sunny afternoons.
- Nature Walk: Take a stroll outdoors post-crafting to gather more natural materials for your suncatchers, such as leaves or flowers.
- Artistic Music Playlist: Curate an uplifting playlist filled with cheerful tunes to inspire creativity as you create your masterpieces.
- Story Time: Dive into a creative children’s book about nature or colors to inspire theme ideas for your suncatchers while you work.
- Outdoor Display Ideas: Consider displaying your suncatchers in various spots around the yard or porch, enhancing your outdoor space’s overall charm.
- Crafty Themed Dessert: Treat yourself to some colorful cupcakes or cookies decorated to match the hues of your new suncatchers for a sweet indulgence!
How to Store and Freeze Bioplastic Suncatchers
Room Temperature: Store dried suncatchers in a cool, dry place away from direct sunlight to preserve their colors and integrity, ideally for up to 3 months.
Fridge: If you’re not ready to display your suncatchers immediately, keep them in a sealed container in the fridge for up to 2 weeks to maintain freshness.
Freezer: Freezing is not recommended as it may alter the texture and appearance of your bioplastic suncatchers, potentially causing them to break.
Reheating: If your suncatchers need reshaping, gently warm them in a sunny spot for a few minutes, but avoid excessive heat which can cause melting.
Bioplastic Suncatcher Variations
Feel free to unleash your creativity and customize your suncatchers with these delightful twists!
Fruit-Infused Scents: Add a few drops of non-toxic fruit extracts to your mixture for a pleasant aroma—create a sensory delight!
Colorful Layering: Pour different colored mixtures in layers to create a stunning, striped effect when your suncatchers catch the light.
Textured Techniques: Consider incorporating textured materials like fine sand or crushed leaves for a visually captivating finish that enhances your suncatchers’ depth.
Glitter Variations: Use biodegradable glitter in varying sizes for added sparkle, ensuring that it contributes to your eco-friendly ethos while making your designs pop!
Nature-Inspired Imprints: Press leaves or flower petals into the gel before it sets to add beautiful patterns, bringing a touch of nature into your creative masterpiece.
Ombre Effect: Blend two or more colors in a gradient for a mesmerizing ombre effect that gently transitions colors across your suncatcher.
Miniature Sizes: Try making smaller suncatchers that can be used as gift tags or ornaments, bringing joy in versatile forms that spread delight wherever they go.
These variations will turn your bioplastic suncatchers into unique treasures that reflect your personality and creativity!
DIY Eco-Friendly Colorful Suncatchers Recipe FAQs
What should I look for when selecting my ingredients?
Absolutely! For the best results, ensure your water is clean, and your cornstarch is fresh without clumps. When choosing gelatin, look for unflavored versions that are easily available in most grocery stores. For coloring, opt for natural or food-safe options; vibrant beet juice, spirulina, or turmeric can be excellent choices!
How should I store my finished suncatchers?
To keep your beautiful suncatchers in perfect condition, store them in a cool, dry area away from direct sunlight. They can last up to 3 months when kept properly; avoid humidity to prevent any moisture damage. If you’re not ready to display them yet, a sealed container in the fridge can maintain their freshness for up to 2 weeks.
Can I freeze my bioplastic suncatchers?
I wouldn’t recommend freezing these delicate beauties. Freezing can alter their texture and make them prone to breaking. Instead, store them at room temperature or in the fridge until you’re ready to display them. If you feel they need reshaping, gently warm them in a sunny spot for a few minutes instead!
How can I troubleshoot my suncatcher if it doesn’t hold its shape?
Oh no, if your suncatchers aren’t holding their shape, it might be due to overloading with embellishments or not allowing the mixture to thicken enough before spreading. First, ensure you’re heating the mixture on low enough to prevent burning. Next, keep the decorative layer thin, as too much weight can cause curling when drying. If you find them curling, you can gently flip them halfway through drying for a more even result.
Are these suncatchers safe for pets and children?
While the ingredients used are non-toxic, please remember these suncatchers are not meant for consumption! Always supervise children when creating and displaying these crafts, ensuring they understand they shouldn’t try to eat any of the materials. Demonstrating a safe distance for pets is also wise to avoid any accidental chewing.
What if I want to make variations of suncatchers?
Absolutely! Personalizing your suncatchers can be so much fun! You can experiment with different natural colorants to achieve various hues or add flavored extracts to the gel for a light scent (remember, they are not for consumption!). Substitute decorations with biodegradable options for that added eco-friendly touch, such as dried flower petals or even pressed leaves. The more, the merrier!
Brighten Your Home with Bioplastic Suncatchers: Easy Eco Craft
Ingredients
Equipment
Method
- In a saucepan, combine ½ cup of water, 2 tbsp cornstarch, 1 tbsp white vinegar, and 1 tbsp gelatin. Stir the mixture until it’s smooth and well combined.
- Place the saucepan over medium-low heat and continuously stir the mixture until it thickens into a gooey gel, about 3-5 minutes. Once it's smooth and pourable, remove from heat.
- Divide your thickened gel into several bowls and add your chosen natural colorants, mixing well.
- On a non-stick surface, spread the colored gel into fun shapes.
- Before the gel sets, use toothpicks to carefully press in your chosen decorations, ensuring they are evenly embedded.
- Allow your suncatchers to air dry in a well-ventilated area for 24-48 hours, flipping them halfway through.
- Once completely dry, use a hole punch to create holes for hanging.