Dare to Indulge: Burnt Honey Pie – Bold Flavor in Every Bite
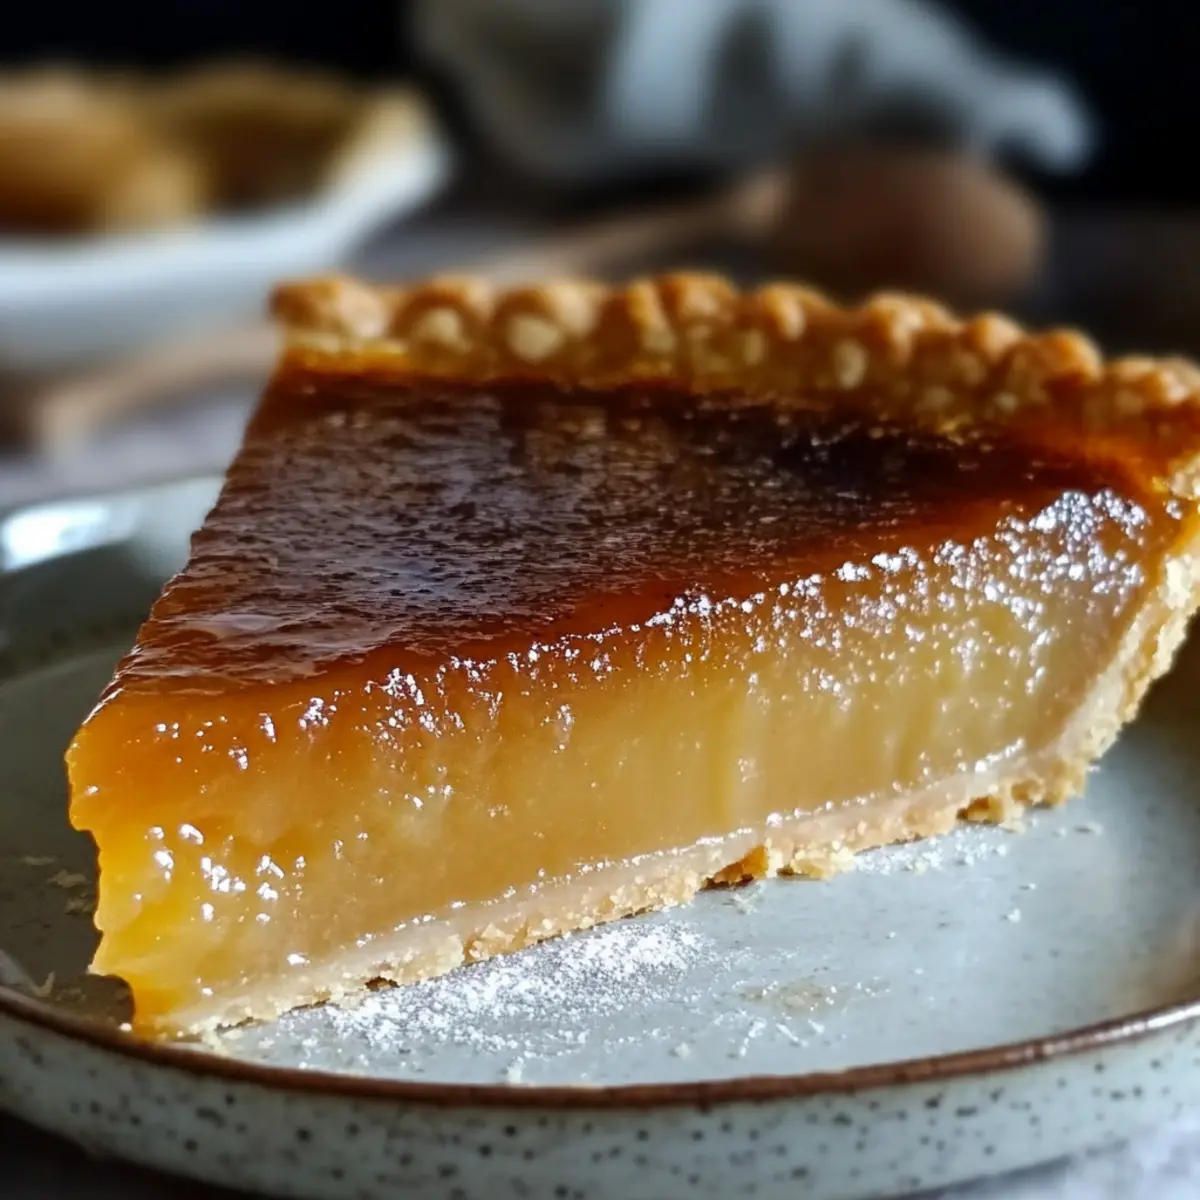
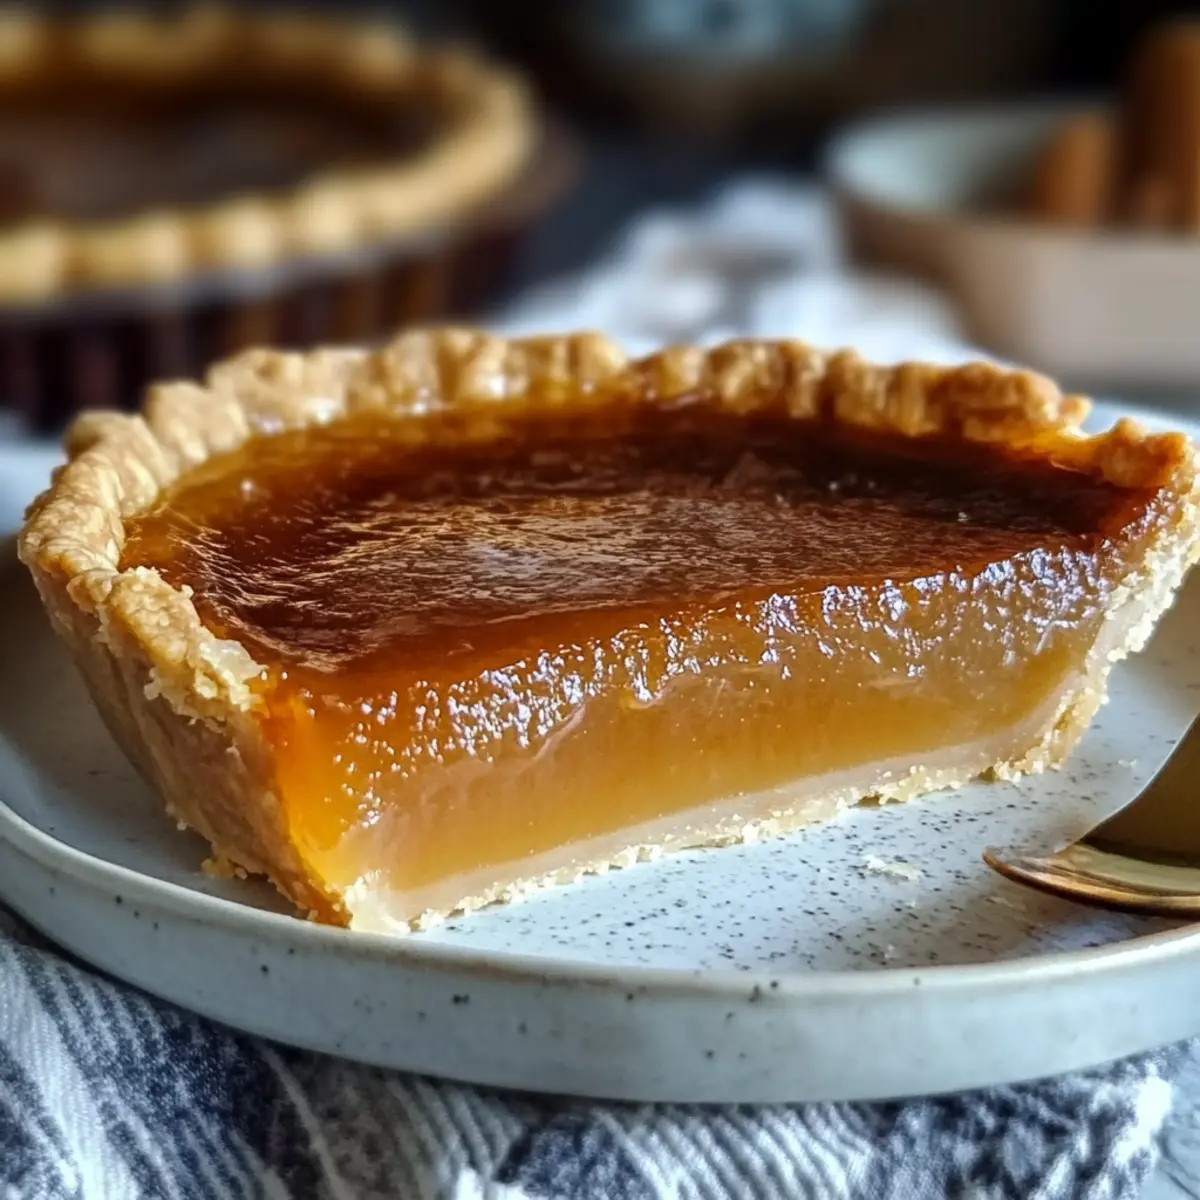
The moment I first tasted Burnt Honey Pie, something shifted within my culinary compass. The deep, caramelized notes of the honey, beautifully balanced by the buttery crust, created a symphony of flavors that lingered long after the last bite. Picture this: you’re preparing for a cozy gathering, and the sweet, inviting aroma fills the air, drawing everyone into the kitchen like moths to a flame. This dessert isn’t just a pie; it’s a conversation starter, a novel twist on classic Southern customs, and a testament to the beauty of taking simple ingredients and elevating them to something truly spectacular.
Whether you’re looking to impress at your next dinner party or simply craving a slice of comfort, Burnt Honey Pie delivers bold flavor in every bite. With each forkful, you’ll experience the bliss of silky custard kissed with a hint of salt, a delightful addition that turns ordinary sweetness into an extraordinary treat. Join me in crafting this unforgettable dessert that promises to be a showstopper, regardless of the occasion!
Why is Burnt Honey Pie a must-try?
Indulgent flavors: The unique caramelization of burnt honey infuses this pie with a rich, complex flavor that will leave your taste buds dancing.
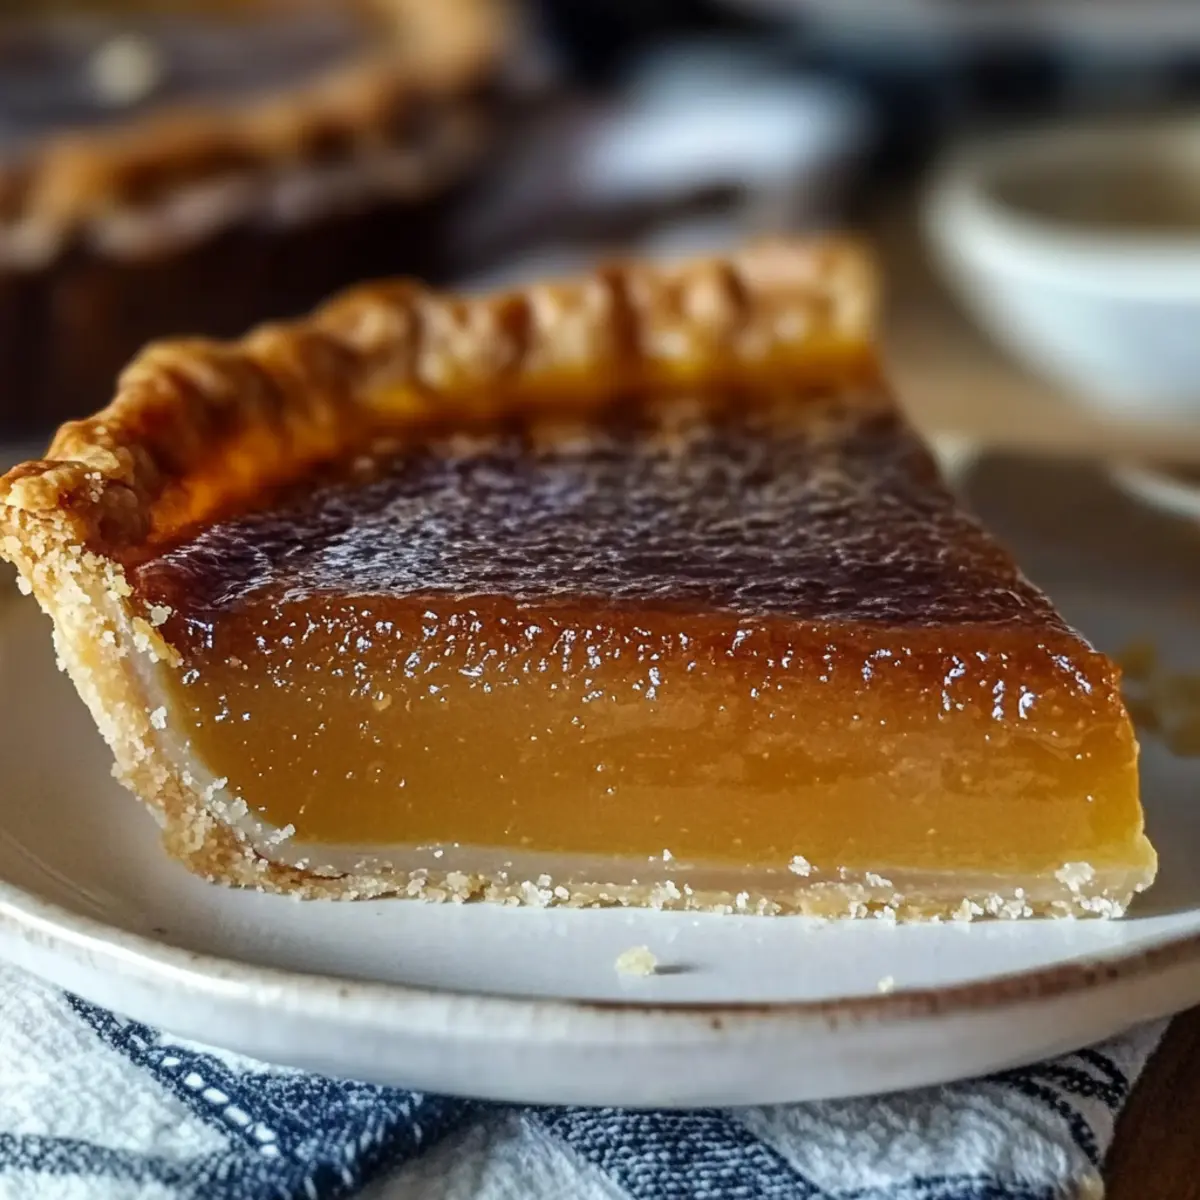
Perfect balance: The buttery crust harmonizes beautifully with the silky custard, while a sprinkle of sea salt enhances the sweetness for an exceptional dessert experience.
Crowd-pleaser: Ideal for gatherings, this stunning pie serves as the centerpiece of conversation, enticing your guests with its alluring aroma.
Versatile: Pair it with whipped cream or a scoop of ice cream for extra indulgence, or enjoy it solo for a comforting treat.
Straightforward preparation: Despite its elevated flavors, the recipe remains accessible, making it perfect for chefs of all skill levels. Add this delightful twist on tradition to your baking repertoire!
Burnt Honey Pie Ingredients
For the Crust
• 9-inch Pie Crust – A sturdy base for the pie; feel free to use homemade or store-bought for convenience.
For the Filling
• ½ cup Unsalted Butter – Adds richness; be sure to melt it and let it cool slightly before mixing.
• ¾ cup Granulated Sugar – Provides sweetness; brown sugar can offer a deeper flavor profile if desired.
• ½ cup Burnt Honey – The star of the show; caramelizing the honey gives a bold flavor that elevates this pie to new heights.
• ¼ cup Fine Cornmeal – Contributes slight thickness to the filling without causing grit; can be swapped with cornstarch for a gluten-free option.
• ¼ teaspoon Salt – Enhances overall flavor; consider kosher salt as a great substitute.
• 1 tablespoon White Vinegar or Lemon Juice – Brightens the flavor; apple cider vinegar can be used for a twist.
• 1 teaspoon Vanilla Extract – Adds warmth; opt for pure vanilla extract for the best results.
• 3 Large Eggs – Essential for custard structure; use room temperature eggs to ensure even mixing.
• ½ cup Heavy Cream – Provides a creamy texture; coconut cream is a great dairy-free alternative.
• Flaky Sea Salt (for topping) – A finishing touch that heightens the sweetness; Maldon salt works wonderfully here.
How to Make Burnt Honey Pie
Prepare the Crust: Begin by chilling your pie crust for at least 30 minutes. Once chilled, line it with foil, fill with pie weights, and bake at 375°F (190°C) for 12-15 minutes. Remove the weights and bake for an additional 5 minutes until lightly golden. Allow it to cool slightly.
Caramelize the Honey: In a saucepan over medium heat, carefully heat the honey until it turns a deep amber color, stirring occasionally. This process usually takes about 5-7 minutes. Be attentive to avoid burning it. Remove from heat to cool slightly.
Mix Filling Ingredients: In a large bowl, whisk together melted butter, granulated sugar, cornmeal, salt, vinegar or lemon juice, and vanilla extract until thoroughly combined.
Incorporate Eggs and Cream: Add the eggs one at a time, whisking well after each addition. Then stir in the heavy cream until the mixture is smooth and well-blended. Finally, gently fold in the burnt honey to infuse it with rich flavor.
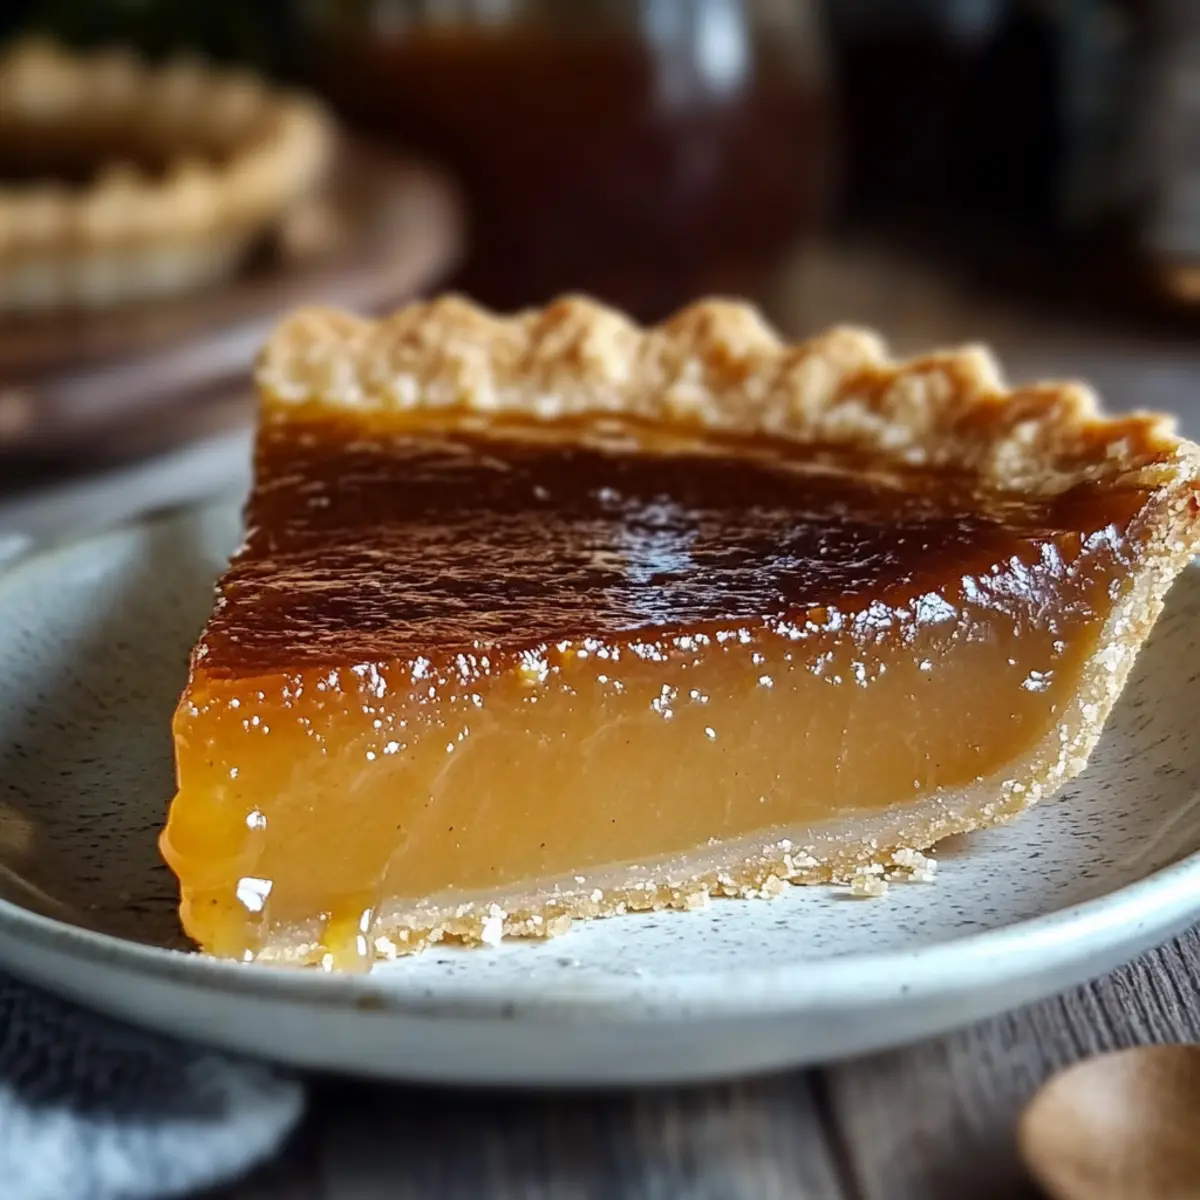
Combine and Bake: Pour the filling into the pre-baked pie crust and place it on a baking sheet for easier handling. Bake in the oven at 350°F (175°C) for 40-50 minutes until the filling is set but slightly jiggly in the center. If it begins to brown too quickly, loosely tent with foil.
Cool and Serve: Allow the pie to cool completely on a wire rack for at least 2 hours, which helps set the filling. Before serving, sprinkle with flaky sea salt to enhance the flavors.
Optional: Serve each slice with a dollop of fresh whipped cream for an extra indulgence.
Exact quantities are listed in the recipe card below.
What to Serve with Burnt Honey Pie?
The perfect pie deserves the perfect accompaniments to enhance its rich, caramelized flavors and decadent texture.
Whipped Cream: A light dollop adds airiness that balances the pie’s sweetness and rich custard, enhancing each bite beautifully.
Vanilla Ice Cream: The creamy, cold texture melts into the warmth of the pie, offering a delightful contrast that tantalizes the palate.
Fresh Berries: A handful of fresh raspberries or blueberries introduces a refreshing tartness, creating an exquisite harmony with the sweetness of the pie. Pairing fruit adds a burst of color and flavor.
Herbal Tea: A cup of mint or chamomile tea provides a soothing contrast, allowing the bold flavors of the pie to shine even brighter.
Red Dessert Wine: A light dessert wine, like a late harvest Riesling, complements the pie’s caramel notes while enhancing the overall indulgence of your dessert experience.
Crunchy Nuts: Chopped pecans or walnuts sprinkled on top add a delightful crunch, making each bite an exciting textural exploration.
Indulging in your Burnt Honey Pie with these delicious pairings creates a memorable and beautiful table spread that your guests will love!
Make Ahead Options
These Burnt Honey Pie preparations are perfect for busy home cooks looking to save time! You can caramelize the honey and prepare the filling up to 24 hours in advance; simply refrigerate it in an airtight container to maintain freshness. For even more convenience, the pie crust can be baked a day ahead and stored at room temperature, covered to prevent drying. When you’re ready to serve, just pour the chilled filling into the pre-baked crust, bake as instructed, and let it cool. Remember, the pie should be chilled for at least 2 hours before serving, allowing the flavors to meld beautifully. With these make ahead options, you’ll have a show-stopping dessert ready with minimal effort!
Expert Tips for Burnt Honey Pie
Quality Honey: Choose high-quality honey for the best flavor. A well-caramelized, premium honey will elevate the overall taste of your burnt honey pie significantly.
Watch the Heat: When caramelizing the honey, keep a close eye on it. Stir frequently to prevent burning and achieve that beautiful deep amber color that will give your pie a rich flavor.
Room Temperature Ingredients: Ensure your eggs and heavy cream are at room temperature for easier mixing. This helps create a smoother filling for your burnt honey pie.
Chill the Crust: Give your pie crust enough time to chill before baking. A well-chilled crust helps prevent shrinking during the blind-baking process.
Don’t Rush Cooling: Allow the pie to cool completely on a wire rack before slicing. This ensures the filling sets firmly and makes for cleaner slices.
Tasting Note: Sprinkle a little extra flaky sea salt just before serving to enhance that sweet and salty contrast, making each bite of burnt honey pie a delightful experience.
Storage Tips for Burnt Honey Pie
Refrigeration: Store the burnt honey pie tightly covered in the fridge for up to 4 days. Bring to room temperature before serving for the best flavor and texture.
Freezing: Wrap the pie well in plastic wrap and foil to avoid freezer burn; it can be frozen for up to 2 months. Thaw in the fridge overnight when ready to enjoy again.
Slicing: For best results, slice the pie after it has cooled completely. This will help maintain its structure during storage and serving.
Reheating: If you prefer it warm, gently reheat slices in the oven at a low temperature of about 300°F (150°C) for 10-15 minutes, ensuring it doesn’t dry out.
Burnt Honey Pie Variations
Customize your Burnt Honey Pie with these delightful twists and substitutions that will make your dessert uniquely yours!
- Maple Swap: Replace burnt honey with maple syrup for a different depth of flavor and sweetness. The result is a cozy, autumn-inspired pie with warm notes.
- Nutty Crunch: Stir in ½ cup of chopped pecans or walnuts into the filling for a lovely crunch that complements the creamy custard beautifully. This adds a delightful texture contrast that brings the pie to life.
- Spice it Up: Add ½ teaspoon of ground cinnamon or nutmeg to the filling for a warm, spiced flavor that enhances the sweetness. These hints of spice create a wonderful aromatic experience that your guests will adore.
- Citrus Zest: Incorporate 1 teaspoon of orange or lemon zest into the filling for a bright, fresh twist that balances the sweetness beautifully. This adds an uplifting note that invigorates the palate.
- Gluten-Free Crust: Substitute the regular pie crust with a gluten-free option made from almond flour or gluten-free all-purpose flour for an inclusive dessert without sacrificing flavor. The nutty crust pairs wonderfully with the filling.
- Dairy-Free Creaminess: Use coconut cream instead of heavy cream to make the pie dairy-free, while still delivering a rich and creamy texture. The coconut adds a subtle tropical flair that surprises the taste buds delightfully.
- Salted Caramel Drizzle: Drizzle homemade or store-bought salted caramel sauce on top before serving for an indulgent finishing touch that amplifies both the sweetness and saltiness. This decadent addition creates a visually stunning and irresistible dessert.
- Chocolate Lover’s Treat: Fold in ½ cup of mini chocolate chips into the filling for a rich chocolatey surprise in every bite. The combination of chocolate with honey creates a harmonious flavor profile that’s purely irresistible!
Burnt Honey Pie Recipe FAQs
What type of honey should I use for the best Burnt Honey Pie?
Absolutely, the quality of honey makes a significant difference! I recommend using a high-quality, floral honey for the best flavor. Look for brands that carry local or artisanal options, as their unique notes can elevate the richness of the pie and create a more complex flavor profile.
How should I store leftovers of my Burnt Honey Pie?
For your burnt honey pie, you’ll want to store it tightly covered in the fridge, where it can last for up to 4 days. When it’s time to enjoy it again, allow it to come to room temperature for the best flavor and texture. If there are any slices left, you can cover them with wax paper or plastic wrap to keep them fresh!
Can I freeze Burnt Honey Pie?
Yes, you can freeze the burnt honey pie! Wrap it securely in plastic wrap and then in foil to prevent freezer burn. It will keep well for up to 2 months. When you’re ready to serve it again, simply thaw it overnight in the fridge and then let it sit at room temperature for about 30 minutes before serving.
Why is my Burnt Honey Pie not setting properly?
If your burnt honey pie isn’t setting properly, it might be due to over or under-baking. The center should be slightly jiggly when you take it out, as it’ll continue to firm up while cooling. Also, ensuring all ingredients are at room temperature before mixing can help achieve a smoother consistency and better baking results.
Can I make this pie gluten-free?
Absolutely! To make a gluten-free burnt honey pie, you can substitute the fine cornmeal with cornstarch or a gluten-free flour blend. Be sure to choose a gluten-free pie crust as well — there are plenty of delicious options available, or you can whip up a homemade one using gluten-free flour.
Is this pie safe for my pets?
While burnt honey pie is delicious for humans, it’s not suitable for pets, especially due to the rich sweetness and the sugar content. Honey is not recommended for dogs under one year old, and the high sugar levels can be harmful to many pets, so it’s best to keep them away from this dessert!
Dare to Indulge: Burnt Honey Pie – Bold Flavor in Every Bite
Ingredients
Equipment
Method
- Chill your pie crust for at least 30 minutes. Line with foil, fill with pie weights, and bake at 375°F (190°C) for 12-15 minutes. Remove the weights and bake for an additional 5 minutes until lightly golden. Cool slightly.
- In a saucepan over medium heat, carefully heat the honey until it turns a deep amber color, stirring occasionally (about 5-7 minutes). Remove from heat to cool slightly.
- In a large bowl, whisk together melted butter, granulated sugar, cornmeal, salt, vinegar or lemon juice, and vanilla extract until thoroughly combined.
- Add the eggs one at a time, whisking well after each addition. Stir in the heavy cream until smooth, then gently fold in the burnt honey.
- Pour the filling into the pre-baked pie crust and bake at 350°F (175°C) for 40-50 minutes until the filling is set but slightly jiggly in the center. Tent with foil if it browns too quickly.
- Cool completely on a wire rack for at least 2 hours. Before serving, sprinkle with flaky sea salt.