Cheesy Garlic Chicken Wraps
why make this recipe
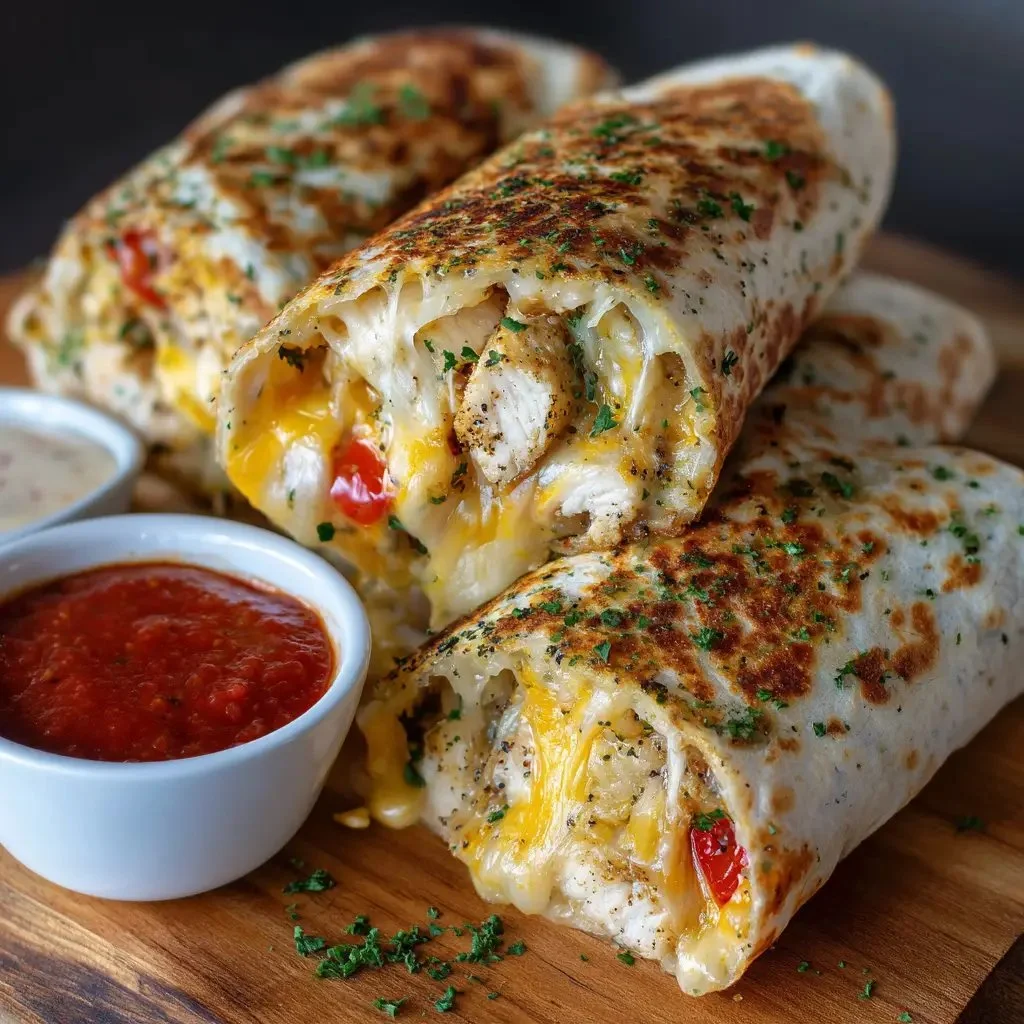
Cheesy Garlic Chicken Wraps are a perfect meal for busy days when you want something quick yet delicious. They are easy to prepare, filling, and packed with flavor. This recipe uses simple ingredients, making it an ideal choice for a weeknight dinner or a fun lunch. The combination of cheesy goodness with tender chicken and garlic creates a satisfying dish that everyone will love.
how to make Cheesy Garlic Chicken Wraps
Ingredients:
- Chicken breast (cooked, diced) – 2 cups
- Garlic (minced) – 4 cloves
- Olive oil – 1 tablespoon
- Shredded mozzarella cheese – 1 cup
- Shredded cheddar cheese – 1 cup
- Flour tortillas (medium) – 4 pieces
- Butter – 1 tablespoon
- Parsley (chopped, optional) – 1 tablespoon
- Salt and black pepper – To taste
Directions:
- Cook the chicken if not already done. Season with salt and pepper and cook by baking, sautéing, or grilling until just cooked; dice into small pieces.
- In a pan over medium heat, warm olive oil. Add minced garlic and sauté until golden and fragrant, about 30 seconds to 1 minute.
- Add the diced chicken to the pan and toss with the garlic oil to infuse flavor. Remove from heat and stir in mozzarella and cheddar while the chicken is hot to help melt the cheese.
- Lay a tortilla flat and spoon a generous portion of the cheesy garlic chicken mixture in the center. Fold in the sides and roll tightly like a burrito.
- In a skillet, melt butter over medium heat. Place the wraps seam-side down and cook for 2–3 minutes per side, or until golden brown and crispy. Flip carefully to avoid spilling the filling.
- Remove from heat and let rest for 1–2 minutes before slicing or serving. Sprinkle parsley if desired and serve warm.
how to serve Cheesy Garlic Chicken Wraps
Serve these wraps warm with a side of salad or your favorite dipping sauce. They are great for lunch or dinner, and you can also pack them as a tasty snack for picnics or road trips.
how to store Cheesy Garlic Chicken Wraps
If you have leftovers, let the wraps cool completely, then wrap them tightly in plastic wrap or store them in an airtight container. They will keep in the refrigerator for up to 3 days. You can reheat them in a skillet or microwave when you are ready to enjoy them again.
tips to make Cheesy Garlic Chicken Wraps
- Customize your wraps by adding vegetables such as spinach, mushrooms, or sautéed onions.
- Feel free to swap in different cheeses for a unique flavor.
- For a gluten-free option, use gluten-free tortillas instead of regular ones.
variation
You can try adding different proteins like shrimp or steak to change up the flavor profile. Additionally, adding spices like paprika or chili powder can give a little extra kick.
FAQs
1. Can I use pre-cooked chicken for this recipe?
Yes, using pre-cooked chicken can save you time. Just make sure to season and heat it properly before mixing with the cheese.
2. How can I make these wraps healthier?
To make them healthier, use whole wheat tortillas and add more vegetables. You can also reduce the amount of cheese or choose low-fat cheese options.
3. Can I freeze these wraps?
Yes, you can freeze the assembled wraps before cooking. Just make sure to wrap them well. When ready to eat, thaw them in the fridge and cook as directed.
Cheesy Garlic Chicken Wraps
Ingredients
Method
- Cook the chicken if not already done. Season with salt and pepper and cook by baking, sautéing, or grilling until just cooked; dice into small pieces.
- In a pan over medium heat, warm olive oil. Add minced garlic and sauté until golden and fragrant, about 30 seconds to 1 minute.
- Add the diced chicken to the pan and toss with the garlic oil to infuse flavor. Remove from heat and stir in mozzarella and cheddar while the chicken is hot to help melt the cheese.
- Lay a tortilla flat and spoon a generous portion of the cheesy garlic chicken mixture in the center. Fold in the sides and roll tightly like a burrito.
- In a skillet, melt butter over medium heat. Place the wraps seam-side down and cook for 2–3 minutes per side, or until golden brown and crispy. Flip carefully to avoid spilling the filling.
- Remove from heat and let rest for 1–2 minutes before slicing or serving. Sprinkle parsley if desired and serve warm.