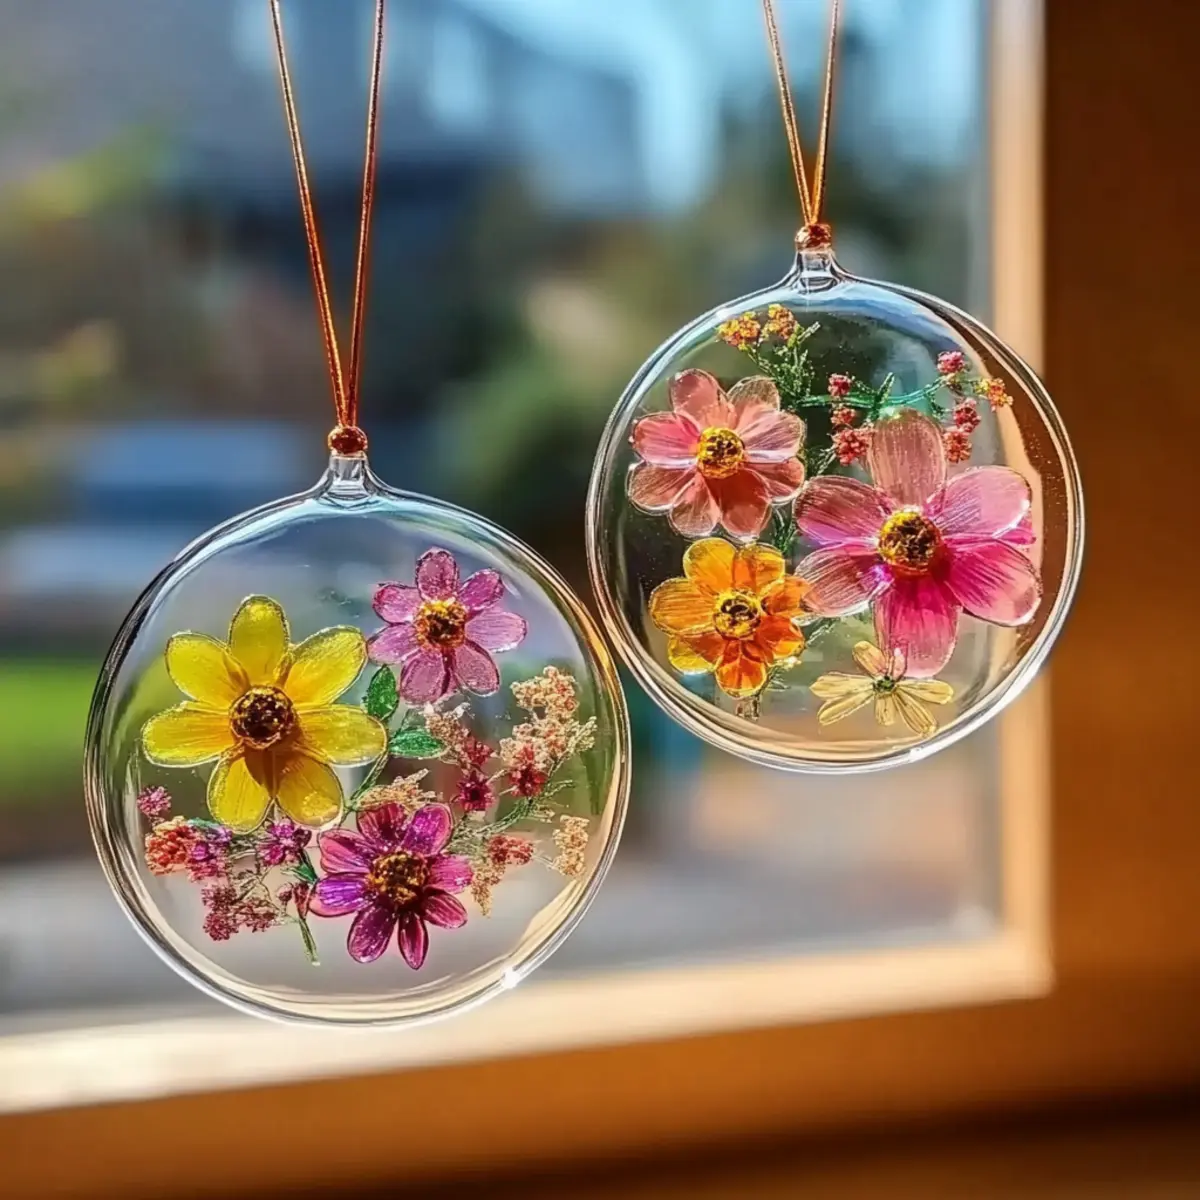
Clear Glue Flower Suncatcher: The Best DIY Brightener for Windows
There’s something truly uplifting about a burst of color dancing across your walls, and that’s exactly what these Clear Glue Flower Suncatchers deliver! I discovered this delightful DIY project on a lazy afternoon, and it quickly turned into a family favorite. The joy of crafting these suncatchers lies not just in their vibrant beauty, but also in the personal touch you can add with pressed flowers and other decorative elements.
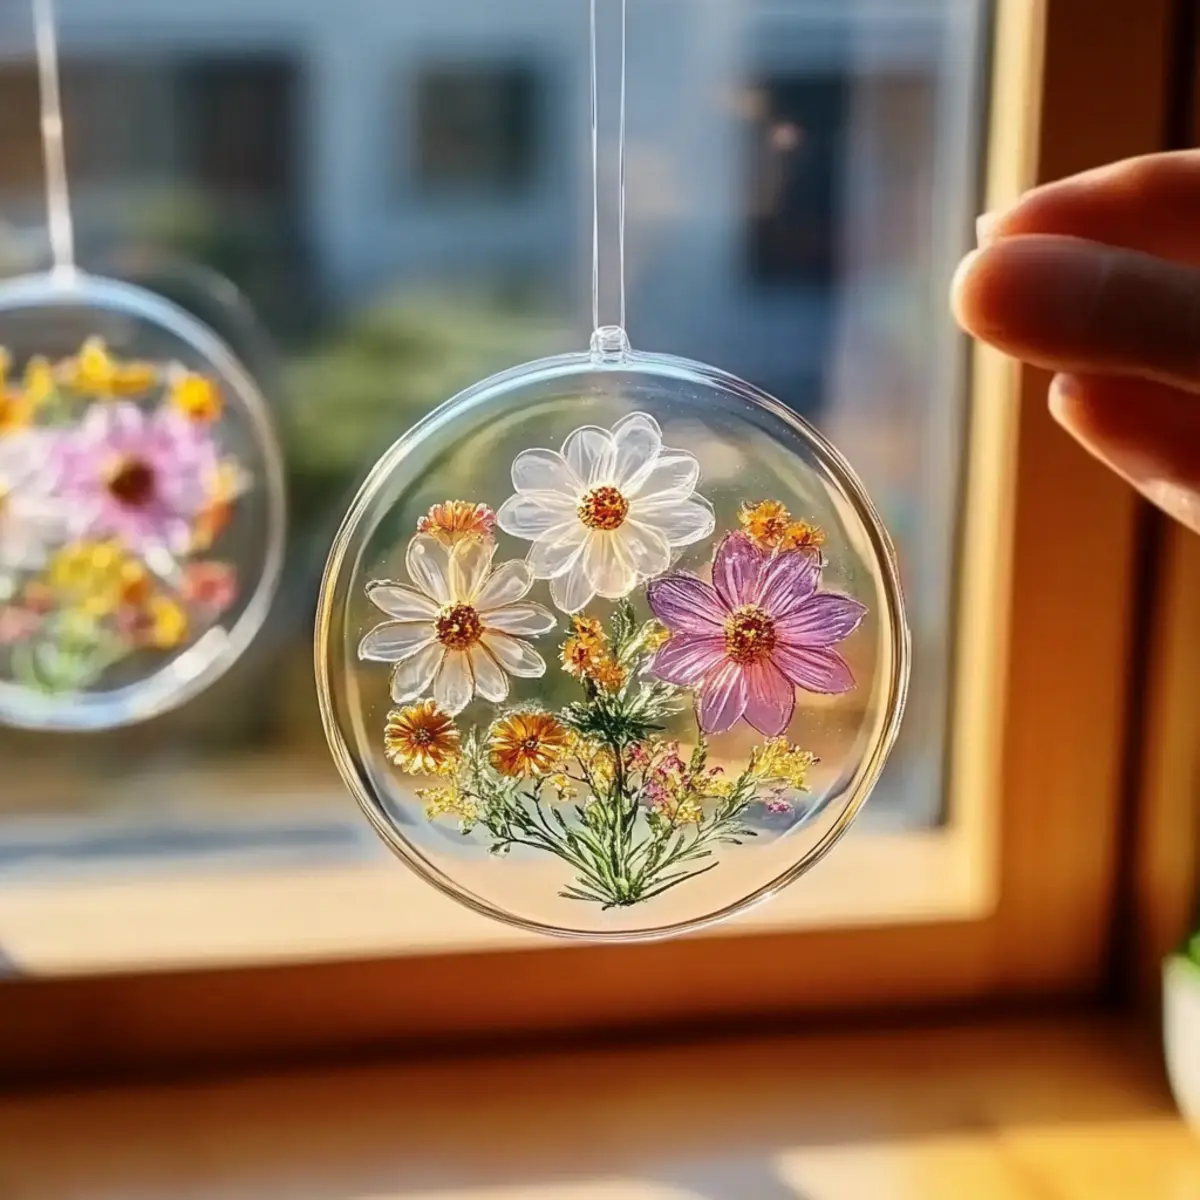
Perfect for anyone looking to brighten their home or inject a bit of creativity into a child’s playtime, this easy project takes just 10 minutes to prep, and the result is a stunning decoration that catches the sunlight beautifully. Whether you’re displaying them in your windows, gifting them to friends, or simply enjoying the hands-on fun of creating, these suncatchers are sure to be a hit. Join me as we dive into the world of DIY delighting and make your own cheerful addition to your living space!
How will Clear Glue Flower Suncatcher brighten your space?
Vibrant Colors: These suncatchers catch sunlight beautifully, casting cheerful reflections throughout your home.
Quick & Easy: With only 10 minutes of prep time, you can maximize creativity without a time commitment.
Fully Customizable: Personalize your suncatcher using pressed flowers and fun embellishments to match your style.
Family Fun: This project is perfect for all ages, making it a delightful activity for kids and adults alike.
Perfect Gift: Brighten someone’s day by gifting these handcrafted beauties, showcasing your creativity and thoughtfulness.
Transform your home with these charming decorations and enjoy the hands-on experience of crafting!
Clear Glue Flower Suncatcher Ingredients
For the Base
Plastic Lid/Clear Acetate Sheet – A solid foundation for your suncatcher; ensures a clear view of your beautiful designs.
For the Adhesive
Clear School Glue – Combines pieces together with transparency; easy to use and dries clear for a smooth finish.
For the Decoration
Pressed Flowers – Offers a lovely touch of nature; mix different types to create vibrant and unique arrangements.
Optional Add-ins – Include things like glitter, tissue paper scraps, or sequins to give your suncatcher an extra flair.
For Hanging
String or Suction Cup Hook – Essential for displaying your beautiful work in a sunny window.
For Finishing Touches
Scissors – For trimming any excess materials to ensure a neat appearance.
Wax Paper/Parchment Paper – Protects your workspace from glue spills during the crafting process.
Optional Black Marker or Dark Paper – Can be used to create a decorative frame around your suncatcher for added contrast.
Now you’re all set! Gather your materials and let’s get started on your delightful Clear Glue Flower Suncatcher project!
How to Make Clear Glue Flower Suncatchers
Prepare Your Workspace: Begin by laying down wax paper or parchment paper to protect your crafting area from glue spills. This step ensures an easy clean-up, keeping the joy in your crafting.
Apply Glue: Take your clear school glue and generously apply it to your flat, clear surface, like a plastic lid or acetate sheet. Spread it evenly, creating a nice base for your flowers to adhere to.
Arrange Flowers: Place your pressed flowers on the glue. Experiment with different colors and types for a visually stunning effect, but remember to leave some space for a balanced design.
Add Embellishments: Sprinkle in any optional add-ins—like glitter or tissue paper scraps—to personalize and add flair to your creation. Mix and match to create the suncatcher of your dreams!
Let Dry: Allow your masterpiece to dry overnight. This might feel like waiting forever, but trust me, the result will be worth it—beautifully vibrant and ready to shine!
Trim Edges: Once fully dried, carefully use scissors to trim any excess material around the edges, ensuring a clean and polished look for your suncatcher.
Hang It Up: Attach a string or suction cup hook to your suncatcher, making it easy to display in a sunny window that will showcase its stunning colors when the light hits just right.
Optional: For an extra touch, use a black marker to create a decorative frame around your suncatcher for contrast.
Exact quantities are listed in the recipe card below.
How to Store and Freeze Clear Glue Flower Suncatchers
- Room Temperature: Allow suncatchers to dry completely before displaying. They can be stored on a shelf or in a box for up to 2 weeks without any issues.
- Fridge: If you want to keep your suncatchers fresh while crafting, you can place them in the fridge for overnight storage to prevent glue from drying too quickly.
- Freezer: While freezing is not recommended for suncatchers, if you need to temporarily store them due to inclement weather, wrap them in bubble wrap and keep them in an airtight container for up to 1 week.
- Reheating: If the glue has been affected by storage, gently warm the suncatcher in a sunny spot to help restore its transparency before hanging it up again.
Variations & Substitutions on Clear Glue Flower Suncatchers
Feel free to get creative and put your own spin on these delightful suncatchers!
Flower Variety: Try using different types of pressed flowers like lavender, daisies, or even fall leaves for seasonal color pops. Each flower brings its unique charm and fragrance, enhancing the aesthetic appeal.
Tissue Paper Add-ins: Instead of or alongside pressed flowers, use colorful tissue paper to create softer, whimsical designs. This provides a playful touch that casts subtle colors throughout the room.
Glitter Explosion: Add a sprinkle of glitter to the glue before laying down your flowers. This little twist creates a sparkly effect that twinkles in the sunlight, enhancing the magical vibe.
Framed Creativity: Create a decorative frame around your suncatcher using black or colored cardstock for contrast. This simple yet effective change adds depth and draws attention to your beautiful creation.
Different Shapes: Experiment with various shapes of the base, such as hearts, stars, or circles, to make versatile décor for any occasion. Each unique shape can add a fun element to your décor.
Layered Design: For a more intricate look, layer your pressed flowers in different sections with varying levels of glue, creating a 3D effect that catches the light beautifully.
Added Texture: Attach thin slices of natural materials like barks or thin twigs to introduce a tactile element. This not only changes the look but gives a naturalistic vibe to your suncatcher.
Colorful Ribbon: Instead of a plain string, use colorful ribbons for hanging. This adds an extra pop of color and a playful element, inviting even more sunny charm!
Unleash your inner artist and let these variations elevate your crafting adventure!
What to Serve with Clear Glue Flower Suncatcher?
Creating a beautiful suncatcher is just the beginning of your crafting adventure!
Light Snacks: A platter of fresh fruit and cheese pairs perfectly for a quick and refreshing taste while you craft. The colors will inspire your creativity too!
Herbal Iced Tea: Sip on homemade herbal iced tea to stay refreshed during your project. A hint of mint or lemon elevates the relaxing crafting experience.
Crafting-themed Playlist: Enjoy music or audiobooks while you create. This auditory background can enhance your mood and keep creativity flowing.
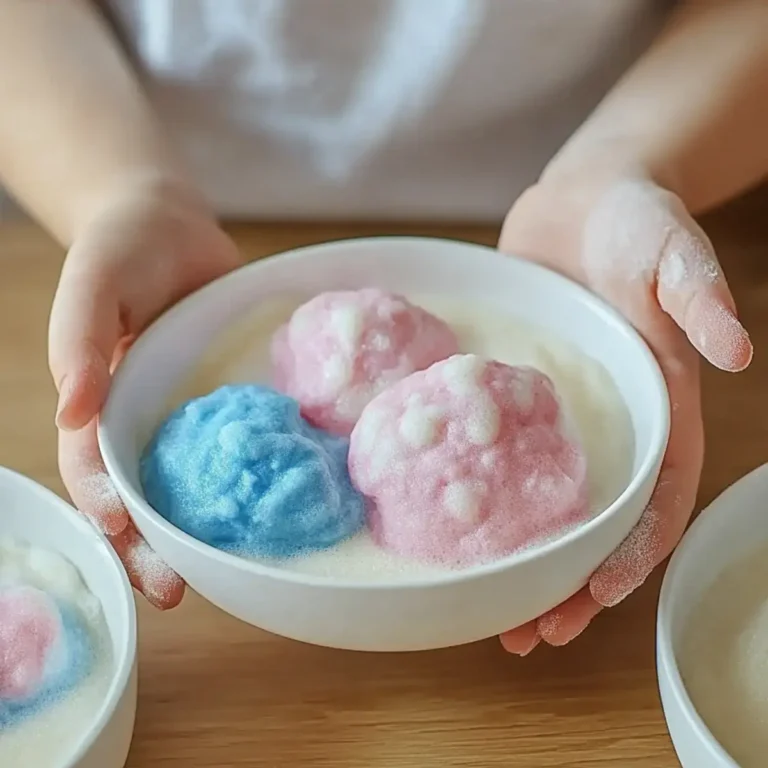
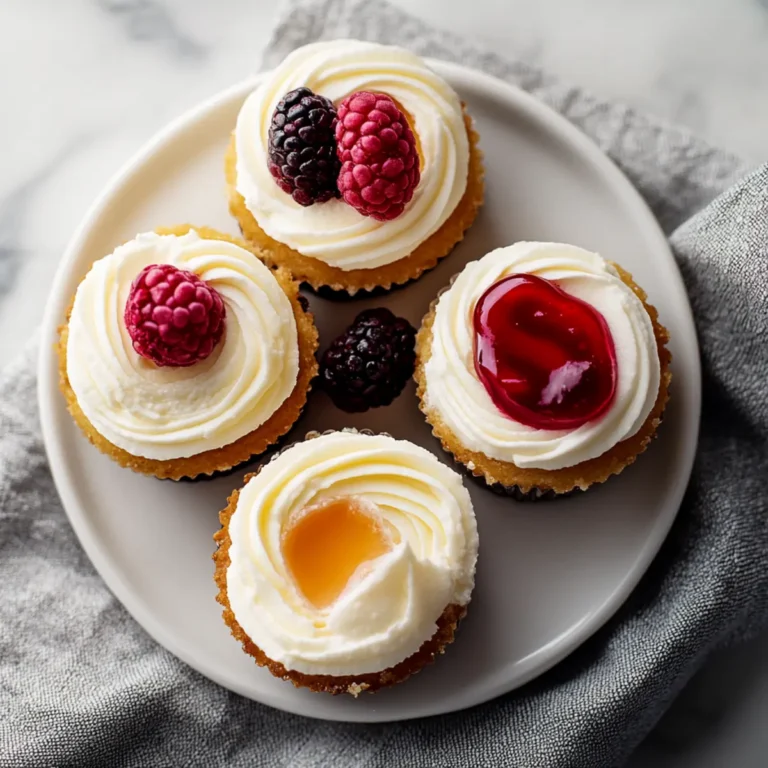
Colorful Cupcakes: Treat your family to colorful cupcakes decorated with edible flowers. These delightful desserts echo your suncatcher designs and add sweetness to your crafting time!
DIY Brunch: Invite friends for a brunch featuring colorful veggie quiche and fruit salad. Share ideas and inspirations for more DIY projects while enjoying each other’s company.
Homemade Lemonade: A refreshing pitcher of lemonade complements any craft day perfectly. The zesty flavor will keep you energized as you dive into your suncatcher fun.
Tips for the Best Clear Glue Flower Suncatcher
Choose Quality Flowers: Opt for flat, dried pressed flowers to ensure they lie smoothly on the glue. This prevents overcrowding and achieves a stunning visual effect.
Be Generous with Glue: Applying enough clear school glue ensures better adhesion of flowers and embellishments. A thin layer may result in elements peeling off over time.
Vary Sizes and Shapes: Create a more dynamic display by varying the sizes and shapes of your suncatchers. Different designs will enhance visual interest when hung together.
Patience is Key: Allow your suncatcher to dry completely overnight. Attempting to hang it too early can cause sagging or damage, leading to a less than perfect finished product.
Experiment with Colors: Don’t hesitate to mix different flower types and optional add-ins, such as glitter or colored tissue paper. This customization allows each Clear Glue Flower Suncatcher to reflect your unique style!
Make Ahead Options
These Clear Glue Flower Suncatchers are a fantastic option for busy home cooks and DIY enthusiasts looking to save time! You can prepare the base by applying clear school glue and arranging pressed flowers up to 24 hours in advance, allowing the glue to dry overnight. To maintain quality, cover your creations with plastic wrap to prevent dust and keep them free from damage. When you’re ready to display, simply trim any excess edges and attach a string or suction cup hook for hanging. This way, you’ll have a stunning decoration ready to brighten your space with minimal effort on the day you need it!

Clear Glue Flower Suncatcher Recipe FAQs
What type of flowers should I use for my suncatcher?
Absolutely! For the best results, opt for flat, dried pressed flowers that won’t overshadow others. Wildflowers or seasonal blooms usually work beautifully. Ensure they are thin to create a smooth finish on your suncatcher.
How long can I store my suncatchers?
Suncatchers can be stored safely on a shelf or in a box for up to 2 weeks after drying completely. Make sure they are in a cool, dry area to avoid any dampness that could affect their beauty.
Can I freeze my suncatchers?
While freezing isn’t ideal for suncatchers, you can wrap them in bubble wrap and place them in an airtight container if needed due to bad weather. They should be kept in the freezer for no longer than 1 week to maintain their shape and clarity.
What should I do if my suncatcher is sagging?
If you notice sagging before hanging it up, don’t worry! Simply place the suncatcher in a sunny spot for a little while to help melt and soften the glue slightly. This should allow it to sit back into place!
Are there any allergies I should be aware of with the materials?
Very! If you or someone in your home has allergies, be sure to check the labels on all add-ins, such as glitter or embellishments, as they can sometimes contain allergens. Additionally, ensure that the glue is non-toxic to make it safe for all ages.
How should I hang my suncatcher?
For hanging, use a string or suction cup hook for easy attachment to windows. If you’re looking for a more durable option, consider using a small command hook that can be gently affixed to your window frame without causing damage.

Clear Glue Flower Suncatcher: The Best DIY Brightener for Windows
Ingredients
Equipment
Method
- Prepare Your Workspace: Lay down wax paper or parchment paper to protect your crafting area.
- Apply Glue: Apply clear school glue to your flat, clear surface.
- Arrange Flowers: Place pressed flowers on the glue, leaving space for balance.
- Add Embellishments: Sprinkle in optional add-ins like glitter to personalize.
- Let Dry: Allow your masterpiece to dry overnight.
- Trim Edges: Use scissors to trim excess material for a neat look.
- Hang It Up: Attach string or a suction cup hook to display.