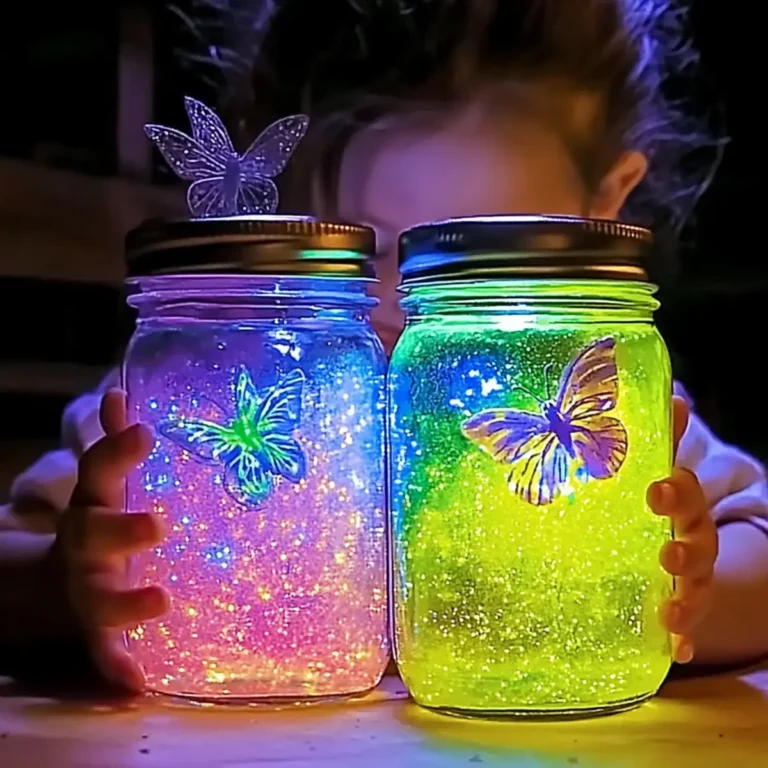
Stunning Crayon Star Sun Catchers: Colorful DIY to Brighten Windows
There’s something incredibly satisfying about breathing new life into old items, and what better way to do that than by creating dazzling Crayon Star Sun Catchers? ☀️⭐️ As I rummaged through our crayon box, I discovered a treasure trove of neglected colors that had been waiting for their moment to shine. This colorful DIY project not only offers a creative outlet but also transforms those worn crayons into stunning decorations for your home.
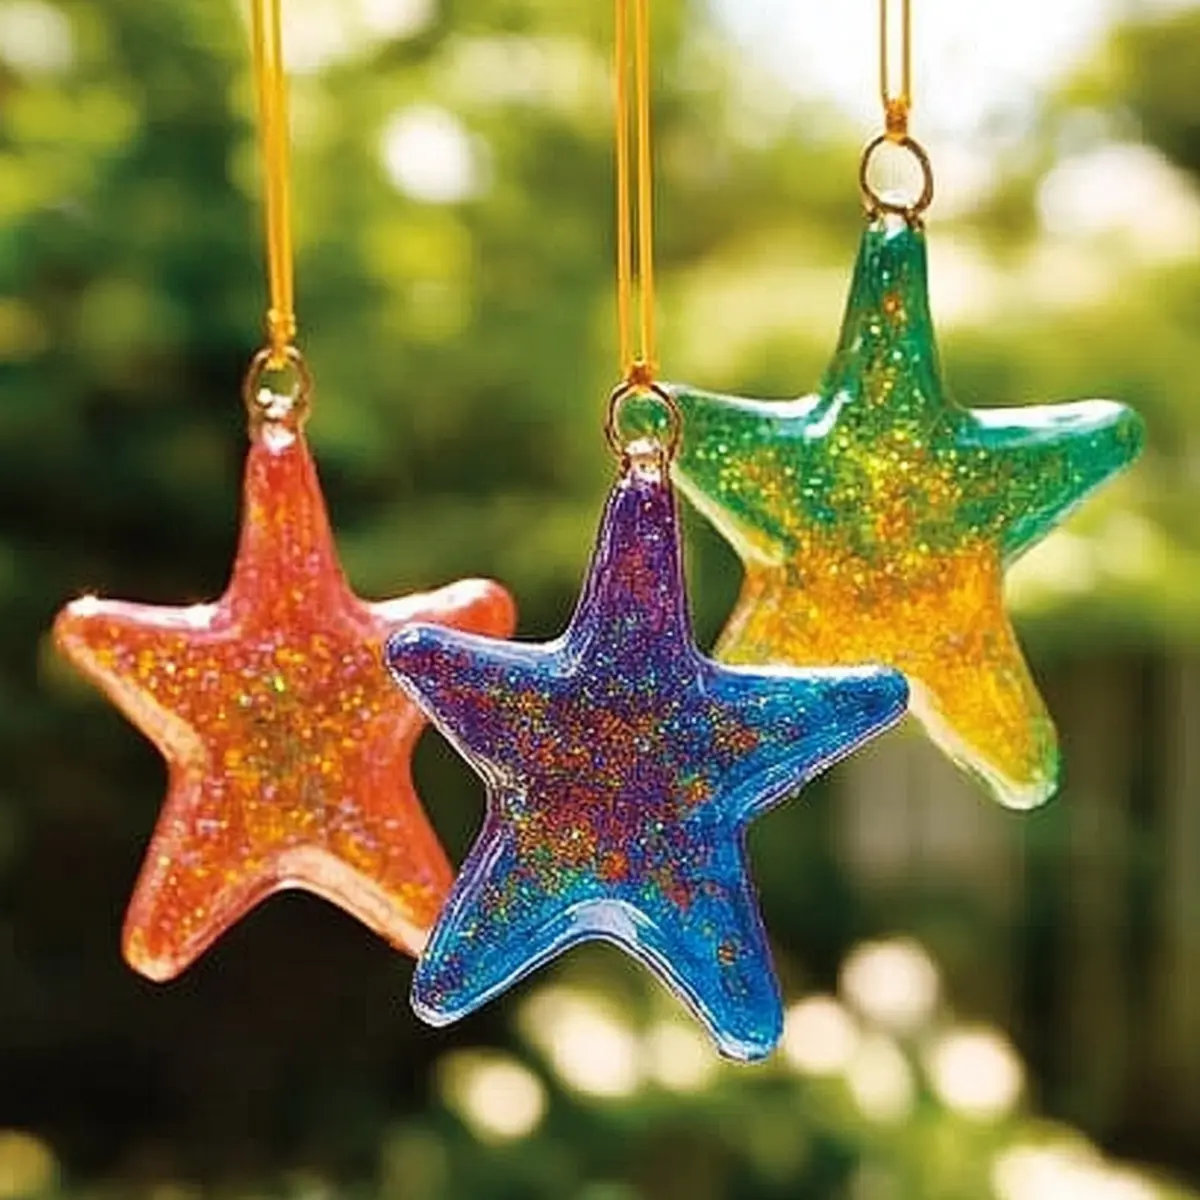
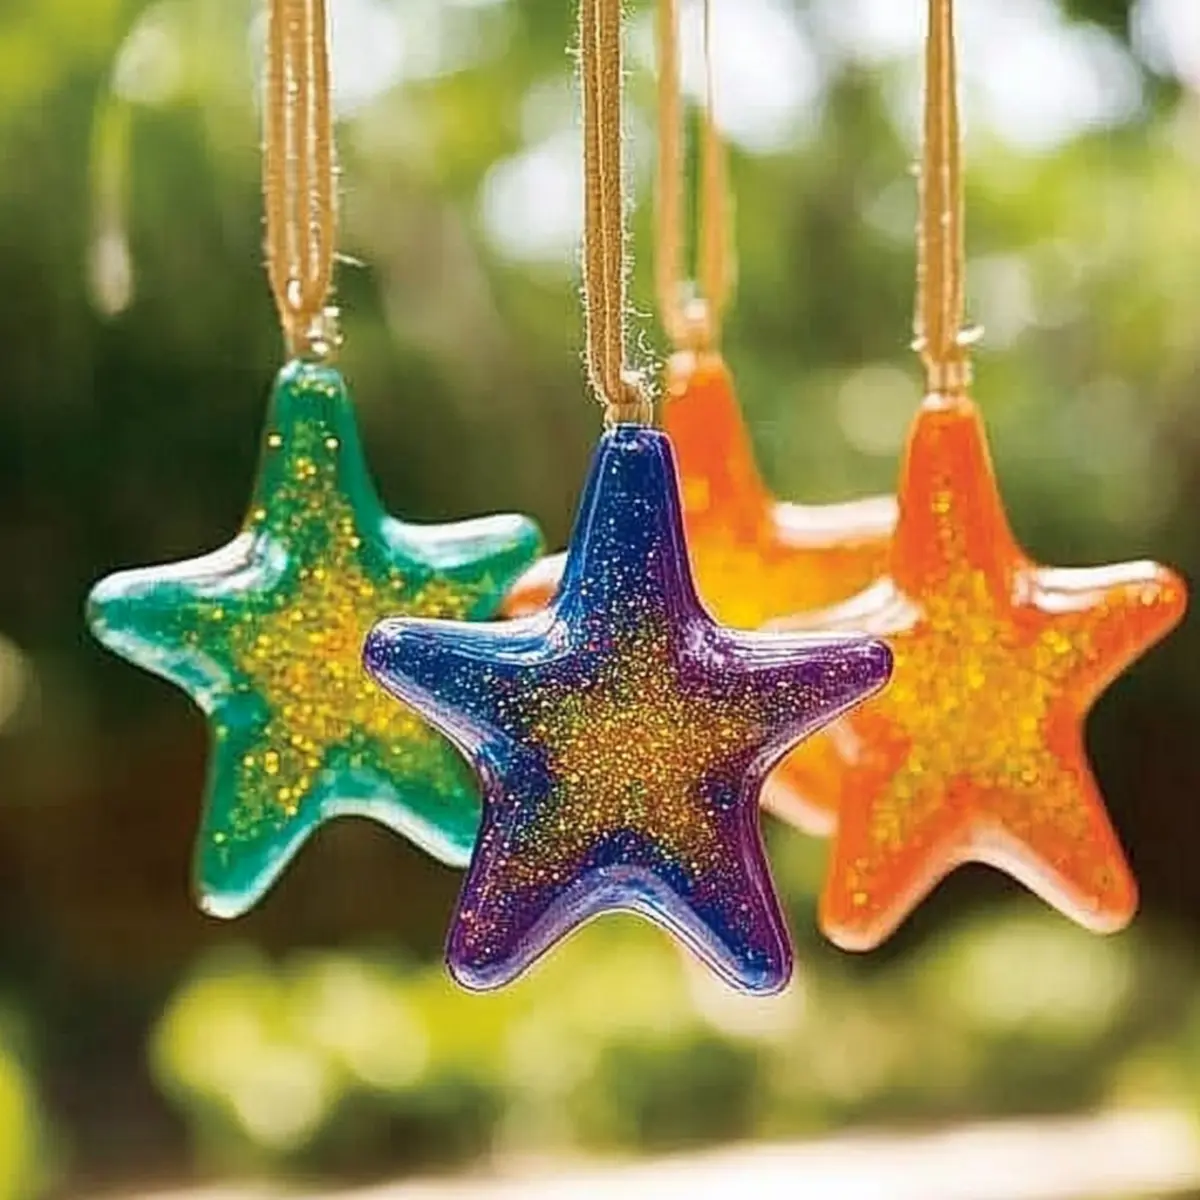
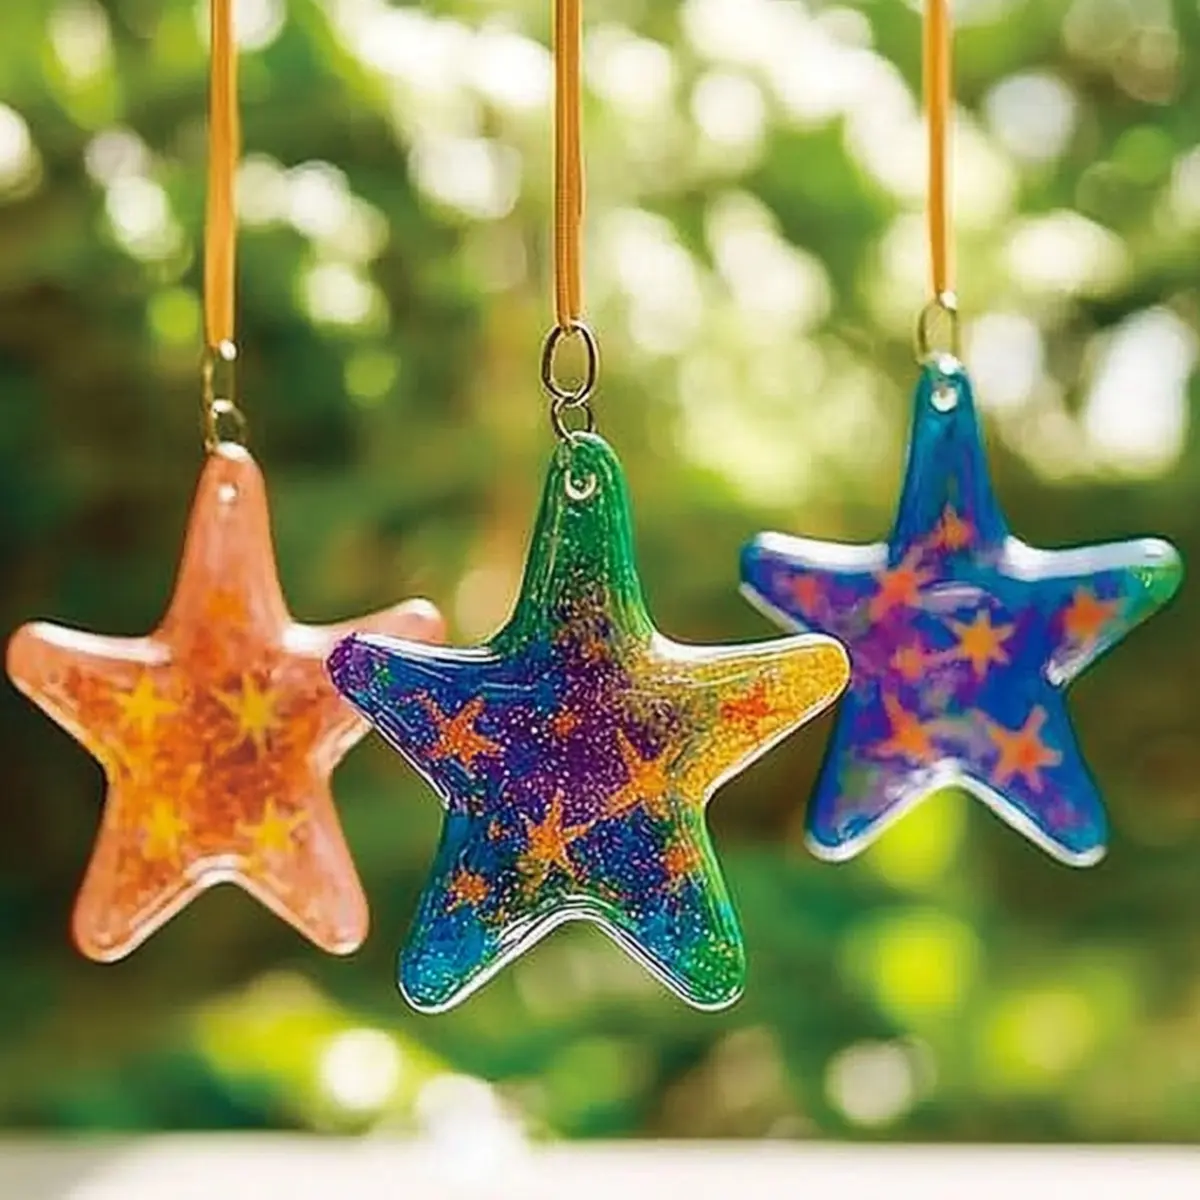
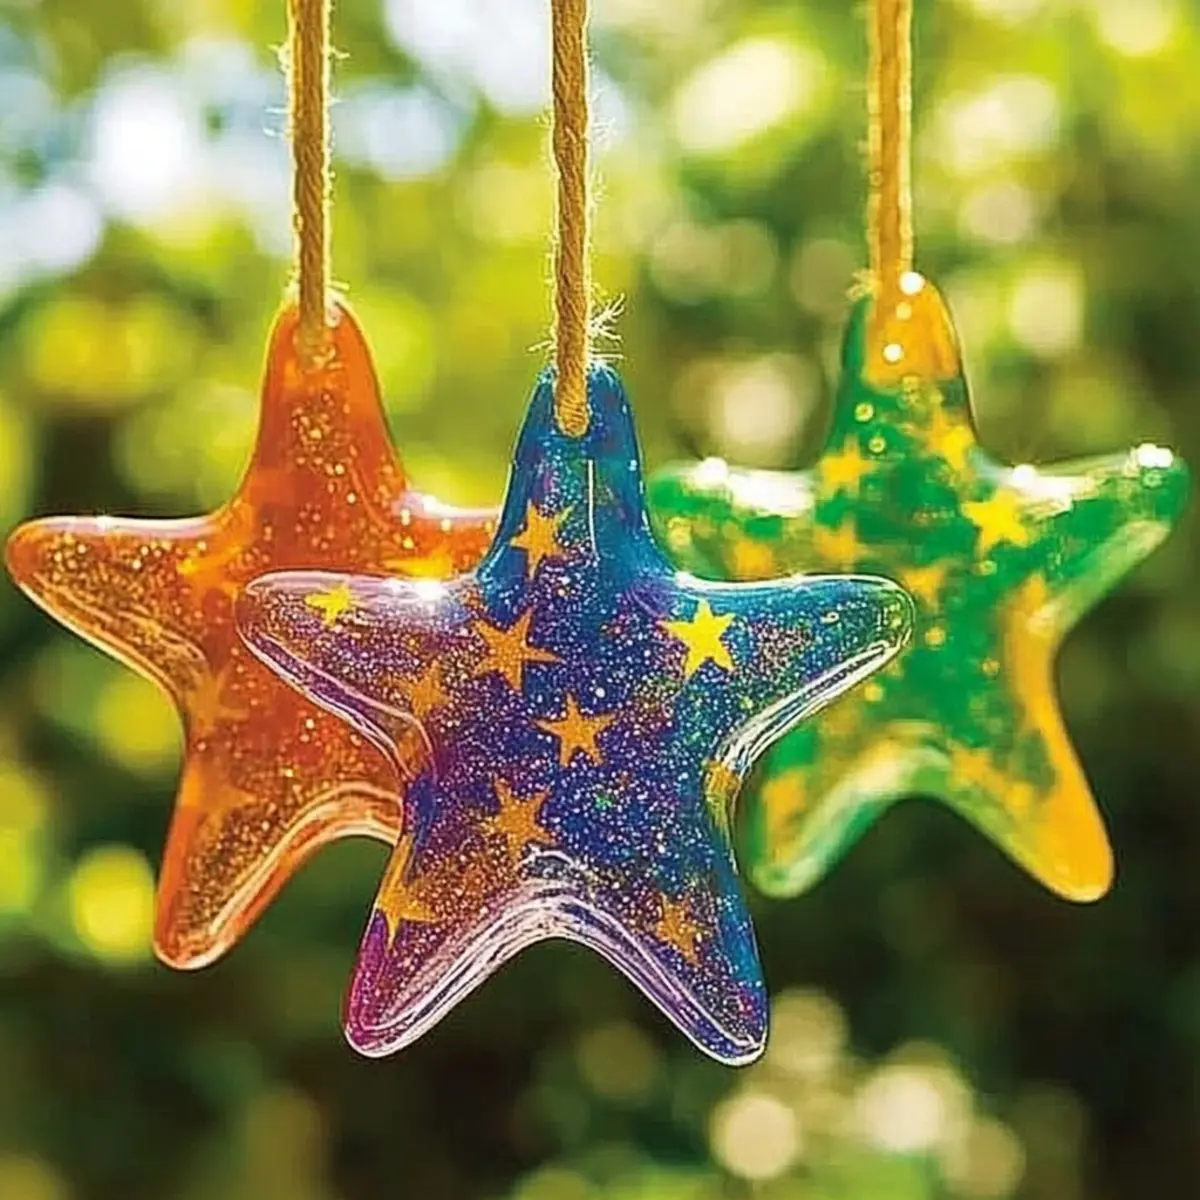
Perfect for kids and adults alike, these vibrant sun catchers can brighten any window and make cheerful gifts for family and friends. Just picture how the light dances through the colorful, layered shapes, casting a warm, rainbow glow in your space. It’s an easy and budget-friendly craft that promises an afternoon filled with creativity and fun. Plus, it’s an excellent way to introduce eco-friendly practices by upcycling what would have been tossed aside. Let’s dive into the world of melted crayon magic!
Why love Crayon Star Sun Catchers?
Vibrant Colors: Transform your old crayons into a spectacular display of color that enhances any room. The sunlight shines through, creating a magic rainbow effect that captivates all ages.
Easy to Make: This craft project is simple, requiring minimal tools and supplies — perfect for beginner crafters or a fun family activity.
Creative Freedom: With various shapes and layering options, each sun catcher can be a unique masterpiece. Experiment with stencils for different designs or mix colors for marbled effects.
Eco-Friendly Fun: Upcycle those dusty crayons and promote sustainability while having a blast!
Joyful Gifts: These colorful creations make thoughtful presents for friends and family, spreading cheer with every hanging sun catcher.
Crayon Star Sun Catchers Ingredients
For the Crayon Layering
• Old crayons – Gather a variety of colors to create a beautiful spectrum in your sun catchers.
• Wax paper – Essential for holding your colorful design in place while melting.
• Parchment paper – Protects your iron and work surface from melted crayon mess.
For Crafting Supplies
• Manual sharpener or knife – Use for creating fine crayon shavings; adult supervision is necessary.
• Iron – Set to low heat specifically for melting crayon shavings into flat designs.
• Star stencil or cookie cutter – Perfect for cutting your melted crayon design into charming star shapes.
For Hanging
• Baker’s twine or string – Essential for displaying your Crayon Star Sun Catchers in windows.
• Hole punch – Useful for making holes to thread the string through your creations.
How to Make Crayon Star Sun Catchers
Prepare Crayons: Begin by sharpening or carefully cutting your old crayons into fine shavings. Aim for a variety of colors to bring vibrancy to your design.
Arrange Shavings: Layer your crayon shavings on a sheet of wax paper, creating the desired star shape or any other pattern that inspires you. Get creative!
Cover with Parchment: Gently place a piece of parchment paper over your crayon shavings. This will protect your workspace and the iron while melting the crayons.
Melt Crayons: Set your iron to low heat and slowly move it over the parchment paper. Keep an eye on it until the crayons are fully melted and the mixture looks glossy and smooth.
Cut Out Shapes: Carefully peel back the parchment paper, and while the melted design is still warm, use your star stencil or cookie cutter to cut out star shapes.
Punch Holes: Using a hole punch, create holes near the top of each star for hanging later. Make sure they’re big enough for your twine or string.
Hang: Thread a piece of baker’s twine or string through the punched hole and hang your beautiful Crayon Star Sun Catchers in your favorite window to catch the light!
Optional: Add a few drops of essential oil to the melting crayon for a lovely, subtle scent.
Exact quantities are listed in the recipe card below.
What to Serve with Crayon Star Sun Catchers?
Create a magical atmosphere with delightful options to complement the colorful joy of your sun catchers.
Festive Window Garlands: String together multiple sun catchers to create a bright, cheerful garland. This adds a continuous flow of color and spirit to your space.
Homemade Scented Candles: Enhance the sensory experience with candles in vibrant colors. Their warm glow paired with the light dancing through your sun catchers creates a cozy ambiance.
Colorful Wall Art: Hang more artwork nearby using similar colors to tie the room together. Let these vibrant accents inspire creativity and harmony.
Playful Table Centerpieces: Incorporate colorful floral arrangements that complement the hues of your sun catchers. Fresh blooms invite warmth and life into any setting.
Brightly Colored Throw Pillows: Choose cushions that echo the colors of your sun catchers to create a cohesive look. This adds a soft, inviting touch to your living spaces.
Refreshing Beverages: Serve colorful drinks like fruit-infused lemonade or colorful smoothies to match the playful spirit of your crafting session.
Mix and match these ideas to embrace creativity and warmth in your home!
Storage Tips for Crayon Star Sun Catchers
Room Temperature: Keep your melted crayon star shapes flat in a cool, dry place for up to 3 weeks to maintain their vibrant colors and prevent warping.
Fridge: If storing for longer, place sun catchers in an airtight container in the fridge for up to 2 months. Allow them to come to room temperature before displaying.
Freezer: For extended storage, Crayon Star Sun Catchers can be frozen in an airtight container for up to 6 months. Just ensure they are fully wrapped to avoid freezer burn.
Reheating: If they lose their sheen, you can briefly re-melt the surface with an iron on low heat through parchment paper to restore their glossy finish.
Make Ahead Options
These Crayon Star Sun Catchers are a delightful project that can be prepped ahead for your busy schedule! You can sharpen your old crayons and create colorful shavings up to 24 hours in advance, storing them in an airtight container to maintain their vibrancy. Alternatively, you can assemble the wax paper layers with shavings already arranged up to 3 days ahead, just be sure to keep them flat and away from heat to prevent melting. When you’re ready to complete your sun catchers, simply follow the melting and cutting steps. With these make-ahead options, you’ll save time while still creating stunning decorations that brighten your home!
Crayon Star Sun Catchers Variations
Feel free to unleash your creativity and switch things up with these fun options to make your sun catchers even more unique!
Shape Shuffle: Try different shapes like hearts, leaves, or animals for a whimsical twist. Each design can spark a new story!
Gradient Effect: Layer crayons from light to dark colors to create a stunning gradient look. The light will shine beautifully through the blended hues.
Layered Textures: Combine thin and thick layers of crayon shavings to add depth. This artistic variation will catch the eye and highlight your creativity.
Scented Sun Catchers: Add a few drops of essential oil to the melting crayon for a delightful aroma that will fill your home alongside the colors.
Color Schemes: Choose a specific color palette, like sunset hues or ocean blues, to match your room decor while making a stylish statement.
Twisted String Art: Use colorful string or yarn instead of twine for an extra vibrant touch when hanging your creations. It adds a playful flair!
Multi-Shape Garland: String together several different shapes to create a cheerful garland. Perfect for parties or seasonal decorations, it brings a burst of happiness!
Opt for Metallics: Incorporate metallic crayons for a touch of glamour that shimmers when the sunlight hits, elevating your sun catchers to new heights of beauty.
Expert Tips for Crayon Star Sun Catchers
Choose Bold Colors: Opt for bright, vibrant colors to craft Crayon Star Sun Catchers that pop and brighten any space.
Layer Wisely: Layer different color shavings for stunning marbled effects, ensuring a unique design each time you create.
Iron Carefully: Keep the iron on low heat and avoid leaving it in one spot too long to prevent burning the wax paper or crayons.
Use Quality Materials: Ensure you use good quality wax paper and parchment paper to achieve the best melting results without mess.
Cool Before Handling: Allow the shapes to cool completely before moving; this ensures they hold their formed shapes and prevent warping.
Crayon Star Sun Catchers Recipe FAQs
What type of old crayons are best?
Absolutely! You can use any old crayons for this project. Just gather a variety of colors to create a stunning spectrum in your sun catchers. I love mixing different shades to get that beautiful marbled effect—it’s all about what colors inspire you!
How should I store my Crayon Star Sun Catchers?
To keep your melted crayon star shapes in tip-top shape, store them flat in a cool, dry place for up to 3 weeks. If you want to keep them longer, place them in an airtight container and store them in the fridge for up to 2 months. Remember, you can also freeze them for up to 6 months; just ensure they’re tightly wrapped to avoid freezer burn. When you’re ready to use them, allow them to come to room temperature first.
Can I freeze Crayon Star Sun Catchers? If so, how?
Yes! Freezing is a great method for long-term storage. Here’s how you can do it: First, allow the sun catchers to cool completely and ensure they are flat. Then, place them in an airtight container—this prevents freezer burn. They can be frozen for up to 6 months. When you’re ready to display them, simply remove from the freezer and let them thaw at room temperature.
What should I do if my melted crayon design isn’t glossy?
Very common! Sometimes the melted design can lose its sheen after a while. If that happens, you can easily restore it. Just take a low-heat iron, place a piece of parchment paper over the design, and gently reheat for a few seconds. Keep the iron moving to avoid burning, and voilà! Your sun catchers will shine beautifully once again.
Are there any dietary considerations for Crayon Star Sun Catchers?
While these sun catchers are not intended for consumption and pose no risk to pets or children if left hanging, it’s still essential to supervise young children as they work with the manual sharpener and iron. If any of the materials contain allergens or concerns for specific individuals, consider substituting or using alternative supplies—your well-being comes first!
Can I use other shapes besides stars for my sun catchers?
Absolutely! The more the merrier! Feel free to use other cookie cutters or stencils that resonate with your creativity. You can create hearts, leaves, or even abstract designs. Mixing and layering colors can yield delightful, unique combinations, allowing you to make each sun catcher a personal masterpiece!
Stunning Crayon Star Sun Catchers: Colorful DIY to Brighten Windows
Ingredients
Equipment
Method
- Begin by sharpening or carefully cutting your old crayons into fine shavings. Aim for a variety of colors.
- Layer your crayon shavings on a sheet of wax paper, creating the desired star shape or pattern.
- Gently place a piece of parchment paper over your crayon shavings.
- Set your iron to low heat and slowly move it over the parchment paper until the crayons are melted and glossy.
- Carefully peel back the parchment paper, and use your star stencil or cookie cutter to cut out star shapes.
- Using a hole punch, create holes near the top of each star for hanging.
- Thread a piece of baker’s twine or string through the punched hole and hang your creations.