Spark Joy with Crayon Star Sun Catchers: A Colorful DIY Delight
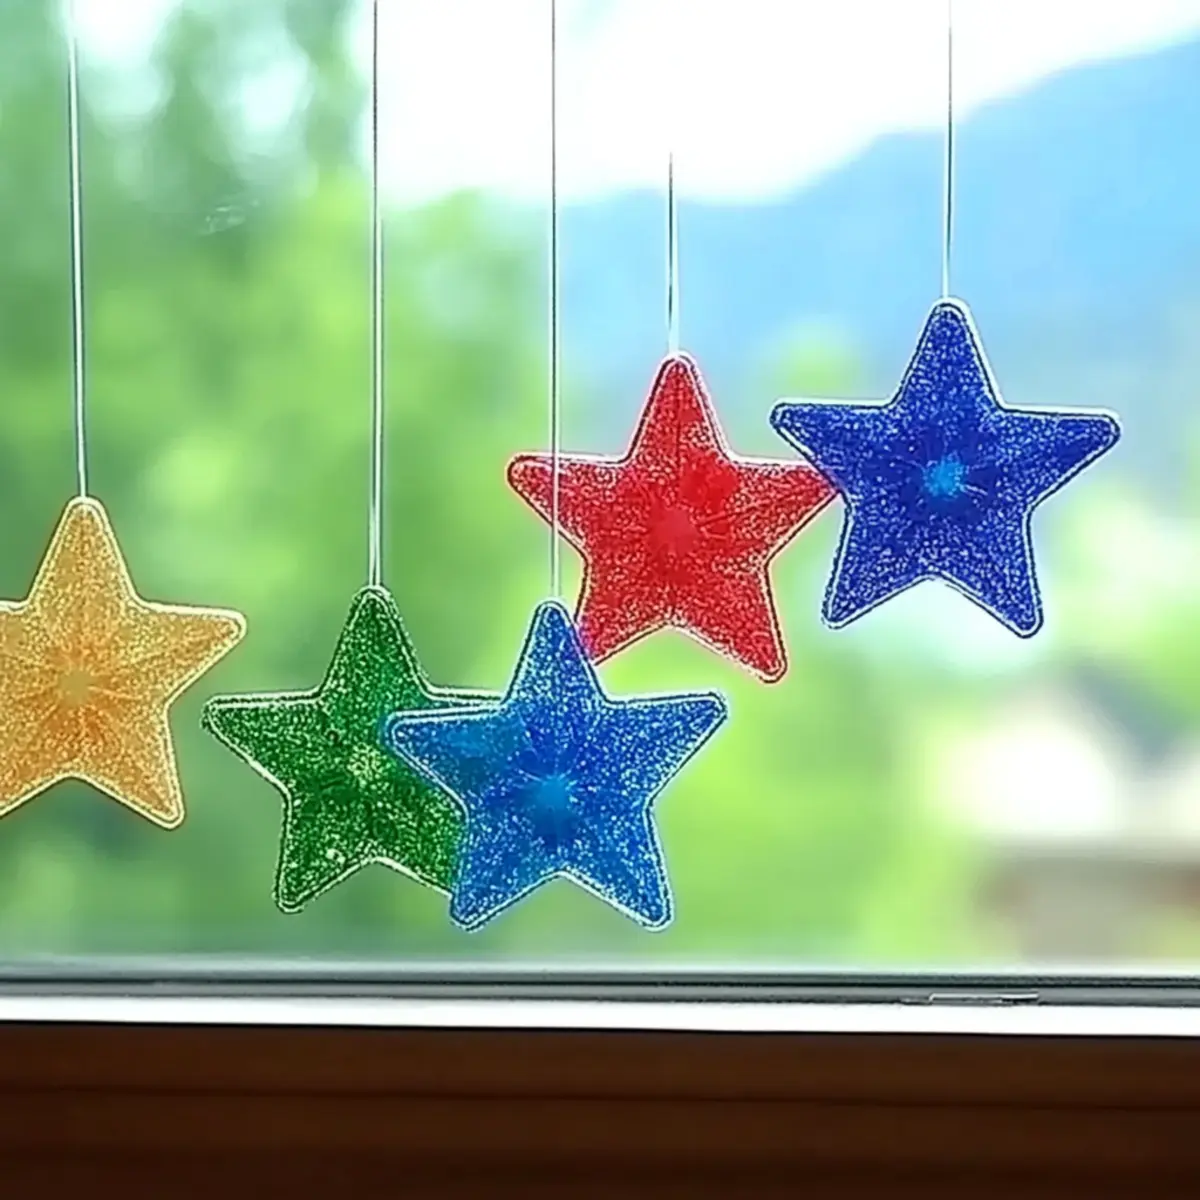
The moment I stumbled upon a pile of broken crayons, a spark of inspiration ignited in my mind. Rather than tossing them out, I decided to transform these seemingly useless remnants into vibrant crayon star suncatchers—an ideal way to add a splash of color to my sunny windows! You’d be amazed at how easy and satisfying this DIY project is, especially when you see those rays of sunlight dancing through your handmade creations.
This colorful craft is perfect for both kids and adults, providing a delightful sensory experience while being eco-friendly by reusing materials you already have at home. Plus, there’s something incredibly fulfilling about turning discarded items into stunning pieces of art that brighten up your space. So, gather your old crayons and let’s create some dazzling suncatchers that will bring joy to your home and maybe even spark a little creativity in those who see them!
Why will you love Crayon Star Sun Catchers?
Simplicity at Its Best: This DIY craft requires minimal supplies and is incredibly easy to follow, making it perfect for crafters of all ages.
Eco-Friendly Fun: Transforming broken crayons into art helps promote sustainability and teaches kids the value of reusing materials.
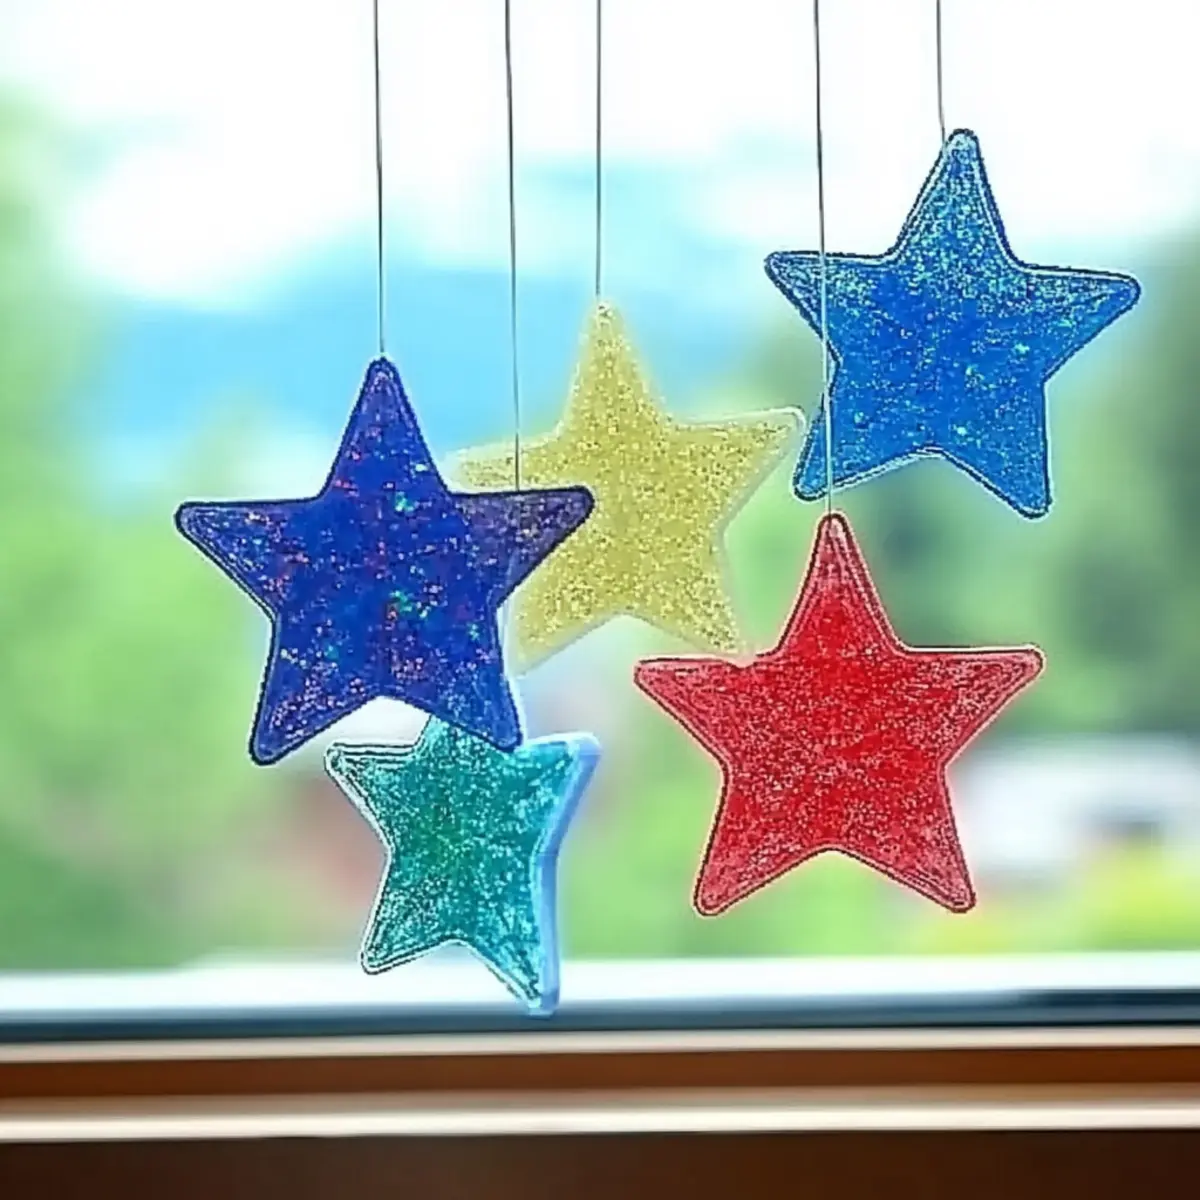
Bursting with Color: Enjoy vibrant hues that mimic stained glass, illuminating any room when hung in sunlight, creating a festive atmosphere.
Versatile Creativity: Experiment with various shapes and sizes, tailoring your suncatchers for different seasons or celebrations.
Quick Project: Achieve stunning results in no time—ideal for a weekend activity or a fun afternoon filled with joy.
Get ready to craft these delightful decorations that not only showcase your creativity but also bring smiles to everyone who sees them!
Crayon Star Suncatchers Ingredients
For the Suncatchers
- Old Crayons – Perfect for creating vibrant colors; just remove any paper before use for a clean melt.
- Wax Paper – Acts as the base for your crayon shavings, allowing for easy melting into colorful sheets.
- Parchment Paper – Protects surfaces during the melting process; it’s heat-resistant to ensure safe crafting.
Additional Tips
- Glitter (optional) – Mix in a little for added sparkle! It makes your Crayon Star Suncatchers even more eye-catching.
How to Make Crayon Star Suncatchers
Prepare Crayons: Start by removing the paper from your old crayons. Using a sharpener or knife, create colorful shavings that will become the heart of your suncatchers.
Set Up Wax Paper: Take a 12×12” piece of wax paper and lay it flat on your workspace. Evenly sprinkle the crayon shavings across the wax paper, ensuring an attractive mix of colors.
Seal & Protect: Carefully fold the wax paper over the shavings, sealing the edges tightly. To keep everything safe during the melting process, sandwich this folded sheet between two sheets of parchment paper.
Melt Crayons: Heat your iron to a low setting. Gently press it over the parchment in circular motions until you see the crayons melting into a colorful, smooth sheet. This usually takes around 1-3 minutes.
Cool & Cut: Once melted, let the sheet cool completely. With a stencil or cookie cutter, trace and cut out star shapes to make your charming suncatchers.
Add Hanging Strings: To display your beautiful stars, punch a hole at the top of each shape. Thread a piece of string through the hole, making it easy to hang.
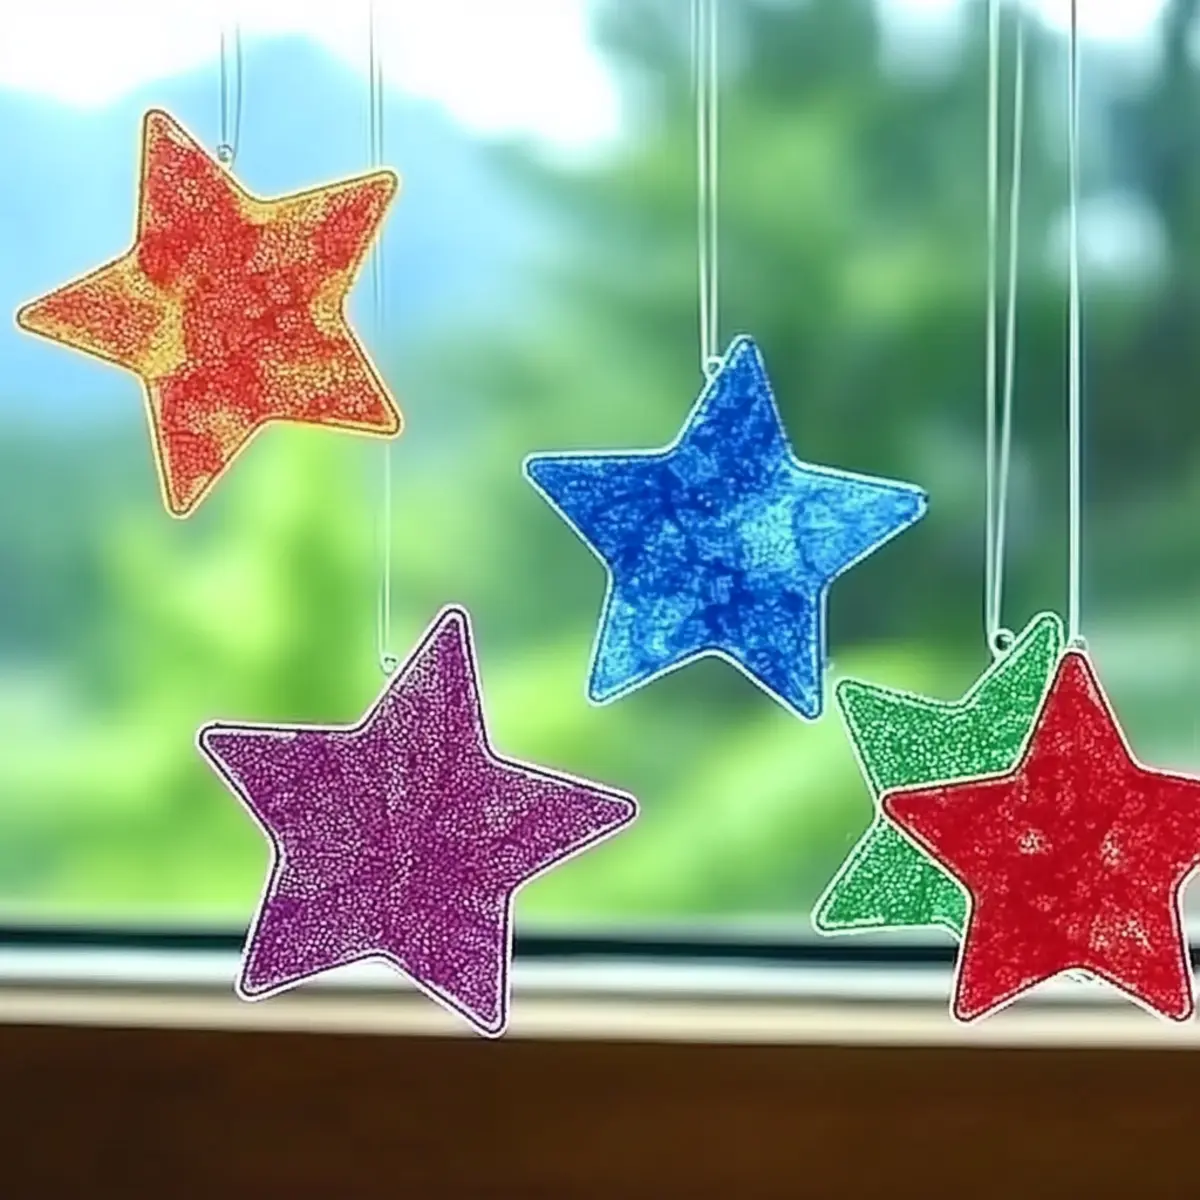
Display: Find sunny windows in your home to hang your completed suncatchers. Watch as the light dances and reflects through your vivid creations, filling your space with color!
Optional: For a personal touch, mix different shades of crayons to create a marbled effect.
Exact quantities are listed in the recipe card below.
Make Ahead Options
These Crayon Star Suncatchers are perfect for busy home cooks and crafters looking to save time! You can prepare the crayon shavings up to 24 hours in advance. Simply remove the paper from the crayons and create shavings, then store them in an airtight container to maintain their vibrant colors. Additionally, you can pre-cut the wax and parchment paper, keeping them prepared for when you’re ready to melt and assemble. When it’s time to finish your suncatchers, simply layer your prepped materials and follow the final steps of the melting process. This way, you’ll enjoy a delightful crafting session without the stress!
Crayon Star Sun Catchers Variations & Substitutions
Feel free to get creative and customize your suncatcher project to suit your personal style!
Seasonal Shapes: Use cookie cutters shaped like leaves for fall or flowers for spring to make your suncatchers shine brighter with seasonal themes.
Scented Crayons: Infuse a delightful aroma by using scented crayons. The fragrant notes will add another sensory layer to your sunny artwork.
Color Combo: Mix different colored crayon shavings together before melting for a stunning marbled effect. Each piece will have its unique pattern, making it special!
Metallic Touch: Incorporate metallic crayons for a shimmer effect that adds sophistication. As the sunlight hits, they create a beautiful glint.
Add Texture: Try using a textured surface like a cloth instead of parchment paper for melting. This can create a unique, bumpy finish on your suncatchers.
Personalized Messages: When cutting out shapes, use a stencil to add initials or a small word, such as “Joy” or “Love,” to personalize each suncatcher.
Layered Designs: For a multi-dimensional effect, create several thin melted sheets and layer them with different shapes for a striking look that stands out in the light.
Highlight Visibility: Consider hanging your suncatchers against contrasting backgrounds, like a dark curtain, to really let those vibrant colors pop!
Expert Tips for Crayon Star Suncatchers
Supervision Needed: Always keep an eye on children during the melting process to ensure safety and prevent accidents.
Iron Settings Matter: Use a low iron setting and avoid lingering too long in one area to prevent burning the wax paper or crayons.
Add Glitz: For extra sparkle, sprinkle glitter into the crayon shavings before melting; it makes your Crayon Star Suncatchers even more eye-catching.
Cool Completely: Make sure the melted sheets cool thoroughly before cutting them into shapes to ensure clean edges and avoid tearing.
Store Properly: Keep your finished suncatchers flat between sheets of wax paper to prevent them from melting or sticking together.
Storage Tips for Crayon Star Suncatchers
Room Temperature: Display your suncatchers in sunny windows to enjoy their vibrant colors; they thrive in cool, dry conditions away from direct heat.
Storage: If you need to store your suncatchers, place them flat between sheets of wax paper to prevent any melting or sticking together, keeping them safe for up to 6 months.
Reheating: Should suncatchers lose their shape slightly due to heat, gently reheat them with a low iron setting for a few seconds, then allow them to cool flat again. This can help reshape your Crayon Star Suncatchers beautifully!
What to Serve with Crayon Star Suncatchers?
Crafting colorful suncatchers is just the beginning of a delightful day filled with joy and creativity.
Cheerful Snacks: Brightly colored fruit skewers are perfect! Think berries, melon, and pineapple to mirror the vibrant colors of your suncatchers.
Refreshing Lemonade: A cold glass of lemon or berry lemonade adds a perfect refreshing touch while cooling off after your crafting session.
Rainbow Veggie Platter: Create a visually appealing platter with various vegetables. The crunchiness balances the sweetness of your suncatchers, making snack time enjoyable.
Creative Desserts: Rainbow cupcakes with colorful frosting are a fun way to celebrate your creations, making each bite as delightful as your colorful crafts.
Smoothie Bowls: Blend up a fruity smoothie, topped with bright berries and nuts. This delicious treat will invigorate everyone as they admire the suncatchers’ colors.
Family Bonding Time: Don’t forget the joy of spending time with loved ones. Share stories and laughter as you craft and enjoy your colorful treats together!
Crayon Star Suncatchers Recipe FAQs
What type of old crayons should I use?
You can use any old crayons for this project! Just make sure to remove the paper wrapping to achieve a clean melt. Broken or shorter pieces are perfect for making colorful suncatchers.
How should I store my Crayon Star Suncatchers?
To store your suncatchers properly, keep them flat between sheets of wax paper in a cool, dry place. This method helps prevent any accidental melting or sticking together and allows them to remain vibrant for up to 6 months.
Can I freeze my suncatchers?
It’s not necessary to freeze Crayon Star Suncatchers, as they are designed to be displayed in sunny windows. However, if they ever lose their shape due to heat, you can gently reshape them by reheating with a low iron setting for a few seconds, then allow them to cool flat again.
What if my melted crayons don’t stick together?
If you notice that your melted crayon shavings haven’t adhered well, it may be due to not heating sufficiently or uneven pressure while ironing. Make sure you use low heat and apply even, gentle pressure in circular motions. If needed, reheat and press lightly again to encourage better melding.
Are these suncatchers safe for kids?
Absolutely! While kids can craft these suncatchers, it’s important to supervise them during the melting process. The iron can be very hot and poses a safety risk. Additionally, ensure you use non-toxic crayons to keep everything safe.
Can I add glitter to my suncatchers?
Yes! Adding glitter is a fun way to give your Crayon Star Suncatchers an extra sparkle. Simply mix a little glitter in with your crayon shavings before you melt them. Just be sure to use glitter that is safe for kids and non-toxic for a worry-free creative process.

Spark Joy with Crayon Star Sun Catchers: A Colorful DIY Delight
Ingredients
Equipment
Method
- Prepare Crayons: Remove the paper from old crayons and create shavings using a sharpener or knife.
- Set Up Wax Paper: Lay a 12x12” piece of wax paper flat and sprinkle crayon shavings evenly.
- Seal & Protect: Fold the wax paper over the shavings and sandwich it between two sheets of parchment paper.
- Melt Crayons: Heat your iron to a low setting and press it over the parchment in circular motions for 1-3 minutes.
- Cool & Cut: Let the sheet cool completely, then cut star shapes using a stencil or cookie cutter.
- Add Hanging Strings: Punch a hole at the top of each star and thread a piece of string through it.
- Display: Hang your suncatchers in sunny windows and enjoy the light reflecting through them.