DIY Aroma Stones: The Best Naturally Scented Crafts Ever
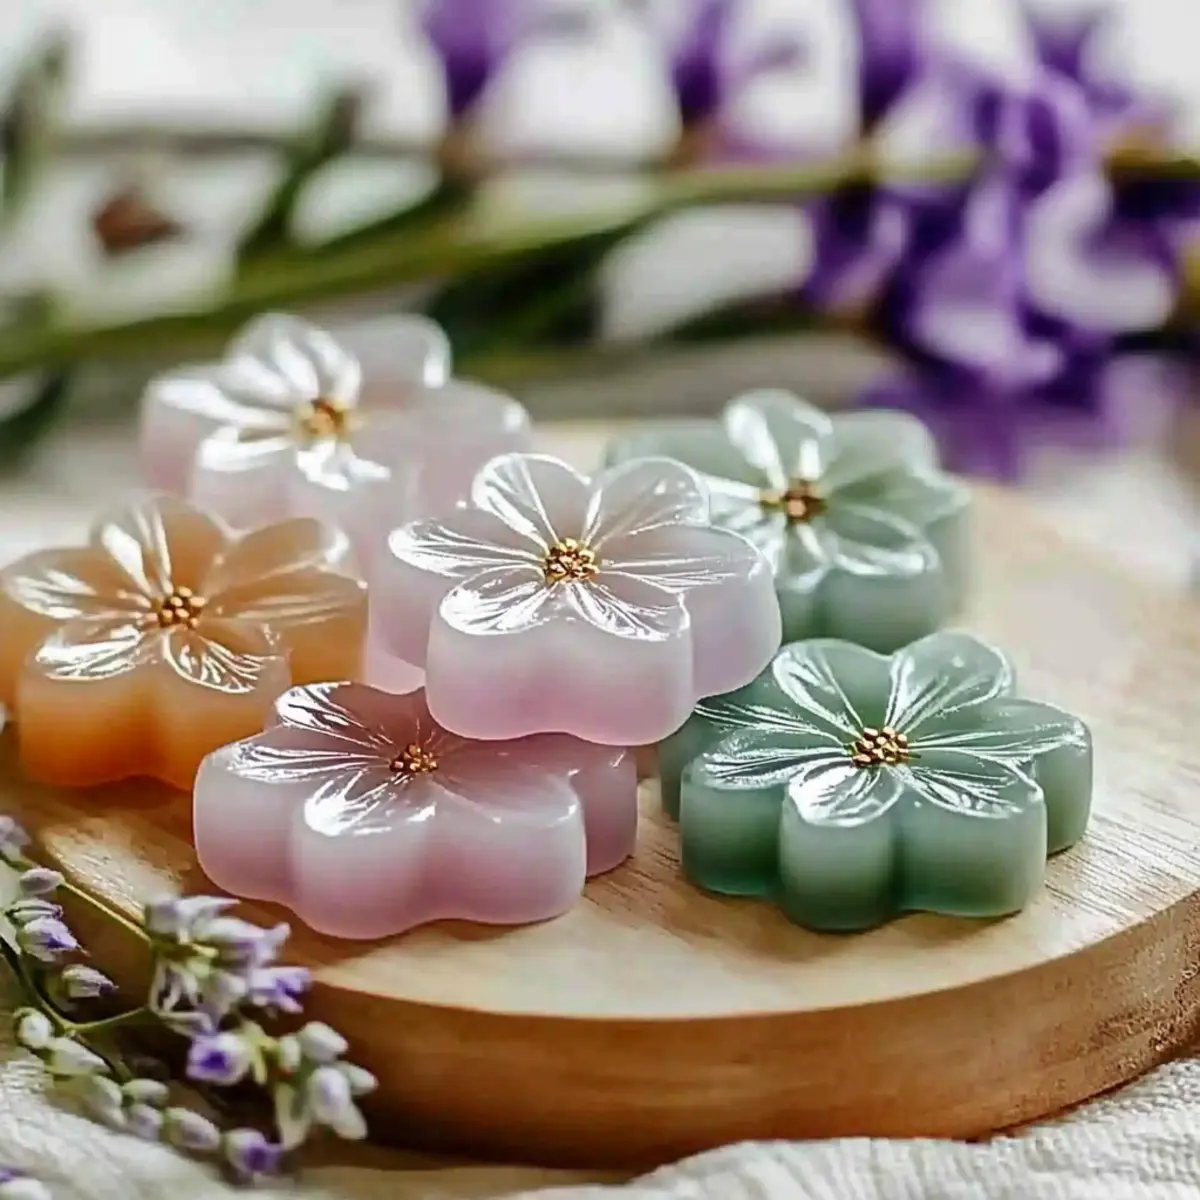
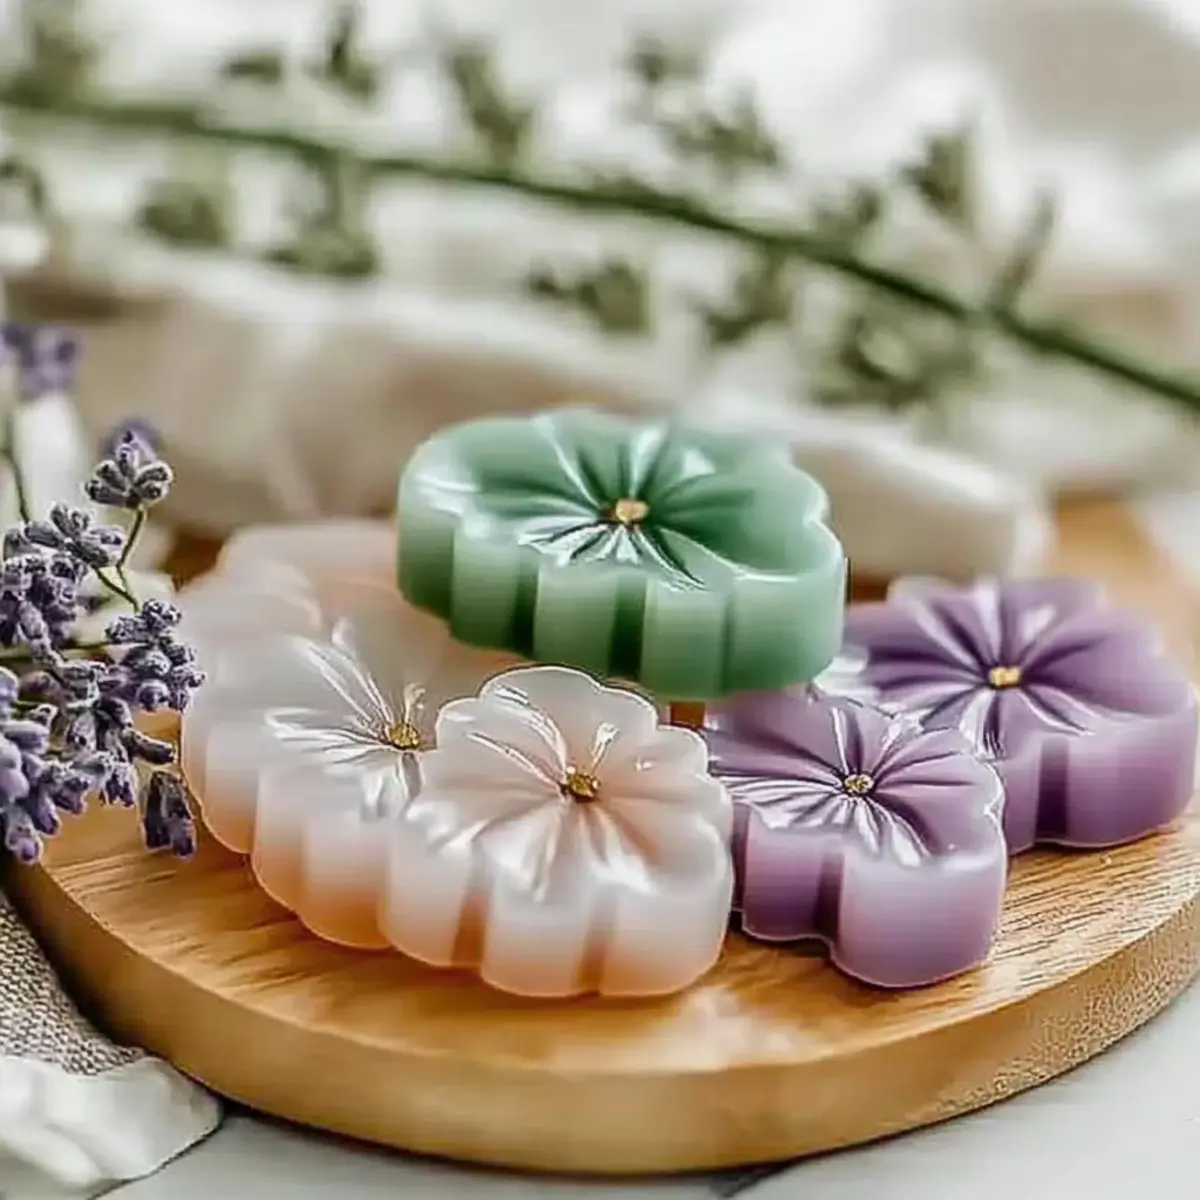
As the sun began to set, casting a warm glow through the window, I found myself yearning for a creative outlet that would spark joy not just for me, but for the little ones in my life. That’s when I stumbled upon the idea for DIY aroma stones—a simple yet magical way to infuse our home with delightful scents while engaging in a fun, hands-on project. Imagine filling your space with the refreshing fragrance of lavender or zesty citrus, all while crafting intricately shaped stones that naturally release their scents over time. This activity not only adds an earthy charm to your decor but also provides a sensory experience that can captivate children and adults alike.
What I love most about these aroma stones is their versatility—they’re completely customizable based on your favorite essential oils or even the seasonal scent trending at the moment! Plus, they’re non-toxic and beautifully handmade, making them a perfect choice for family crafting time. Join me as we embark on this aromatic adventure, transforming simple ingredients into a delightful addition to our homes.
Why You’ll Love DIY Aroma Stones
Creative, DIY aroma stones are a delightful way to engage your senses while crafting. Customizable for any season or occasion, you can mix and match scents to suit your preferences. Non-toxic materials ensure safety for both kids and adults. Beautifully handmade, these stones add a charming touch to your decor while naturally scenting your home. For a joyful family activity, whisk up some creativity with DIY aroma stones and transform your space into a fragrant oasis!
DIY Aroma Stones Ingredients
For the Base
- Baking Soda – This is the primary ingredient that gives the stones their shape and texture.
- Cornstarch – Helps bind the baking soda and adds a nice consistency; substitute with arrowroot powder if needed.
- Water – To create a smooth mixture; use warm water for better blending of ingredients.
For Scenting
- Essential Oils – Choose your favorite scents, like lavender or citrus, to give the stones their delightful aroma. Opt for 100% pure oils for the best results.
For Coloring
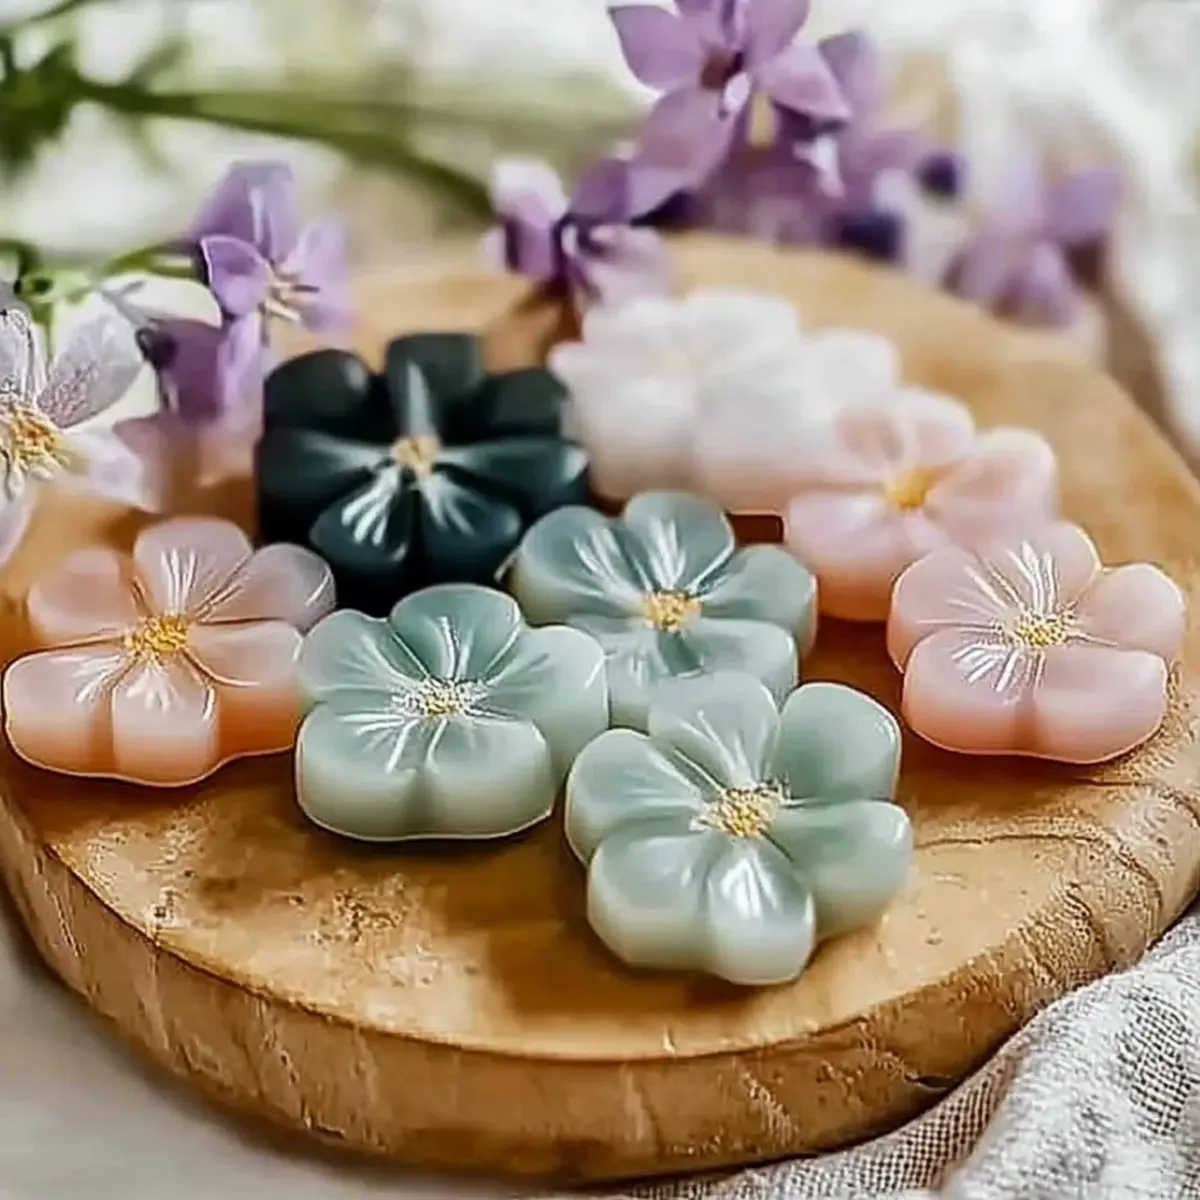
- Natural Food Coloring – Optional for a pop of color—try beet juice for red or turmeric for yellow; this adds a fun touch to your DIY aroma stones.
For Texture
- Sea Salt – Adds a lovely texture and can enhance the natural scent; use finely ground sea salt for best results.
Dive into this sensory experience with DIY aroma stones, and transform your home into a fragrant retreat while creating something beautiful together!
How to Make DIY Aroma Stones
Mix Base Ingredients: In a large bowl, combine 1 cup of baking soda and ½ cup of cornstarch. Gradually add ¾ cup of warm water, stirring until you achieve a smooth, thick consistency.
Add Scenting Oils: Incorporate 15-20 drops of your chosen essential oil into the mixture. This is where the magic happens! The scent will be released when the stones are crafted.
Incorporate Color: If desired, add a few drops of natural food coloring to the mixture. Stir well until you achieve the color you want, adding a vibrant touch to your aroma stones.
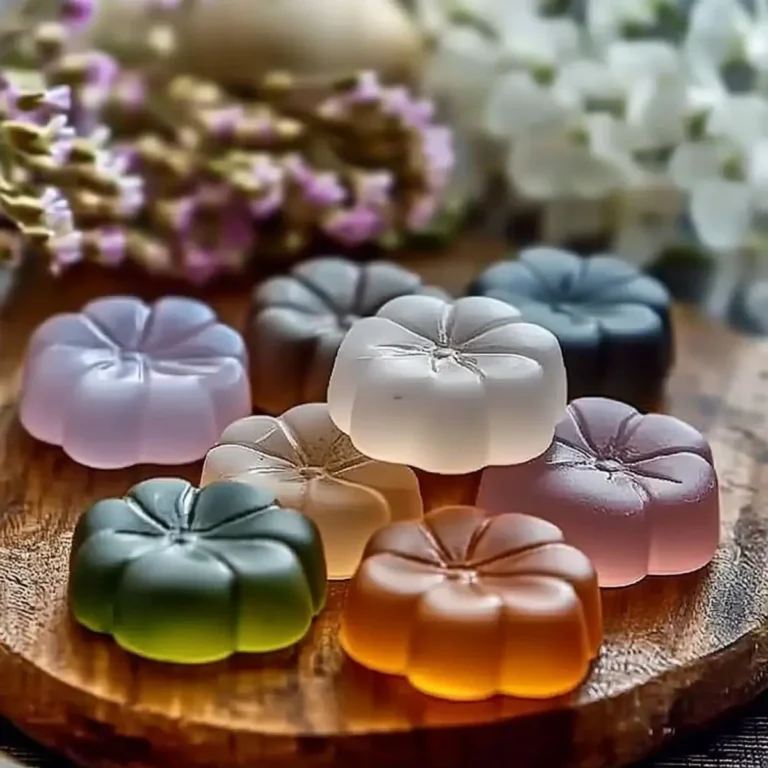
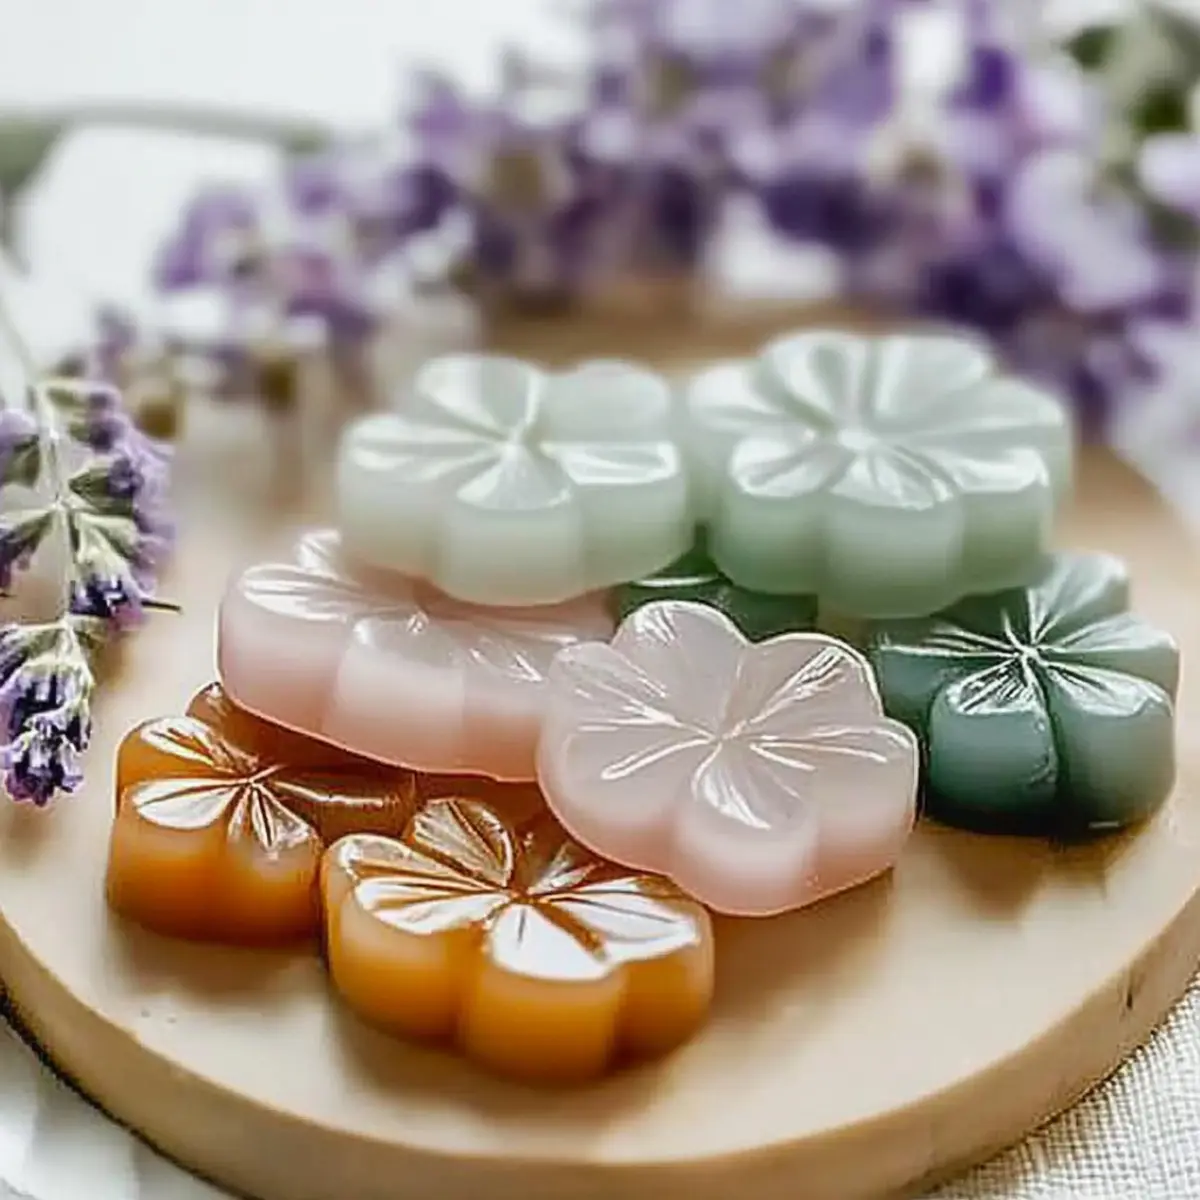
Mold Shapes: Transfer the mixture into silicone molds or shape it by hand into desired forms. You can use cookie cutters or your creativity to make unique shapes.
Dry Stones: Allow the stones to dry for at least 24 hours. Place them in a cool, dry area until they harden fully. The stones should be firm and dry to the touch when finished.
Optional: Decorate with a sprinkle of sea salt on top for added texture before they dry.
Exact quantities are listed in the recipe card below.
Tips for the Best DIY Aroma Stones
Right Texture: Ensure the baking soda and cornstarch are well-combined with water to achieve a thick and smooth consistency for your aroma stones.
Scent Selection: Choose high-quality essential oils for vibrant scents—lavender, citrus, and eucalyptus are popular favorites that can uplift any space.
Color Fun: When adding natural food coloring, start with a few drops and gradually mix until you reach your desired shade; avoid overdoing it to maintain the stone’s structure.
Drying Time: Be patient and allow your aroma stones to dry fully for at least 24 hours to prevent crumbling and achieve the best texture and scent release.
Kid-Friendly: Supervise little ones during crafting to ensure they don’t eat any materials; keeping non-toxic ingredients in check makes this activity safe and enjoyable.
Storage Tips: Store any leftover mixture in an airtight container, or mold shapes with leftovers for additional, smaller aroma stones later! These DIY aroma stones will keep your home beautifully scented.
Make Ahead Options
These DIY Aroma Stones are perfect for busy home cooks looking to save time! You can prepare the base mixture of baking soda and cornstarch up to 24 hours in advance, storing it in an airtight container to maintain its moisture. Simply mix in your essential oils and natural food coloring right before you’re ready to mold the stones to ensure the aromas remain vibrant. If you’ve prepped the shapes, let them dry in a cool, dry area for at least 24 hours until fully hardened. Just remember, to maintain quality, avoid refrigerating once shaped, as this could alter their texture. With these make-ahead options, you’ll have beautiful, naturally scented aroma stones ready to brighten any space without any last-minute stress!
What to Serve with DIY Aroma Stones?
Create an aromatic atmosphere that captivates not just the senses but also the heart, igniting creativity in every corner of your home.
Scented Candles: Beautifully scented candles complement the aroma stones, enhancing the ambiance while providing a warm glow for a cozy evening.
Essential Oil Diffuser: Maintain a constant release of your favorite essential oil while visually showcasing the allure of your handmade aroma stones.
Air-Purifying Plants: Place small potted plants nearby to enhance the natural beauty of your decor while contributing to a refreshing environment.
Natural Potpourri: A mix of dried flowers and spices can accent your aroma stones, adding a rustic charm and elevating the sensory experience.
Crafting Station: Set up a crafting corner filled with your DIY aroma stones and supplies, encouraging family creativity while showcasing your beautiful creations.
Seasonal Decorations: Combine your aroma stones with seasonal or holiday décor to create a harmonious look that celebrates both nature and creativity.
By weaving these elements into your home, you create a space that not only smells delightful but also feels inviting and inspired!
How to Store and Freeze DIY Aroma Stones
Room Temperature: Allow your aroma stones to dry completely for at least 24 hours before storing. Once dry, keep them in a cool, dry place away from direct sunlight.
Fridge: If you plan to use the aroma stones for a specific occasion or season, store them in the fridge for freshness; they can last up to 1 month this way.
Freezer: For longer storage, you can freeze the stones in an airtight container for up to 6 months. Let them thaw at room temperature before using them again.
Reheating: If the scent becomes faint, gently warm the aroma stones in the sunlight for a few hours to rejuvenate their fragrance. Remember, DIY aroma stones are meant to enhance your environment, so proper storage is key!
Variations & Substitutions for DIY Aroma Stones
Feel free to unleash your creativity and add personal twists to your DIY aroma stones for a truly unique crafting experience!
Eco-Friendly Base: Substitute traditional baking soda with a natural alternative like arrowroot powder to enhance eco-friendliness.
Colorful Scents: Mix natural food coloring into the dough for vibrant stones that are visually stunning and fun to make.
Seasonal Scents: Use holiday-themed essential oils like cinnamon or peppermint for a seasonal scent accent that sets the festive mood.
Textured Finishes: Add a sprinkle of sea salt to the top of your stones before they dry; it enhances texture and adds visual interest.
Herbal Infusion: Incorporate dried herbs like lavender or rosemary directly into the mix for a beautifully aromatic stone with added natural charm.
Custom Mold Shapes: Explore different silicone molds, from hearts to stars, allowing each stone to reflect your personal style and creativity.
Layered Scents: Create layered stones by allowing each color and scent addition to dry slightly before adding the next layer for a stunning visual effect!
Scent-Release Boost: For a stronger aroma, experiment with a higher concentration of essential oils when mixing in the scent.
Let your imagination guide you, and watch as each unique stone becomes a delightful creation of warmth and fragrance!
DIY Aroma Stones Recipe FAQs
What type of baking soda should I use?
Absolutely! You can use any standard baking soda available in your grocery store. It’s inexpensive and easily accessible. For the best results, ensure it’s fresh; sometimes old baking soda can lose its effectiveness.
How long do DIY aroma stones last when stored properly?
When stored properly in a cool, dry place away from direct sunlight, your DIY aroma stones can last quite a while. If completely dried, they can provide their delightful scents for several months. If stored in the fridge, they can last up to one month, but they won’t last as long in the fridge as they might at room temperature.
Can I freeze DIY aroma stones?
Yes, you can freeze your aroma stones! To do so, place them in an airtight container, and store them in the freezer for up to 6 months. When you want to use them again, simply let them thaw at room temperature. This can help preserve their scent for longer periods!
What should I do if my aroma stones crumble after drying?
If your aroma stones crumble, it’s often due to not enough binding agents in the mix. For future batches, ensure that you are mixing the baking soda and cornstarch thoroughly with the water to create a smooth, thick consistency. If you experience crumbling, feel free to add a touch more cornstarch in your next attempt for better results!
Are the ingredients safe for children?
Absolutely! The ingredients are non-toxic and safe for kids, making this a fun family crafting activity. However, as with any craft, it’s important to supervise young children during the process to prevent them from ingesting any materials. Always choose kid-safe essential oils as well for scenting the stones.
What can I do with leftover mixture from making aroma stones?
Don’t waste it! You can mold shapes with any leftover mixture or use cookie cutters to create even more aroma stones. Just ensure to keep the shapes small and store them properly just like the main batch—store in an airtight container until you’re ready to dry them!
DIY Aroma Stones: The Best Naturally Scented Crafts Ever
Ingredients
Equipment
Method
- In a large bowl, combine 1 cup of baking soda and ½ cup of cornstarch. Gradually add ¾ cup of warm water, stirring until you achieve a smooth, thick consistency.
- Incorporate 15-20 drops of your chosen essential oil into the mixture. The scent will be released when the stones are crafted.
- If desired, add a few drops of natural food coloring to the mixture. Stir well until you achieve the color you want.
- Transfer the mixture into silicone molds or shape it by hand into desired forms using cookie cutters.
- Allow the stones to dry for at least 24 hours in a cool, dry area until they harden fully.
- Optional: Decorate with a sprinkle of sea salt on top for added texture before they dry.