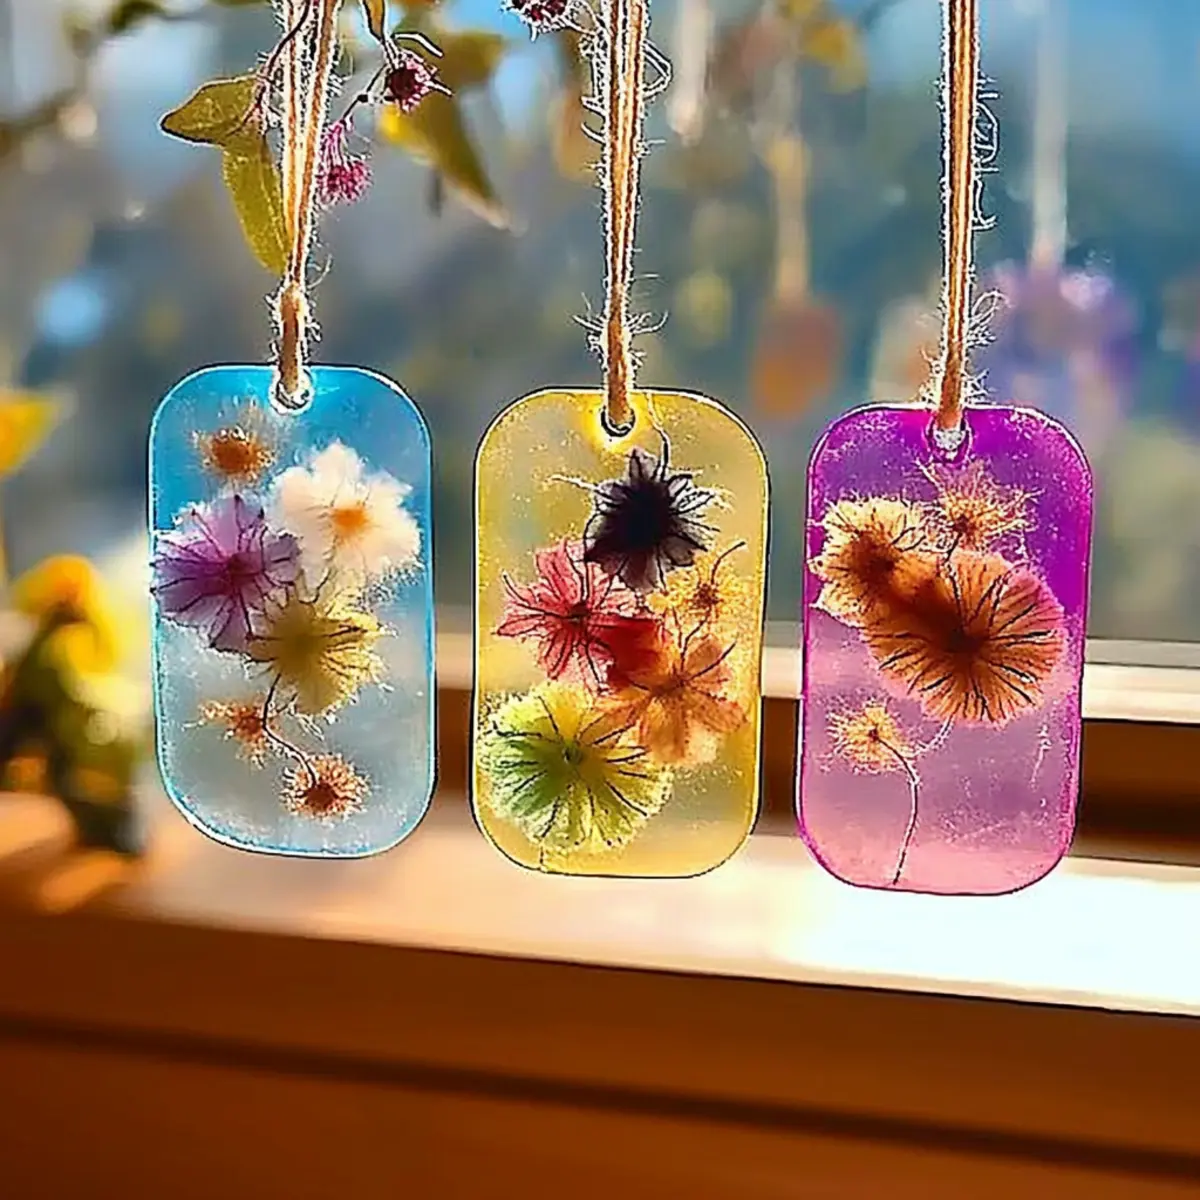
DIY Bioplastic Suncatchers: An Easy, Colorful Eco Craft!
As I sat on my porch, basking in the warm sunlight, my eyes drifted to the window where simple glass panes seemed to dim the cheerful glow outside. That’s when I remembered a delightful craft I had once stumbled upon: DIY bioplastic suncatchers! Not only do these vibrant decorations transform any dreary window into a kaleidoscope of colors, but they also embrace our eco-friendly values, making them an ideal project for creatives of all ages.
In just about 30 minutes, you can whip up these gorgeous suncatchers using natural ingredients that’ll not only spark joy in your home but will also encourage sensory play and creativity in kids and adults alike. Plus, they’re a wonderful alternative to commercial decorations that often end up in landfills. Join me as we dive into this colorful, easy-to-make craft that brings a touch of sunshine into your life — and who knows, you might just find a new favorite weekend activity!
Why Love DIY Bioplastic Suncatchers?
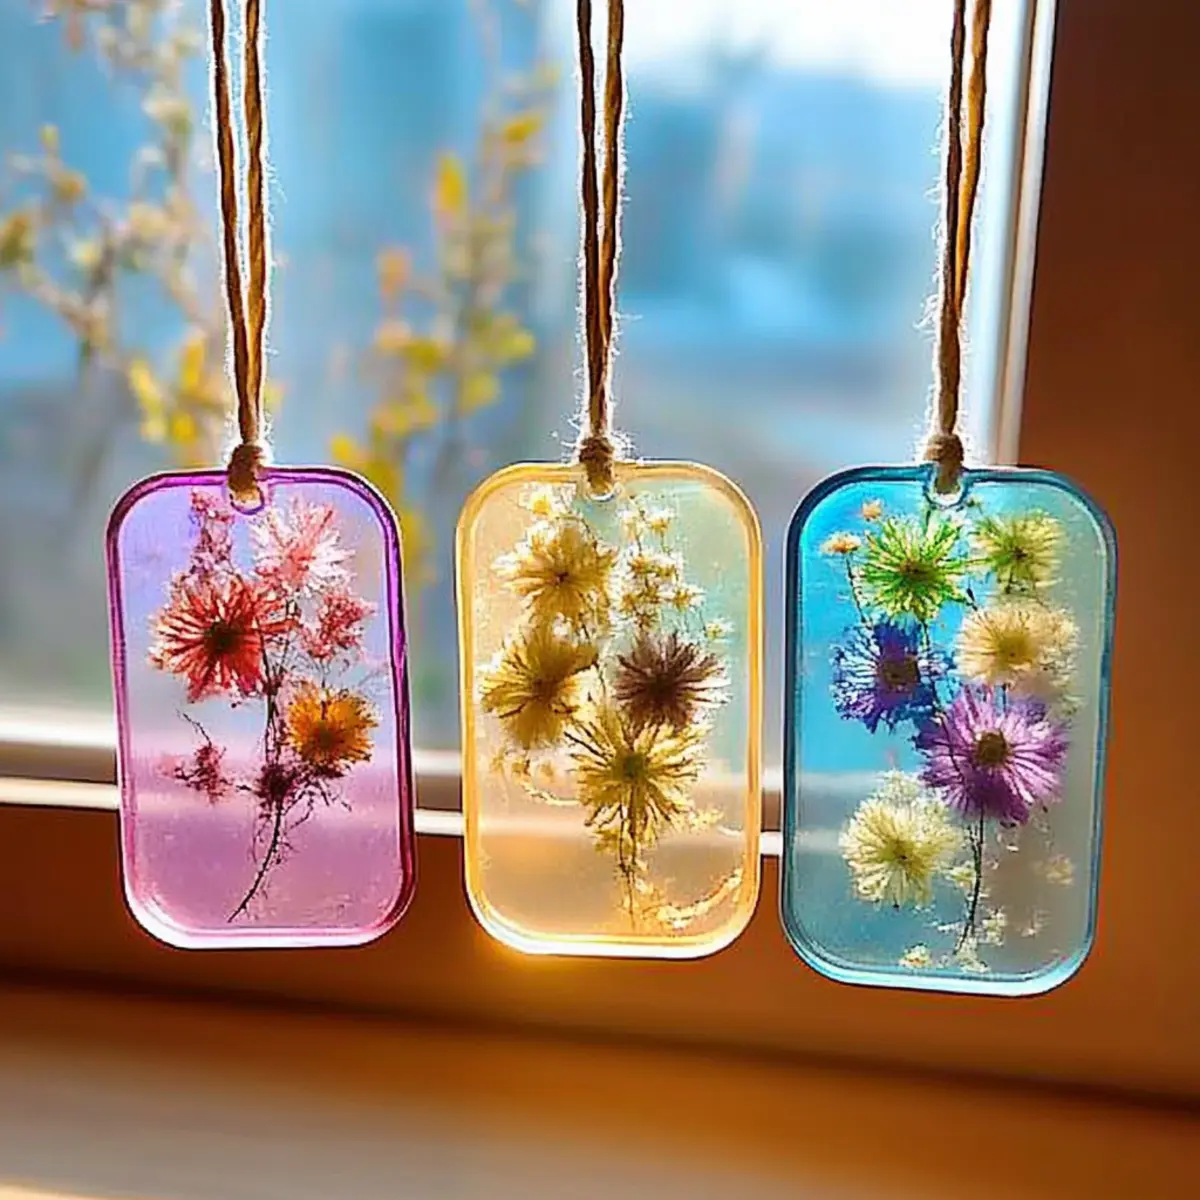
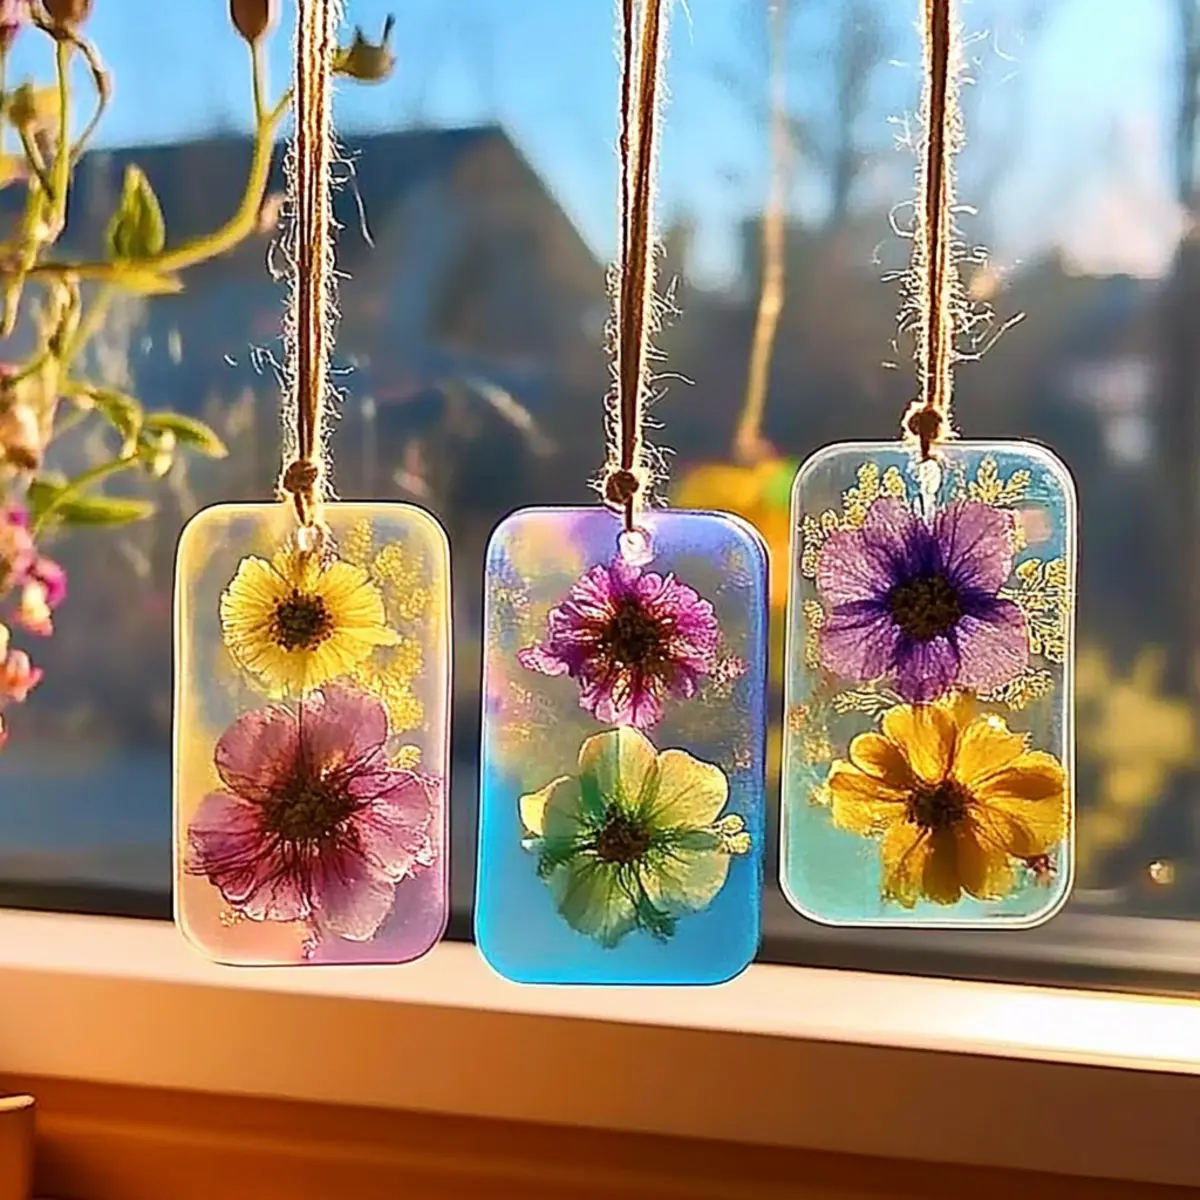
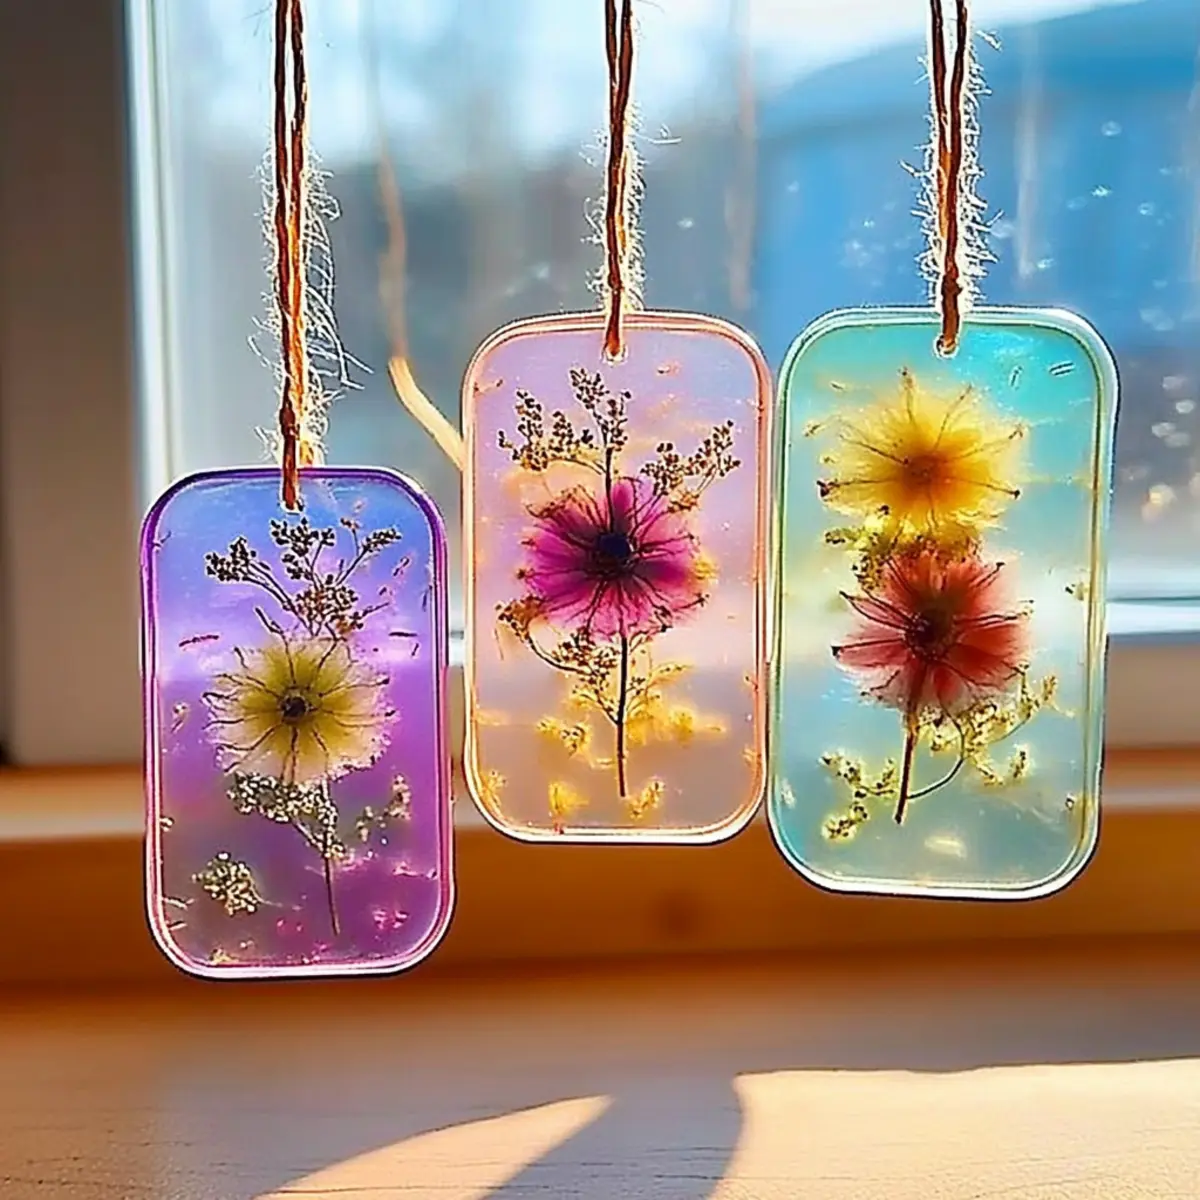
Colorful Transformation: Watch as these vibrant suncatchers turn dull windows into bright, cheerful displays that catch the light beautifully.
Eco-Friendly Fun: Made from natural ingredients, this craft embodies sustainability, appealing to your eco-conscious spirit.
Quick Assembly: In just 30 minutes, you’ll have stunning decorations ready to brighten your space.
Sensory Play: Perfect for kids and adults, this activity invites creativity while enhancing sensory experiences.
Versatile Designs: Customize with different colors and textures to match your home’s aesthetic or seasonal themes.
Looking for more DIY fun? Check out my easy crafting ideas to inspire your next project!
DIY Bioplastic Suncatcher Ingredients
For the Base Mixture
• Water – Provides the essential liquid foundation for your suncatchers.
• Cornstarch – Acts as a thickening agent to give your suncatchers structure.
• White Vinegar – Stabilizes the mixture and enhances the transparency of your suncatchers.
• Unflavored Gelatin – Binds ingredients together, adding a glossy finish for that perfect touch.For Color and Sparkle
• Natural or Food-Safe Coloring – Infuse vibrant hues using beet juice, turmeric, or spirulina for eco-friendly color.
• Eco-Friendly Glitter – Adds a touch of shimmer while keeping your craft environmentally friendly.For Natural Beauty
• Flower Petals – Enhance your suncatchers with the beauty of nature; substitutes like confetti or pressed leaves work well too.
• Tissue Paper – Adds additional colors and textures to make your DIY Bioplastic Suncatchers even more visually appealing.
Embrace your creativity and make these stunning creations that brighten your home and promote sustainability!
How to Make DIY Bioplastic Suncatchers
Mix Ingredients: In a medium bowl, whisk together water, cornstarch, white vinegar, and unflavored gelatin until you achieve a smooth mixture. This combination will be the foundation of your vibrant suncatchers.
Heat the Mixture: Pour the mixture into a saucepan and heat over medium heat. Stir constantly for about 5 minutes, until it thickens and becomes transparent. This step is crucial for the right texture!
Cool Down: Remove the saucepan from the heat and let the mixture cool slightly. It should be warm but not steaming, making it easier to add your colors and sparkles without causing any burns.
Add Color and Glitter: Once cooled, mix in your desired natural or food-safe coloring and eco-friendly glitter. Stir well to make sure everything is blended beautifully—this is where your creativity shines!
Pour into Molds: Carefully pour the mixture into silicone molds or onto a flat surface lined with wax paper. Top with flower petals or tissue paper for added beauty, creating layers of color and texture.
Let It Dry: Allow your suncatchers to dry completely, which should take around 24 hours. If you’re in a humid environment, consider extending the drying time for sturdiness.
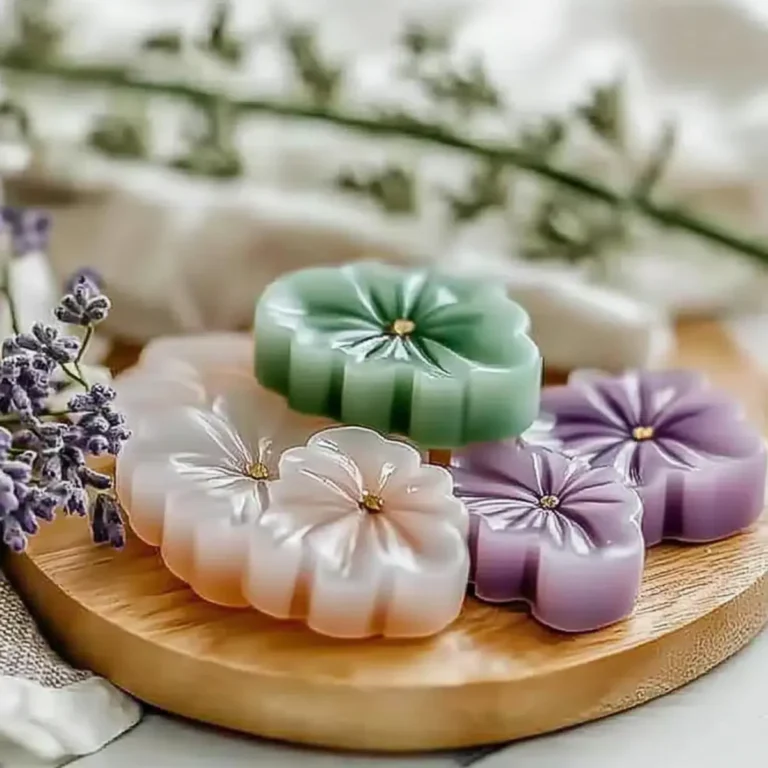
Remove and Trim: After they’ve dried, gently peel your beautiful suncatchers from the molds or paper. If needed, trim the edges to perfect their shape. You’ll be amazed at their glossy, stained-glass-like finish!
Optional: Hang in bright windows where they can catch the sunlight best!
Exact quantities are listed in the recipe card below.
Expert Tips for DIY Bioplastic Suncatchers
- Choose the Right Mold: Use silicone molds to easily release your suncatchers without sticking. Avoid plastic molds that can warp under heat.
- Mix Thoroughly: Ensure your mixture is well-combined to prevent color streaks in your DIY bioplastic suncatchers. Take your time while whisking!
- Watch the Temperature: Don’t overheat your mixture; remove it from the heat as soon as it thickens to maintain the best texture.
- Add Sparkle Wisely: Incorporate glitter after cooling slightly to ensure it stays evenly distributed without clumping. Opt for eco-friendly options!
- Allow Extra Drying Time: Be mindful of humidity as it can extend drying time; ensure your suncatchers dry completely to avoid curling.
- Store Properly: Keep dried suncatchers flat in a cool, dry place. For long-term storage, wrap them in wax paper to protect their lovely finish.
DIY Bioplastic Suncatcher Variations
Feel free to let your creativity shine and personalize your suncatchers in delightful ways!
- Fruit Juice Colors: Use fresh fruit juices like raspberry or carrot for vibrant, natural colors. They’ll smell as great as they look!
- Herbal Infusions: Steep herbs in the water before mixing to add subtle scents and earthy colors; consider mint or chamomile for a fresh twist.
- Texture Additions: Incorporate bits of natural fabrics like jute or organic cotton into the mixture for a rustic look and added texture.
- Layering Technique: Pour in layers with different colors for a beautiful ombre effect. Just allow each layer to set slightly before adding the next!
- Shape Variations: Use cookie cutters or various molds to create fun shapes like stars or hearts, perfect for seasonal decorations or gifts.
- Edible Glitter: For a magical touch, consider using edible glitter made from natural ingredients, providing a whimsical finish that’s safe for all ages.
- Light Catching: Add small mirrors or reflective materials within the suncatchers to enhance light reflection for a dazzling display.
- Scented Variations: Add a few drops of essential oils to the mixture for delightful aromatic suncatchers that add a soothing element to your space.
Let your imagination run wild and enjoy crafting these unique suncatchers that bring joy and beauty into your home!
What to Serve with DIY Bioplastic Suncatchers?
Transform your crafting day into a delightful occasion with these fun, multi-sensory additions.
- Fresh Lemonade: A zesty drink that adds a refreshing touch to your crafting time, keeping everyone cool and hydrated.
- Fruit Skewers: Vibrant, colorful skewers of seasonal fruits offer a cheerful, healthy snack that pairs perfectly with your craft project.
- Mini Sandwiches: Easy-to-make and customizable, these bites bring savory satisfaction while maintaining a fun, casual vibe.
- Vegetable Dippers: Crunchy veggie sticks with hummus or ranch dips can keep the creative energy up while providing nourishment.
- Flavored Sparkling Water: Infused with fruits or herbs, this bubbly drink keeps things light and enjoyable, complementing the joyous atmosphere.
- Dark Chocolate Squares: For an indulgent treat, these delightful bites provide a touch of sweetness without overwhelming the senses.
Set the scene for an enjoyable crafting day, where creativity flows alongside these simple yet delectable treats, making memories you’ll cherish!
Storage Tips for DIY Bioplastic Suncatchers
- Room Temperature: Keep your dried DIY bioplastic suncatchers flat and stored in a cool, dry place to maintain their beauty and shape, perfect for several months.
- Fridge: Avoid refrigerating these decorations; moisture can cause them to lose their glossy finish and become sticky.
- Freezer: Freezing is not recommended, as it may alter the texture and appearance of your suncatchers.
- Reheating: If they do curl slightly, use a warm (not hot) iron on a low setting to gently flatten them between two pieces of parchment paper.
Make Ahead Options
These DIY Bioplastic Suncatchers are perfect for busy home cooks and crafters looking to save time! You can prepare the mixture (water, cornstarch, vinegar, and gelatin) up to 24 hours in advance and store it in an airtight container in the refrigerator to keep it fresh. Simply reheat the mixture gently before adding colors and glitter, ensuring a smooth texture. You can also pre-cut tissue paper or gather flower petals ahead of time to streamline the process. When you’re ready to finish your suncatchers, simply pour the mixture into molds, let them dry completely (which might take around 24 hours), and you’ll have stunning decorations ready to catch the light! Plus, this prep-ahead method allows you to enjoy crafting without the time crunch!
DIY Bioplastic Suncatchers Recipe FAQs
How do I select the best ingredients for my DIY bioplastic suncatchers?
Absolutely! For the best results, choose fresh, high-quality natural ingredients. When picking your flowers, look for vibrant colors and healthy petals without any dark spots or bruising. This will ensure your suncatchers look their brightest! As for the natural coloring, fresh beet juice can offer a lovely deep hue, while turmeric gives a sunny yellow. Just remember, the fresher the ingredients, the more vibrant your suncatchers will be!
How should I store my completed suncatchers?
To keep your stunning creations in perfect shape, store them flat in a cool, dry place. I recommend using a cardboard box for protection — it helps avoid bending or curling. They can last for several months if well-preserved! Just avoid any moisture, which can detract from their glossy finish.
Can I freeze my DIY bioplastic suncatchers?
No, freezing is not recommended for these suncatchers. The temperature can alter their texture and make them lose the beautiful glossy finish you worked so hard to achieve. Instead, I suggest keeping them at room temperature and enjoying them in their prime!
I’ve noticed my suncatchers curling after drying. What can I do?
Very! If your suncatchers have curled slightly, don’t worry! You can gently flatten them out by placing the suncatcher between two sheets of parchment paper and using a warm (not hot) iron on a low setting. This method helps maintain their shape while preserving their lovely finish.
What if someone in my household has a gelatin allergy?
If you’re dealing with a gelatin allergy, I recommend using agar-agar as a fantastic alternative! It provides similar binding properties while being plant-based. Just follow the package instructions for the right ratio when substituting for unflavored gelatin in your DIY bioplastic suncatchers.
Can my pets safely be around these suncatchers?
While the ingredients in your suncatchers are eco-friendly, it’s best to supervise your pets around them. The suncatchers are not meant for consumption, so keep them out of reach to ensure everyone’s safety—especially curious little noses!
DIY Bioplastic Suncatchers: An Easy, Colorful Eco Craft!
Ingredients
Equipment
Method
- In a medium bowl, whisk together water, cornstarch, white vinegar, and unflavored gelatin until smooth.
- Pour the mixture into a saucepan and heat over medium heat, stirring constantly for about 5 minutes.
- Remove the saucepan from the heat and let the mixture cool slightly.
- Mix in your desired coloring and eco-friendly glitter once cooled.
- Carefully pour the mixture into silicone molds or onto wax paper. Top with flower petals or tissue paper.
- Allow the suncatchers to dry completely, taking around 24 hours.
- Once dry, gently peel them out and trim edges if needed.