Magical DIY Bioplastic Suncatchers That Brighten Your Home
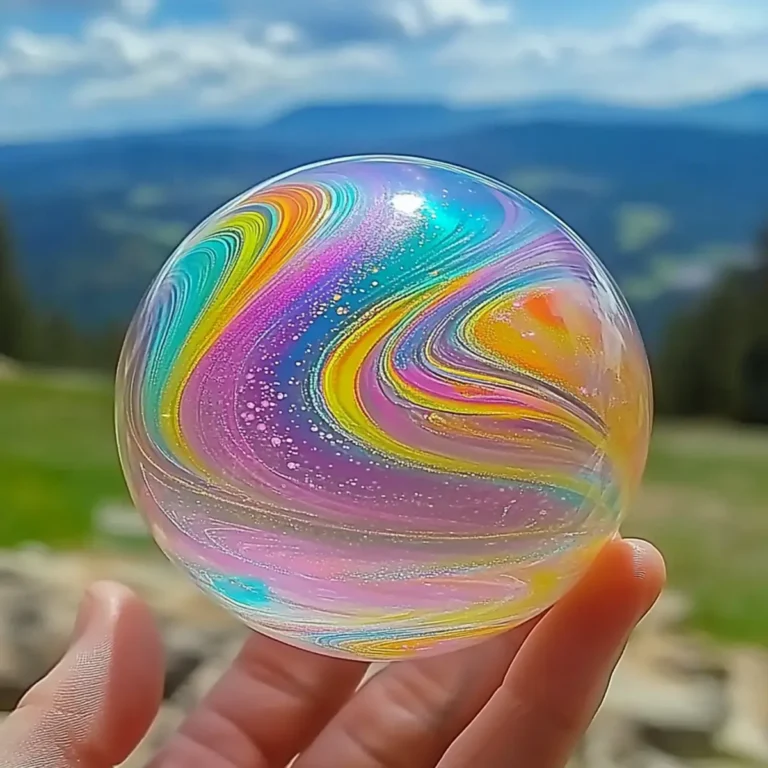
As I looked out at the dazzling hues of the sunset, I couldn’t help but think about bringing a bit of that magic into my home. That’s when the idea struck me: why not create colorful suncatchers? Inspired by the playful colors of nature, I set out to craft something special that would not only brighten my space but also ignite the creativity of my kids. Enter our DIY Bioplastic Suncatchers, a fun, eco-friendly project that marries science with artistry!
In just 25 minutes, using common pantry ingredients, you can transform simple materials into shimmering decorations that will dance in the sunlight. These vibrant suncatchers are not just a feast for the eyes; they offer an excellent opportunity to engage kids in hands-on learning about reactions, sustainability, and the beauty of our environment. Join me as we dive into this exciting craft and create something truly magical for your windows or gardens!
Why love DIY Bioplastic Suncatchers?
Simplicity: This craft is incredibly easy, taking just 25 minutes to complete with household items.
Eco-Friendly: Made from non-toxic ingredients, it’s a guilt-free way to beautify your space while caring for the planet.
Colorful Fun: The addition of food coloring lets your creativity shine, resulting in stunning designs that sparkle in sunlight.
Educational Value: It’s a wonderful way to teach kids about chemical reactions and sustainability in a fun, interactive manner.
Versatile Decorations: Perfect for any occasion, these suncatchers can be displayed in windows or gardens, adding charm wherever you choose!
If you’re looking for more remarkable eco-friendly crafts, check out my guide on DIY eco-friendly activities.
DIY Bioplastic Suncatcher Ingredients
Get ready to gather your materials for these dazzling creations!
For the Base
- Cornstarch – Provides the main structure for the suncatchers; a staple for this recipe!
- Water – Acts as a binding agent; distilled water can be used for clearer results.
- White Vinegar – Adds fizzing action and is crucial for the reaction; apple cider vinegar can alter color but works too.
Optional Ingredients
- Glycerin – Enhances flexibility; can be omitted for a firmer texture.
- Food Coloring – Brightens the project; consider natural dyes for an eco-friendly option.
For Shaping
- Wax Paper or Parchment Paper – Serves as the base for drying; silicone mats can be a good alternative.
- Spoon or Craft Stick – Essential for mixing; any sturdy stick will do!
- Pipettes, Cookie Cutters, or Straws – Useful for shaping details; get creative with whatever you have on hand.
For Hanging
- String or Ribbon – Perfect for displaying your beautiful suncatchers; yarn or twine can be a charming substitute.
Gather these ingredients and let your creativity glow while making these DIY Bioplastic Suncatchers! Your kids are sure to have a blast creating and learning with this eco-friendly craft.
How to Make DIY Bioplastic Suncatchers
Prepare Work Surface: Start by laying down wax paper or parchment paper to prevent the suncatcher mixture from sticking. It will make the cleanup process easier, and keep your project tidy!
Mix Base: In a mixing bowl, combine the cornstarch and water. Stir until the mixture becomes smooth and has a consistent texture, resembling pancake batter.
Add Vinegar: Gently mix in the white vinegar along with glycerin, if using. Stir carefully to combine, as the vinegar will cause some fizzing – watch for the fun reaction!
Incorporate Color: If you want vibrant suncatchers, add food coloring now. Mix well until the color is evenly distributed throughout the mixture, creating a joyful canvas!
Shape Mixture: Pour the colorful mixture onto your prepared paper. Use pipettes, cookie cutters, or straws to shape and add unique details to your suncatchers—let your imagination take the lead!
Dry: Allow your suncatchers to dry completely, which usually takes several hours or overnight. You want them to be fully set and ready for their big reveal!
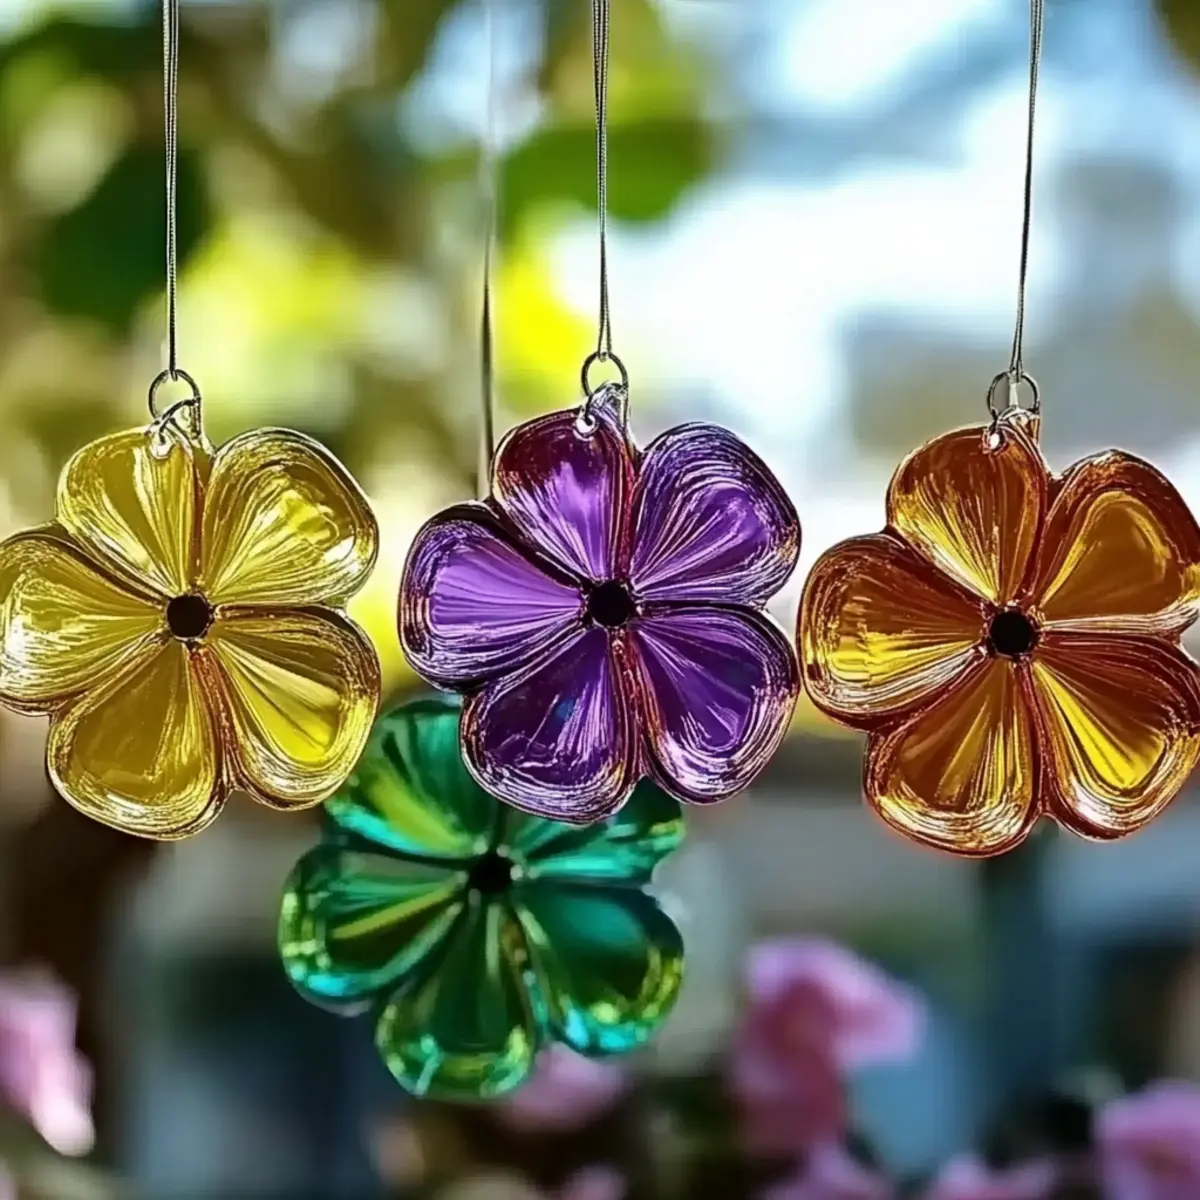
Finish Up: Once dry, carefully peel the suncatchers off the paper. Use string or ribbon to hang them up, turning your space into a vibrant gallery of eco-friendly art!
Optional: Add biodegradable glitter for a touch of sparkle before the mixture dries.
Exact quantities are listed in the recipe card below.
What to Serve with Eco-Friendly Fizzing Hatching Dino Eggs Suncatchers?
Create a playful, imaginative atmosphere while enjoying your colorful creations with delightful snacks and drinks!
Fruit Skewers: Bright and juicy, these colorful treats reflect the vibrant hues of your suncatchers and keep the energy up for crafting fun.
DIY Dinosaur Sandwiches: Cut sandwiches into dino shapes for a whimsical, themed meal that delights kids and fuels creativity.
Sparkling Lemonade: The fizz of this refreshing drink mirrors the bubbling excitement of the DIY craft, perfect for quenching thirst during your crafting session.
Veggie Cups: Serve a variety of colorful, crunchy vegetables in individual cups with a tasty dip. They add a fresh, healthy element to your crafting party.
Dino Egg Cookies: Bake cookies shaped like dino eggs to tie the theme together. A sweet treat that the kids can even help decorate!
Rainbow Popsicles: These vibrant frozen treats resemble the colorful suncatchers and are a fun, cool-off option on a warm crafting day.
Creating a magical atmosphere with these fun pairing options not only enhances the excitement of making your stunning suncatchers but also makes for a delightful family experience!
Helpful Tricks for DIY Bioplastic Suncatchers
Perfect Proportions: Measure your cornstarch and water accurately to ensure the right texture; too much water can lead to sticky suncatchers.
Fizzing Fun: When adding vinegar, pour it slowly and stir gently to control the fizz—this makes for a safe and engaging experience for kids without overwhelming them.
Color Choices: For a beautiful gradient effect, layer different food coloring shades and let them blend; avoid muddy colors by not over-mixing.
Durable Drying: Ensure your suncatchers dry in a well-ventilated area to maintain their clarity and prevent moisture retention.
Keep It Clean: Use wax paper or parchment to line your workspace—not only does it simplify cleanup, but it also prevents sticking to surfaces.
Remember, crafting these DIY Bioplastic Suncatchers can be a magical experience for the whole family!
Make Ahead Options
These Eco-Friendly Fizzing Hatching Dino Eggs Suncatchers are perfect for busy families looking to plan ahead! You can mix the cornstarch, water, and vinegar up to 24 hours in advance; just store the mixture in an airtight container in the fridge to prevent drying out. If you want to take it further, you can also prepare your shaping tools (like cookie cutters and pipettes) ahead of time for a seamless crafting experience. When you’re ready to create, simply bring the mixture back to room temperature, add any desired food coloring, and pour it onto your prepared paper. Allow it to dry, and you’ll have stunning suncatchers that will sparkle just as beautifully as if they were made fresh!
DIY Bioplastic Suncatchers Variations
Feel free to mix things up with these exciting twists on your suncatchers!
Tapioca Starch: Substitute cornstarch for tapioca starch to create a slightly chewier texture that’s still fun and flexible!
Natural Dyes: Instead of food coloring, use natural dyes from fruits or vegetables for an eco-friendly coloring approach—it’s a creative way to explore nature’s palette!
Glitter Infusion: Mix in biodegradable glitter to the mixture for a wow factor; your suncatchers will catch the light beautifully, turning your crafts into shimmering delights.
Scented Suncatchers: Add a few drops of essential oils to the mix; not only do they look lovely, but they’ll also fill your space with delightful scents.
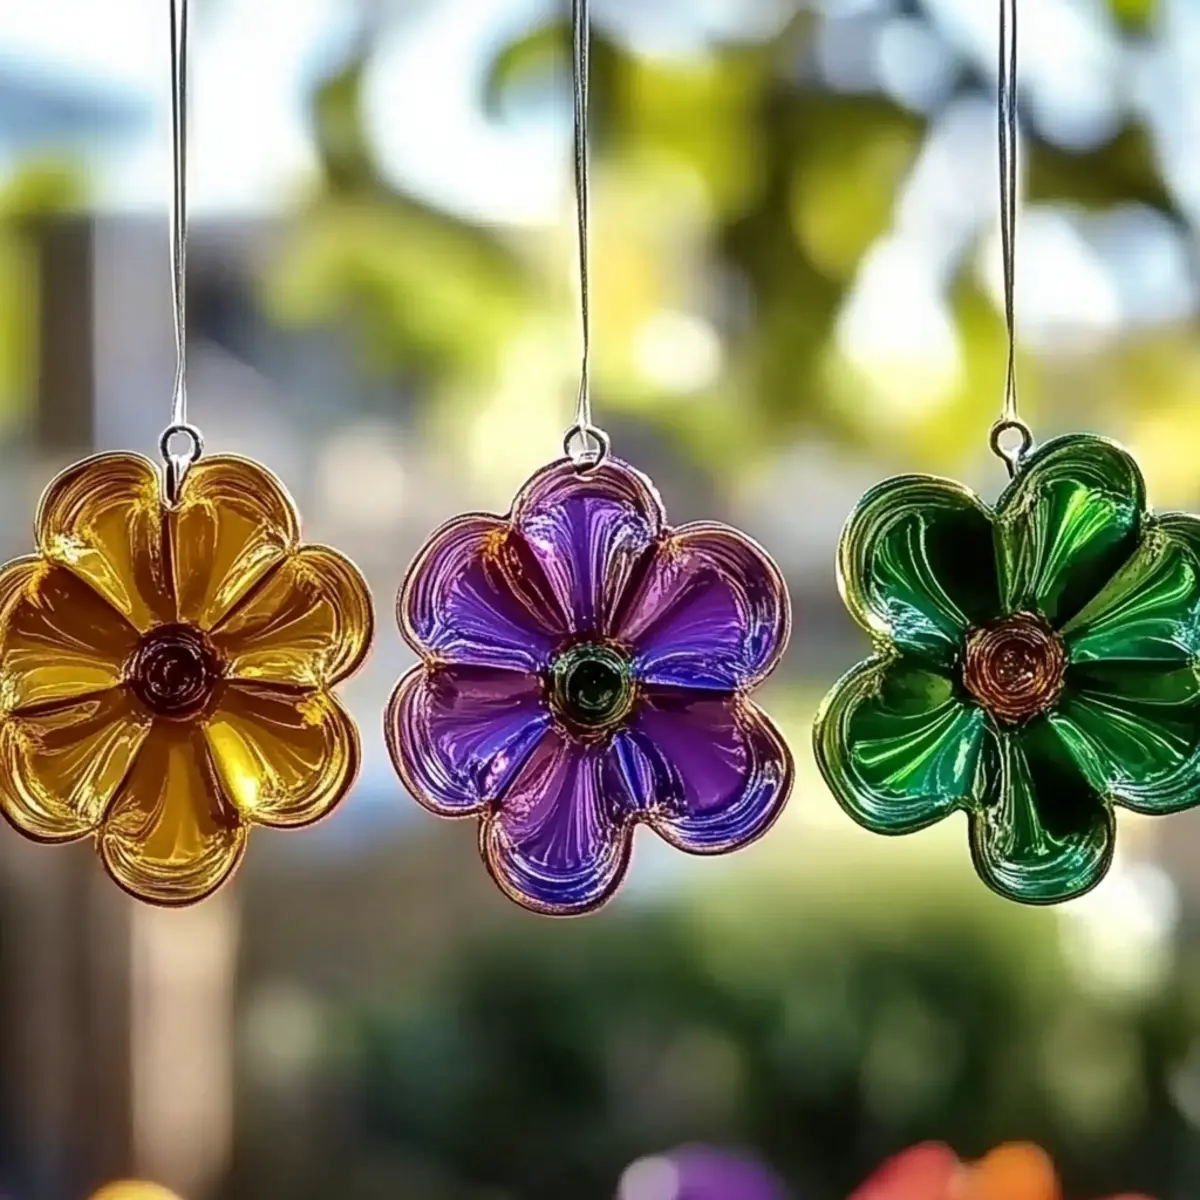
Shape Variations: Use different cookie cutter shapes for seasonal themes—hearts, stars, or even holiday motifs to make every suncatcher unique and festive!
Layered Colors: For a stunning gradient effect, pour different colors in layers and allow them to blend slightly before they set; this adds depth and intrigue to your designs.
Vibrant Flecks: Chop small bits of dried flowers or leaves into the mixture; these natural embellishments will turn your suncatchers into mini art pieces inspired by nature.
Textured Designs: Experiment with different tools, like combs or forks, when shaping your suncatchers to add fun textures that catch the eye!
How to Store and Freeze DIY Bioplastic Suncatchers
Room Temperature: Store your suncatchers in a cool, dry place away from direct sunlight to avoid fading or warping. They can last up to one month if handled gently.
Fridge: If you’d like a longer-lasting option, keep them in the refrigerator, encased in a breathable cloth or paper towel for moisture control—ideal for up to a month.
Freezer: While not recommended for freezing due to potential texture changes, you can keep extra raw mixture in an airtight container for up to three months, using it when you’re ready to create more DIY Bioplastic Suncatchers.
Reheating: If the mixture thickens while stored, gently warm it in a microwave for a few seconds, stirring thoroughly to revive its workability. Just be sure not to overheat!
DIY Bioplastic Suncatchers Recipe FAQs
What kind of cornstarch should I use for the best results?
I recommend using regular cornstarch for this recipe, as it provides the right structure and consistency for the suncatchers. Avoid using organic or instant variants, which might not work as effectively for this craft.
How long can I store my DIY Bioplastic Suncatchers?
To keep your suncatchers looking vibrant and fresh, store them in a cool, dry place away from direct sunlight. They can last up to one month if handled gently. If you notice any fading or warping, it might be time to create a new batch.
Can I freeze the suncatchers?
While it’s not ideal to freeze finished suncatchers, you can store any leftover raw mixture in an airtight container in the freezer for up to three months. When you’re ready to craft again, just warm it gently in the microwave and stir to bring the mixture back to life.
What if my suncatcher mixture is too runny?
If you find that your mixture is too runny, simply add a bit more cornstarch to thicken it up. Mix it gradually, ensuring a consistent texture similar to pancake batter. If you end up with too thick a mixture, add a drop or two of water until it reaches the desired consistency.
Are these suncatchers safe for kids and pets?
Absolutely! The DIY Bioplastic Suncatchers are made from non-toxic ingredients and are safe for children to handle during crafting. However, I recommend keeping them out of reach from pets as they may try to chew or ingest them. Always supervise little hands while crafting.
Can I use natural dyes instead of food coloring?
Yes, you can incorporate natural dyes for coloring your suncatchers! Items such as beet juice or turmeric can provide vibrant colors and are an excellent eco-friendly alternative to synthetic food coloring. Just note that the hues may vary slightly in brightness.
These common questions will help ensure your crafting experience is both enjoyable and successful!

Magical DIY Bioplastic Suncatchers That Brighten Your Home
Ingredients
Equipment
Method
- Prepare Work Surface: Start by laying down wax paper or parchment paper to prevent the suncatcher mixture from sticking.
- Mix Base: In a mixing bowl, combine the cornstarch and water. Stir until smooth and consistent, resembling pancake batter.
- Add Vinegar: Gently mix in the white vinegar along with glycerin if using. Stir carefully to combine as it will fizz.
- Incorporate Color: Add food coloring now and mix well until evenly distributed.
- Shape Mixture: Pour the mixture onto the prepared paper and use pipettes or cookie cutters to shape the suncatchers.
- Dry: Allow them to dry completely, which may take several hours or overnight.
- Finish Up: Once dry, peel them off the paper and use string or ribbon to hang them up.