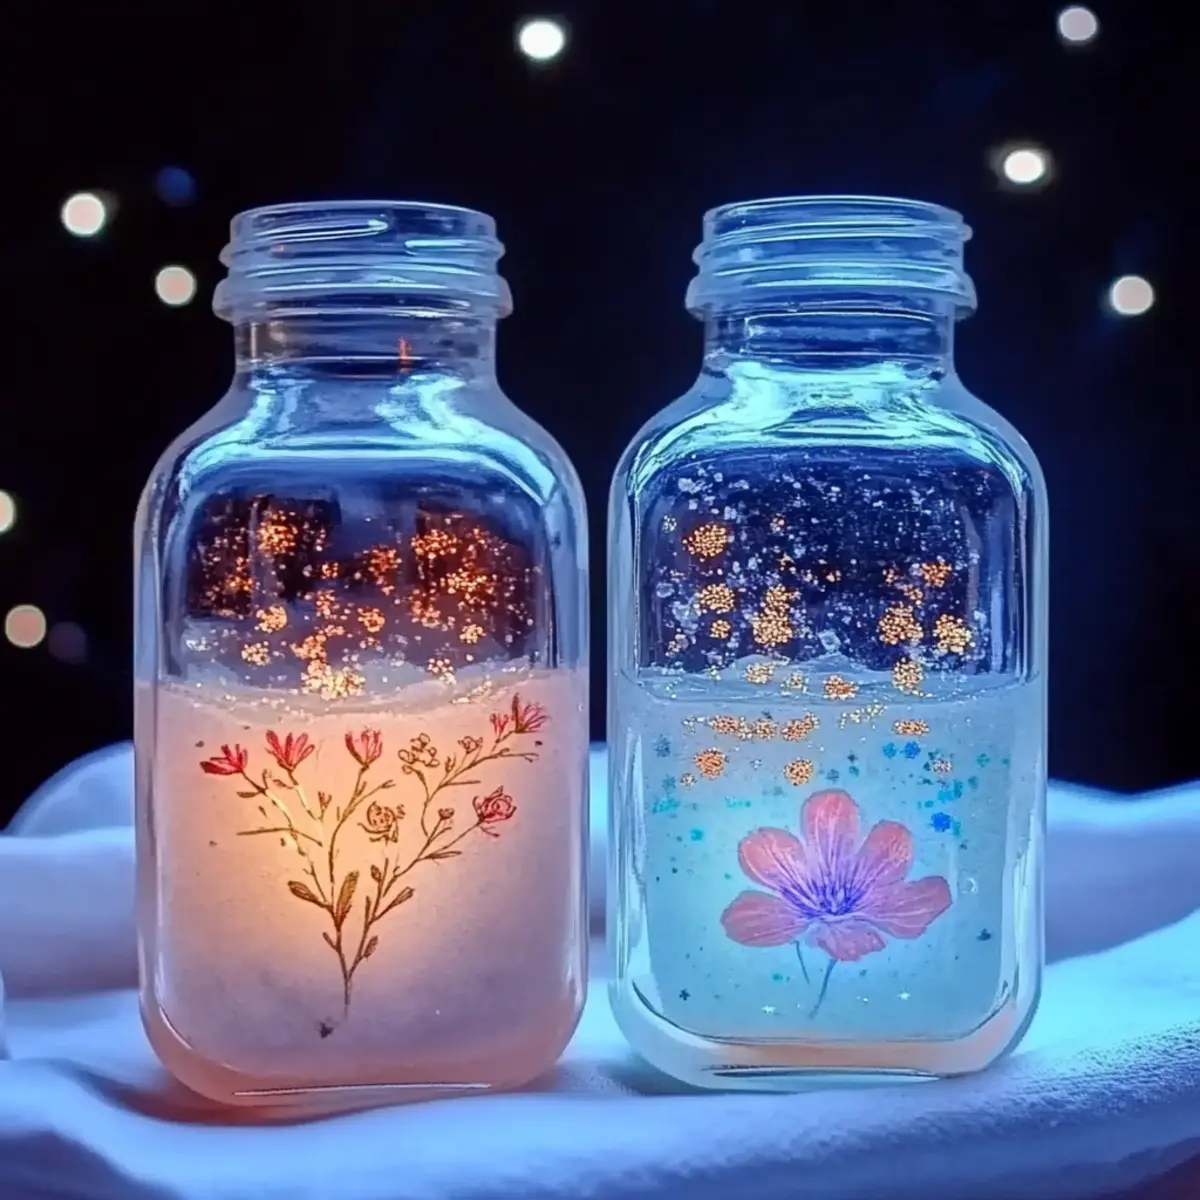
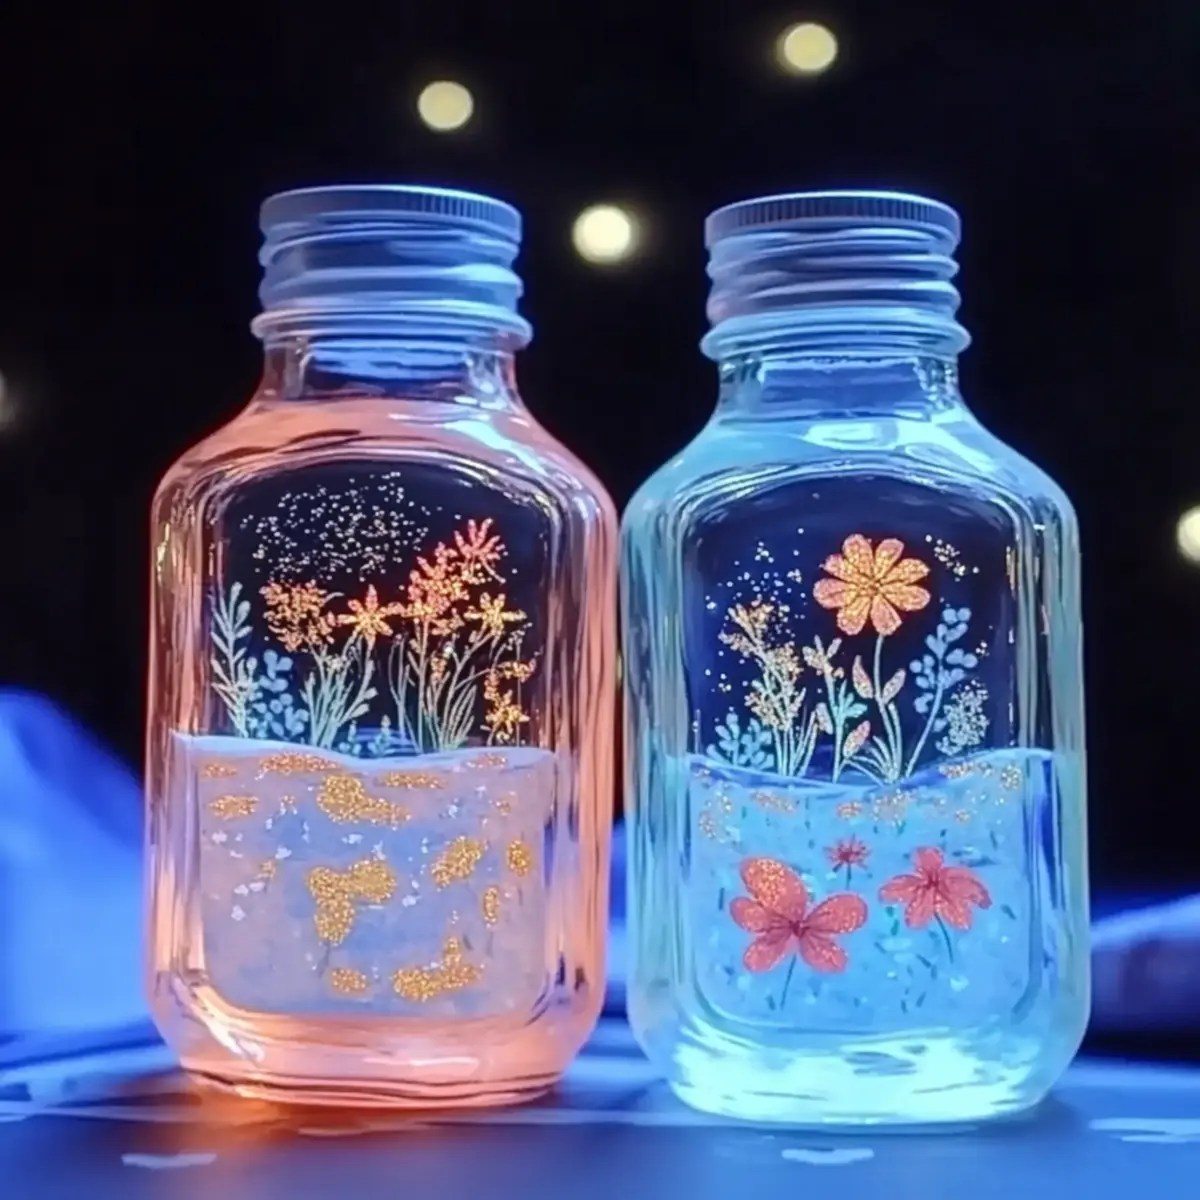
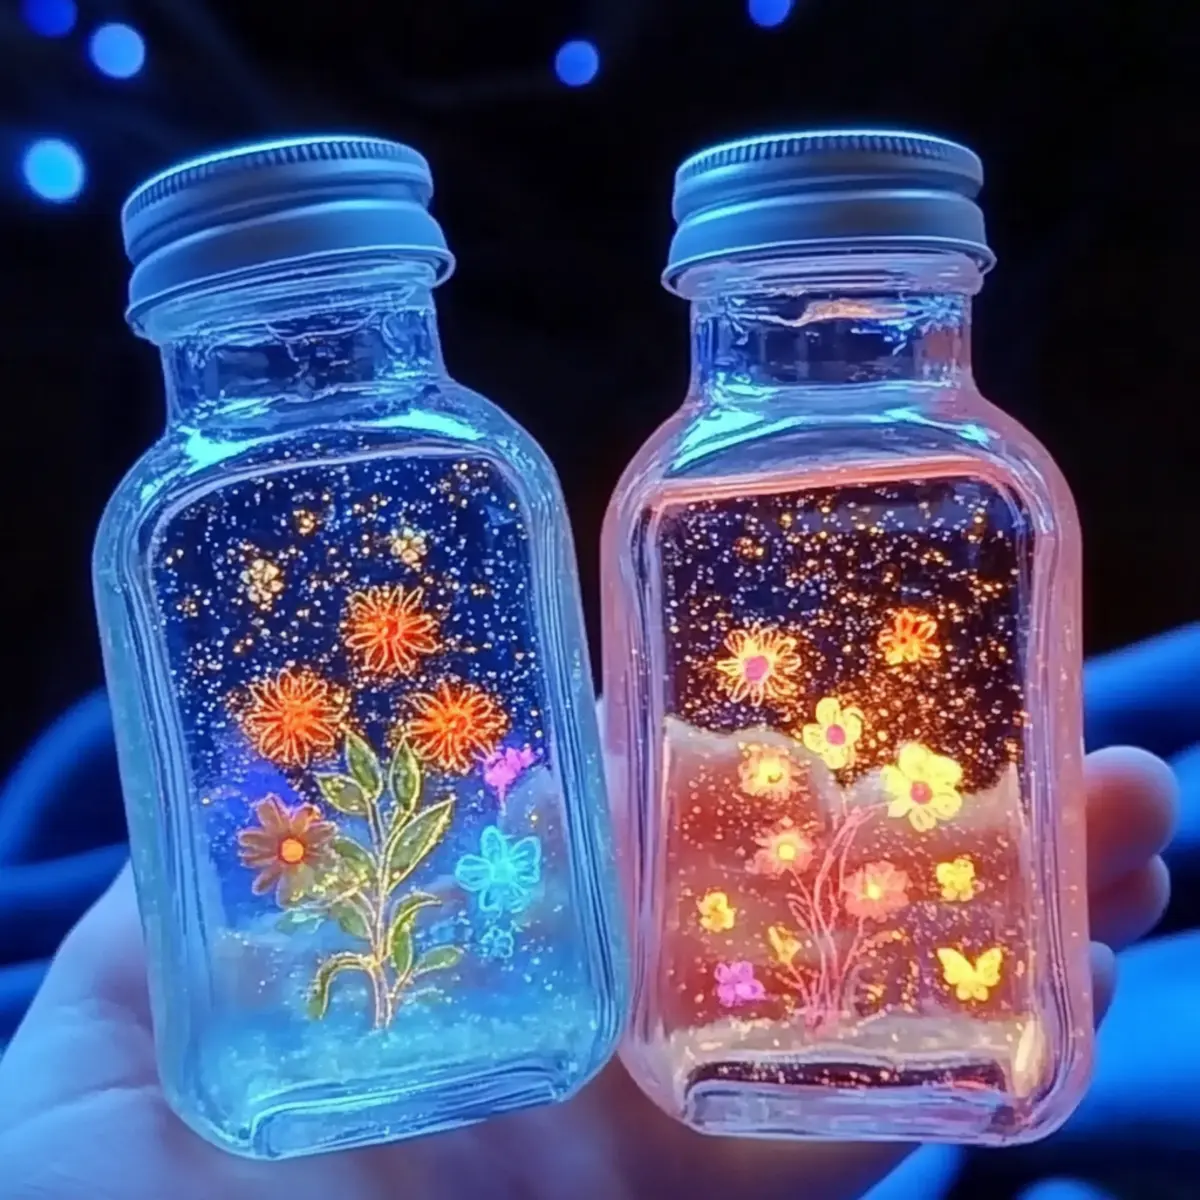
Create a Soothing DIY Calm Down Bottle for Kids and Adults
In the midst of life’s hustle and bustle, I often find myself yearning for a little moment of tranquility. That’s when I discovered the joy of DIY Calm Down Bottles. With their captivating glimmer and fluid motion, these enchanting creations are a wonderful way to engage both kids and adults alike in a mindful sensory experience. Just imagine the calmness that washes over you as the colorful glitter swirls, creating a mesmerizing dance reminiscent of a gentle snowfall or ocean waves.
This simple craft not only allows for creativity but serves as a playful outlet for stress relief. Whether you’re looking to unwind after a hectic day or seeking an enjoyable activity to share with the little ones, this DIY Glitter Bottle project is your perfect solution. You’ll find it’s an easy and delightful way to add a touch of magic to your day, transforming ordinary moments into a soothing escape. Let me walk you through the steps to create your own little oasis of sparkle!
Why are DIY Calm Down Bottles so calming?
Simplicity at Its Best: This straightforward craft requires minimal materials and just a few easy steps to create a mesmerizing bottle.
Visual Soothing: The gentle movement of glitter in water mimics serene natural scenes, promoting relaxation and mindfulness.
Family-Friendly Fun: Adults and kids can bond while creating personalized bottles, making it a fantastic activity for quality time.
Customizable Creativity: Add optional ingredients like sequins or glow-in-the-dark glitter to suit your style, ensuring each bottle is uniquely yours.
Portable Peace: These bottles can be taken anywhere, serving as a calming tool during stressful moments or busy days.
Transform your craft time into a mindful escape with this enchanting project!
DIY Calm Down Bottles Ingredients
For the Bottle
• Clear Plastic Bottle (8–16 oz) – This serves as the sparkling canvas for your glitter mixture. Voss bottles are a great choice!For the Mixture
• Warm Water (¾ cup) – Aiding in blending the ingredients smoothly creates that mesmerizing flow.
• Clear Glue or Glitter Glue (¼ cup) – This thickens the mix and slows the glitter’s descent, enhancing the calming effect.For the Glitter and Extras
• Fine Glitter (various colors) – Choose an array of colors to add beauty; calming tones like blue or lavender evoke tranquility.
• Optional Ingredients- Food Coloring – Use sparingly to add color to the water for a whimsical touch.
- Sequins, Tiny Beads, and Confetti – These add extra sparkle and personalization to your bottle, creating a visual delight.
- Glow-in-the-Dark Glue or Paint – For a magical twist, perfect for nighttime calming moments.
To Seal It Up
• Super Glue or Hot Glue – Use this to securely seal the bottle lid, ensuring it’s safe for children while enjoying the dazzling display.
With these simple ingredients, you can create your own DIY Calm Down Bottles, turning an average day into a magical escapade!
How to Make DIY Calm Down Bottles
Prepare the Bottle: Start by thoroughly cleaning your plastic bottle to ensure a clear view of the mesmerizing mixture inside. An 8–16 oz bottle works perfectly, especially Voss bottles.
Mix Ingredients: Pour ¾ cup of warm water into the bottle, followed by ¼ cup of clear glue. Stir gently until these two are blended well, creating a smooth base for your glitter.
Add Glitter: Now, pour in the fine glitter in your chosen colors, along with optional ingredients like food coloring or sequins for a personal touch. Let your creativity shine!
Seal the Bottle: After mixing thoroughly, use super glue or hot glue to firmly seal the lid. This step is crucial for safety while your creation dances in delight!
Test the Sensory Effect: Give the bottle a shake and watch the glitter swirl beautifully. If the motion isn’t quite right, adjust the glue-to-water ratio in your next bottle to achieve your desired result.
Optional: Add a personal label or decoration to your bottle for an extra touch!
Exact quantities are listed in the recipe card below.
How to Store and Freeze DIY Calm Down Bottles
Room Temperature: Keep your DIY Calm Down Bottles in a cool, dry place when not in use. They can stay perfectly intact for several months without needing refrigeration.
Fridge: If desired, you can place the bottles in the fridge to create a cool sensation during warm days, although it’s not necessary for their preservation.
Freezer: Avoid storing the bottles in the freezer, as the extreme cold could affect the plastic and the effectiveness of the glue, potentially causing leakage.
Reheating: If the ingredients feel too thick, allow your bottles to sit at room temperature for a bit before use. Always inspect the seal before letting younger children handle them.
Expert Tips for DIY Calm Down Bottles
Mix Well: Ensure glue and warm water are thoroughly combined before sealing the bottle; this helps achieve the best flowing effect of your DIY Calm Down Bottles.
Adjust Ratios: If the glitter settles too quickly, try increasing the glue to water ratio. This will create a slower, mesmerizing glitter movement.
Safety First: Use super glue or hot glue to securely seal the lid. This prevents any accidental spills during playtime, ensuring a safe experience for kids.
Choose Colors Wisely: Use calming colors like blues or lavenders for ultimate relaxation. Bright colors can be stimulating rather than soothing.
Easy Storage: Store your bottles upright in a safe place when not in use. This keeps them intact and ready for peaceful moments whenever needed.
Make Ahead Options
These DIY Calm Down Bottles are a fantastic choice for home cooks looking to save time without sacrificing creativity! You can prepare the glitter mixture up to 24 hours in advance by combining the warm water and clear glue in the bottle, stirring gently, and then sealing it tightly. Store the bottle in the refrigerator to maintain the mixture’s quality and prevent separation. When ready to finish, simply add your chosen fine glitter and any optional ingredients like sequins or food coloring for a personal touch. Finally, seal the lid with super glue or hot glue, and your calming creation will be just as mesmerizing as if made fresh!
What to Serve with DIY Calm Down Bottles?
Creating a soothing environment with DIY Calm Down Bottles is just the beginning; here are some delightful ideas to complement your sensory experience.
Cozy Blankets: Snuggle under soft, comforting throws while watching the glitter swirl; they enhance the calming ambiance.
Calming Music: Pair your crafty creations with gentle instrumental tunes or nature sounds to deepen relaxation and focus. Music envelops you, transforming your space into a serene retreat.
Scented Candles: Light some lavender or chamomile candles to promote tranquility, making the experience even more restorative and peaceful. The flickering flames add another dimension to your mindful moment.
Herbal Tea: Sip on a warm cup of chamomile or mint tea, which can enhance the calming effects of your crafts and keep you refreshed throughout the process.
Comfort Snacks: Munch on light snacks like almond butter on apple slices or yogurt with honey; they nourish you while you create.
Meditation Cards: Include a set of friendly prompts or positive affirmations to draw your attention and set intentions while admiring your glitter bottle.
Art Supplies: Bring out some colored pencils or papers for doodling. This ties in beautifully with crafting, and gives you a chance to express your thoughts visually.
Quiet Time with Loved Ones: Invite family to enjoy a peaceful, shared moment wrapped in your cozy, crafted space; it’s perfect for bonding and mindfulness combined!
By integrating these simple yet effective elements, you’ll create a restorative atmosphere paired beautifully with your DIY Calm Down Bottles.
DIY Calm Down Bottles Customizations
You can personalize your DIY Calm Down Bottles for a unique sensory experience that reflects your style and preferences.
Glow-in-the-Dark Glitter: Swap standard glitter for glow-in-the-dark options for nighttime magic that adds a comforting glow. It’s perfect for creating a tranquil bedtime routine.
Seasonal Colors: Match your bottle’s colors to the season or holiday—think pastels for spring or warm hues for autumn—to create a festive atmosphere.
Essential Oils: Add a few drops of calming essential oils, like lavender or chamomile, for an aromatic twist that enhances relaxation and soothes the mind.
Textured Additions: Incorporate tiny beads or sequins along with glitter to create varied textures that catch the light and move differently in the bottle.
Bubbly Effect: Mix in a little dish soap with the water to create bubbles that dance along with the glitter, giving your bottle an extra layer of visual intrigue.
Personalized Messages: Include small notes or charms inside the bottle that reflect positive affirmations or reminders of love for a personal touch.
Different Sizes: Experiment with larger bottles or unique container shapes to create diverse sensory experiences, allowing more space for the ingredients to flow beautifully.
Let your creativity soar and enjoy the process of crafting your enchanting bottles!
DIY Calm Down Bottles Recipe FAQs
What type of bottle should I use for my DIY Calm Down Bottles?
Absolutely! An 8–16 oz clear plastic bottle works best for making DIY Calm Down Bottles. I often recommend Voss bottles because they have a sleek design and are durable, allowing for a beautiful view of the glitter inside.
How should I store my DIY Calm Down Bottles?
Store your bottles in a cool, dry place when not in use. Keeping them upright is key to avoiding leaks, and they can last for several months this way. If you want to create a cool sensation on warm days, placing them in the fridge for a bit is okay, but avoid the freezer as the cold can cause damage to the bottle and glue seal.
Can I freeze my DIY Calm Down Bottles?
No, it’s best to keep your DIY Calm Down Bottles out of the freezer. The extreme cold may affect both the plastic material and the integrity of the glue, which could lead to leaks. Instead, store them at room temperature for optimal performance.
What if the glitter in my Calm Down Bottle settles too quickly?
Very! If you notice the glitter settles rapidly, you can adjust the glue-to-water ratio in your next bottle. Increasing the glue amount slightly can help slow the glitter’s descent and improve the visual effect, providing that soothing experience we aim for. Start by adding an extra tablespoon of glue in your next batch until you achieve the desired flow.
Are there any dietary considerations for my kids while using Calm Down Bottles?
While the DIY Calm Down Bottles are safe to create, always supervise younger children during playtime to prevent any accidental spills or ingestion of materials. The ingredients used, such as glue and glitter, should not be consumed, so it’s crucial to ensure children understand that these bottles are for sensory play only, not for food or drink!
How long can my Calm Down Bottles last?
With proper storage, your DIY Calm Down Bottles can last for quite some time—up to several months! Regularly check for any signs of leakage or degradation, especially around the seals, to ensure they remain safe for use. If any unusual smells arise or if the contents appear thick or murky, it might be best to create a new bottle.

Create a Soothing DIY Calm Down Bottle for Kids and Adults
Ingredients
Equipment
Method
- Prepare the Bottle: Thoroughly clean your plastic bottle.
- Mix Ingredients: Pour ¾ cup of warm water and ¼ cup of clear glue into the bottle.
- Add Glitter: Pour in fine glitter and optional ingredients.
- Seal the Bottle: Use super glue or hot glue to firmly seal the lid.
- Test the Sensory Effect: Shake the bottle and observe the glitter.