Molten Lava Chocolate Cakes
Why You’ll Love These Lava Cakes
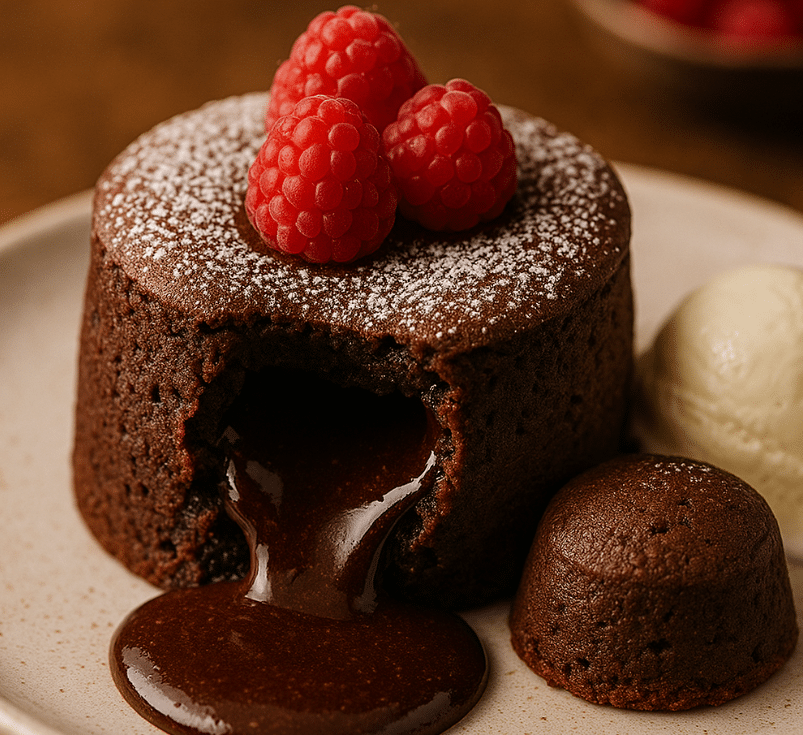
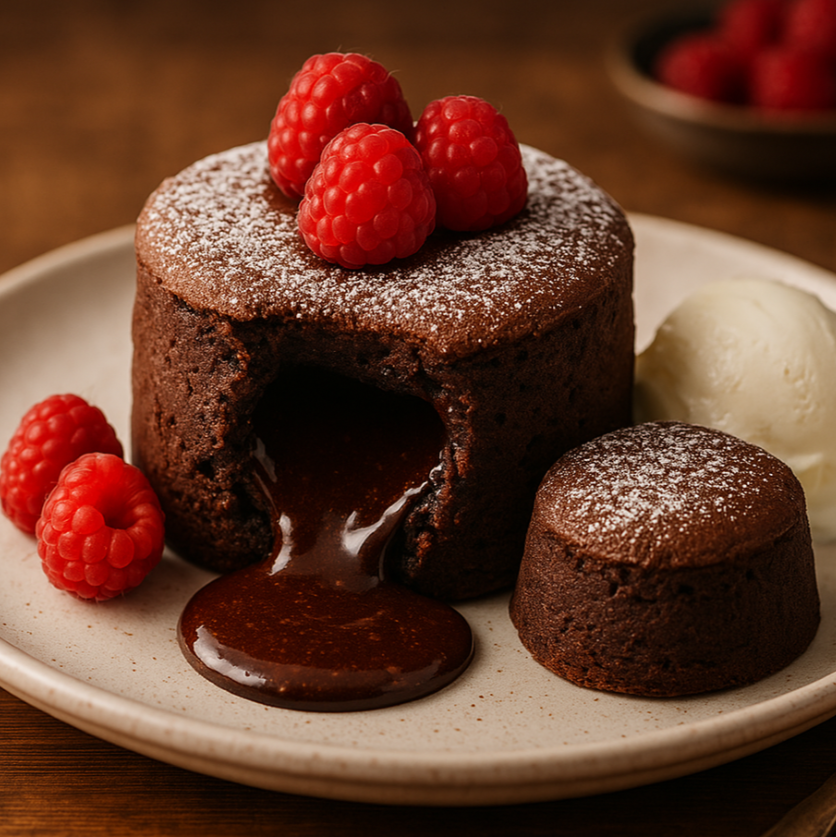
Molten lava chocolate cakes are the epitome of dessert luxury. With their crisp outer shell and warm, gooey center, they deliver an explosion of rich chocolate in every spoonful.
Whether you’re preparing a romantic dinner, impressing guests, or treating yourself after a long week, this dessert brings restaurant-quality results from the comfort of your own kitchen.
What Are Molten Lava Cakes?
Molten lava cakes—also known as chocolate fondants or lava center cakes—are small chocolate cakes with a soft, liquid center that flows out when cut. They combine the best parts of a brownie, a soufflé, and a pudding in one unforgettable bite.
Invented by accident (as many great recipes are), lava cakes have become a staple in fine dining and home kitchens alike.
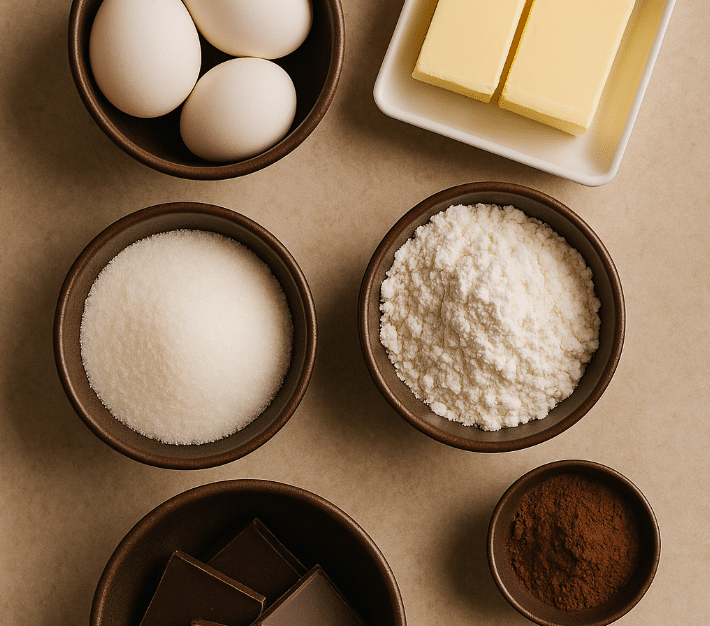
Ingredients You’ll Need
Makes 2 large cakes or 4 small ones
- 100g (3.5 oz) dark chocolate (70% cocoa)
- 100g (7 tbsp) unsalted butter
- 2 large eggs
- 2 tbsp all-purpose flour
- 1/4 cup granulated sugar
- 1 tsp vanilla extract
- Pinch of salt
- Butter and cocoa powder for greasing ramekins
Optional toppings:
- Powdered sugar
- Fresh raspberries or strawberries
- Vanilla ice cream
- Whipped cream
- Caramel drizzle
Tools & Equipment
- 2–4 small ramekins or muffin tins
- Mixing bowls
- Whisk or hand mixer
- Heatproof bowl for melting
- Baking sheet
- Oven
Step-by-Step Recipe for Molten Lava Chocolate Cakes
Step 1: Prep the ramekins
Preheat your oven to 220°C / 425°F.
Generously butter your ramekins and dust them with cocoa powder. This helps the cakes release easily and gives a rich chocolate crust.
Step 2: Melt the chocolate and butter
In a heatproof bowl over simmering water (double boiler method), melt the chocolate and butter together until smooth.
Remove from heat and allow to cool slightly.
Microwave option: Heat in 30-second intervals, stirring each time, until fully melted.
Step 3: Whisk the eggs and sugar
In a separate bowl, whisk together the eggs, sugar, and vanilla until pale and thick (about 3 minutes). This adds air and structure.
Step 4: Combine the mixtures
Slowly pour the melted chocolate into the egg mixture, stirring constantly.
Add a pinch of salt and the flour. Gently fold until just combined—do not overmix.
Step 5: Fill and bake
Divide the batter evenly between the ramekins.
Place ramekins on a baking sheet and bake for 11–13 minutes. The edges should be firm, but the center should still be slightly jiggly.
Watch carefully. Overbaking = no molten center!
Step 6: Rest and serve
Let the cakes cool for 1 minute. Then run a knife around the edge, invert onto a plate, and gently lift the ramekin.
Serve immediately with toppings of your choice.
Tips for Success
1. Use high-quality chocolate
The better the chocolate, the better the lava. Aim for at least 70% cocoa for richness and depth.
2. Don’t overbake
The center should remain slightly undercooked. Even 1 extra minute can dry them out.
3. Grease your ramekins well
Butter + cocoa powder = easy unmolding and added flavor.
4. Chill the batter
For make-ahead magic, refrigerate filled ramekins for up to 1 day. Bake cold with 1–2 extra minutes.
5. Bake to order
These cakes are best enjoyed fresh from the oven. Plan your timing around dessert service.
Variations on the Classic Lava Cake
Chocolate Orange Lava Cake
Add 1 tsp orange zest and a splash of orange liqueur (e.g., Grand Marnier) to the batter.
Mocha Lava Cake
Mix 1 tsp instant espresso powder into the melted chocolate.
Peanut Butter Lava Cake
Drop a teaspoon of peanut butter in the center of each ramekin before baking.
Berry-Filled Lava Cake
Insert a few raspberries or a spoonful of raspberry jam in the middle for a sweet-tart twist.
Coconut Lava Cake
Sprinkle desiccated coconut into the batter and top with whipped coconut cream.
Can You Make Lava Cakes Ahead of Time?
Yes! You can fully prepare the batter, pour it into greased ramekins, and refrigerate for up to 24 hours.
When ready to serve:
- Preheat the oven
- Bake cold ramekins for 13–14 minutes
Do not microwave to reheat—they will cook through and lose their molten texture.
FAQ – Molten Lava Cakes
How do I know when they’re done?
The edges should look set and firm, but the center should look soft and jiggle slightly.
Can I use milk chocolate?
Yes, but reduce the sugar slightly, as milk chocolate is sweeter. Dark chocolate gives a richer, less sugary flavor.
Can I make it gluten-free?
Yes! Substitute all-purpose flour with almond flour or a 1:1 gluten-free blend.
Can I bake these in a muffin pan?
You can, but be sure to grease and dust each cavity well. Use foil liners or silicone molds for easier removal.
Serving Suggestions
Serve warm with:
- A scoop of vanilla bean ice cream
- Dusting of powdered sugar
- Berries for freshness
- Espresso or red wine for pairing
Nutritional Information (per serving)
Based on standard recipe without toppings:
- Calories: 390
- Protein: 6g
- Fat: 28g
- Carbs: 32g
- Sugar: 18g
Note: May vary based on portion size and toppings.
Storage & Reheating
Refrigeration:
Store baked lava cakes in an airtight container for up to 2 days.
Reheating:
Microwave briefly (10–15 seconds) to warm—but this may cook the center. Reheat carefully!
Best practice: Bake only what you need, and prep extras unbaked.
A Short History of Lava Cakes
Molten lava cakes gained fame in the 1980s when chef Jean-Georges Vongerichten claimed to invent them in New York. However, French chefs argue it originated as a twist on traditional fondant au chocolat.
Regardless of origin, it’s now a worldwide favorite.
Perfect Occasions for Lava Cakes
- Valentine’s Day
- Dinner parties
- Birthdays
- Anniversaries
- “Just because” indulgences
A dish so simple yet so dramatic—lava cakes turn any evening into something memorable.
Recipe Recap
Molten Lava Chocolate Cakes
🕒 Prep: 10 min | Bake: 12 min | 🍽️ Serves: 2–4
- Gooey center
- Rich chocolate flavor
- Restaurant-style dessert at home
Molten Lava Chocolate Cakes
Ingredients
Method
- Preheat your oven to 220°C / 425°F. Generously butter your ramekins and dust them with cocoa powder.
- In a heatproof bowl over simmering water, melt the chocolate and butter together until smooth. Remove from heat and allow to cool slightly.
- Alternatively, heat in the microwave in 30-second intervals, stirring each time, until fully melted.
- In a separate bowl, whisk together the eggs, sugar, and vanilla until pale and thick (about 3 minutes).
- Slowly pour the melted chocolate into the egg mixture, stirring constantly. Add a pinch of salt and the flour. Gently fold until just combined—do not overmix.
- Divide the batter evenly between the ramekins. Place ramekins on a baking sheet and bake for 11–13 minutes.
- The edges should be firm, but the center should still be slightly jiggly. Watch carefully to avoid overbaking.
- Let the cakes cool for 1 minute. Run a knife around the edge, invert onto a plate, and gently lift the ramekin. Serve immediately with toppings of your choice.