Effortless No-Knead Turkish Bread (No Oven) – Just 3 Ingredients
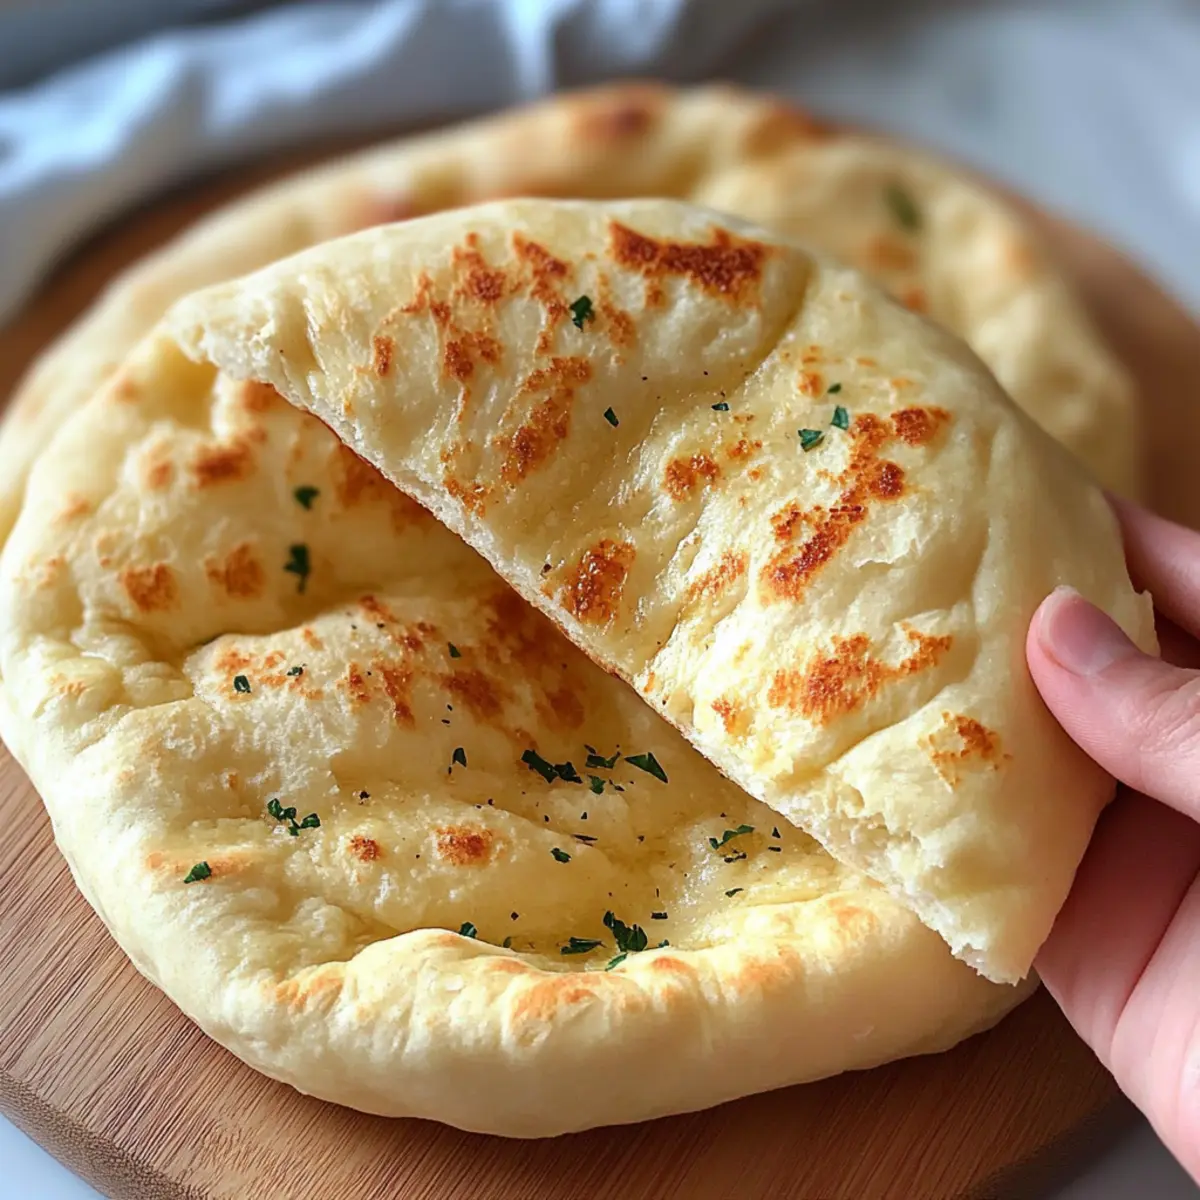
There’s something uniquely satisfying about creating bread at home, especially when it comes together with just three simple ingredients! Imagine the warm, pillowy texture of no-knead Turkish bread, or Bazlama, sizzling in a pan and filling your kitchen with a delightful aroma. This quick and easy recipe is not just a breath of fresh air from fast food; it’s an invitation to transform your meals into something extraordinary.
Perfect for wrapping around juicy chicken shawarma or dipping into rich butter chicken, this versatile flatbread is about to become a staple in your kitchen. You don’t need an oven or complicated techniques—just a frying pan and a few basic pantry items to whip up soft, fluffy bread that will impress your family and friends. Get ready to elevate your next meal with this homemade Turkish treasure!
Why is No-Knead Turkish Bread a Game Changer?
Simplicity: This recipe shines with just three ingredients, making it a breeze for anyone craving homemade bread without the fuss.
Quick to Prepare: Perfect for those busy evenings, you can whip up this delicious flatbread in no time.
Versatile Uses: Whether you’re stuffing it with savory fillings or using it to scoop up dips, its adaptability makes it a hit at any table.
No Oven Required: You can create it right on your stovetop, eliminating the need for complicated baking equipment.
Crowd-Pleasing: Its soft and pillowy texture is sure to impress your family and guests alike, turning every meal into a special occasion!
Essential No-Knead Turkish Bread Ingredients
• The key to a quick dinner!
For the Dough
- Self-Rising Flour – This acts as both the flour and leavening agent, simplifying your ingredients.
- Greek Yogurt (200 g / ¾ cup) – Adds moisture and tang; you can substitute with dairy-free yogurt for a vegan option.
- Warm Water (100 ml / ½ cup) – Helps form a soft dough; adjust the amount based on the flour’s absorbency.
Optional Seasonings
- Salt (1 tsp) – Enhances flavor, but can be omitted if desired.
- Garlic Powder (½ tsp) – A hint of flavor boost, perfect for savory dishes.
- Chopped Fresh Herbs (optional) – Experiment with parsley or dill for added freshness and flair.
With these simple ingredients, you’ll have everything you need to create delicious no-knead Turkish bread that complements any meal beautifully!
How to Make No-Knead Turkish Bread
Combine Ingredients: In a large bowl, mix the self-rising flour, Greek yogurt, and warm water until a sticky dough forms. It should feel soft to the touch; don’t worry about it being perfectly smooth!
Rest Dough: Cover the bowl with a clean kitchen towel and let it rest for about 30 minutes. This gives the ingredients time to blend and enhances the texture.
Shape Dough: After resting, turn the dough out onto a lightly floured surface. Divide it into equal portions and shape each into a round disk about 1 inch thick, ensuring they’re not too compact.
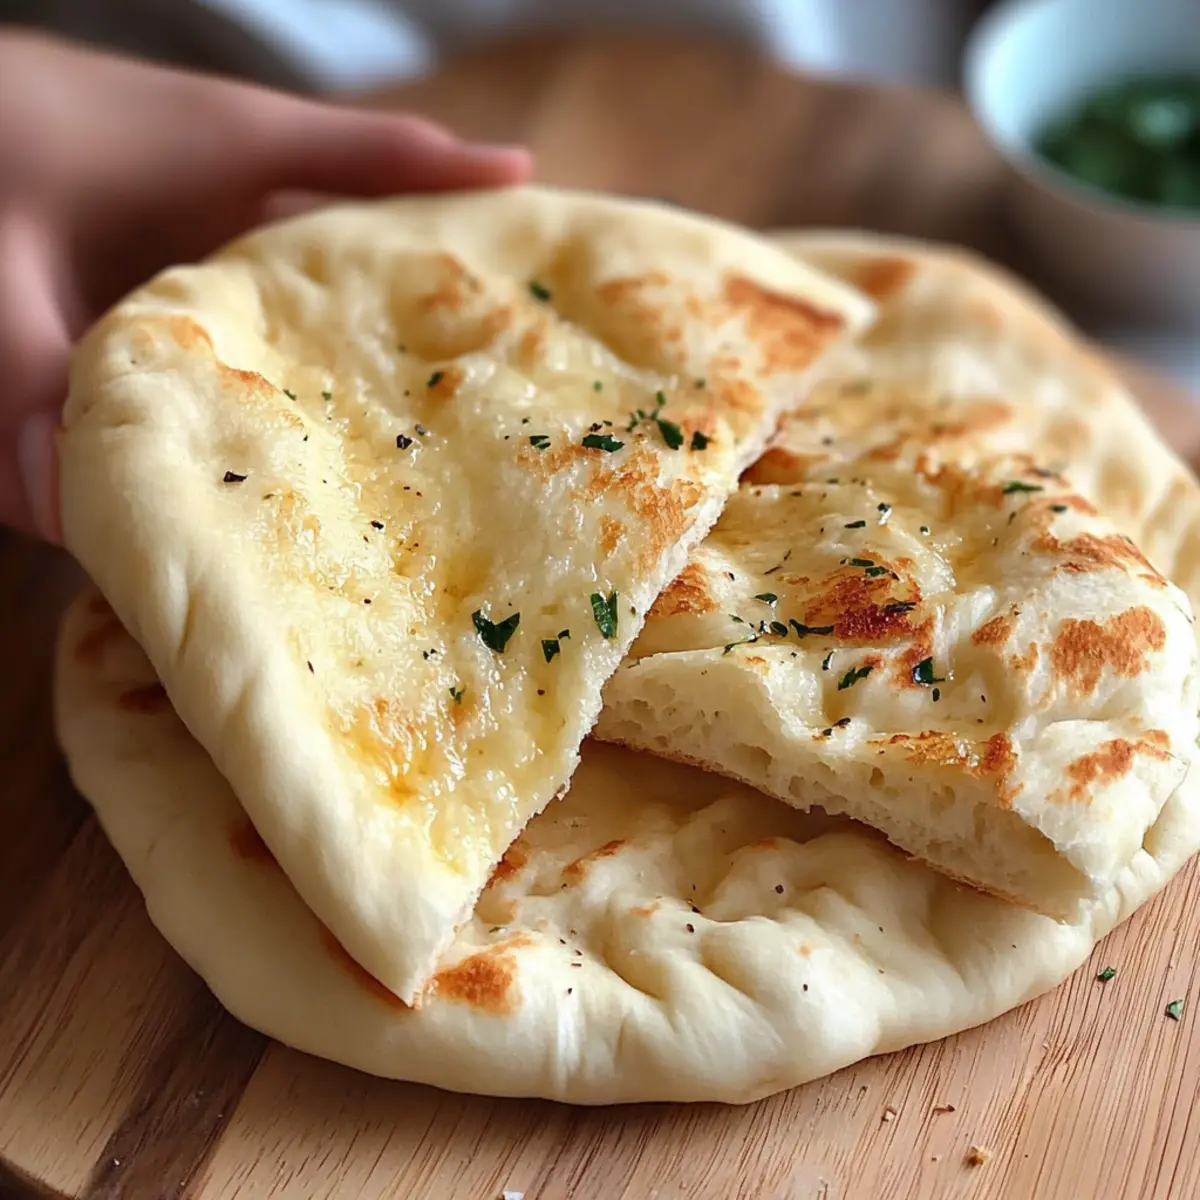
Cook Bread: Heat a non-stick frying pan over medium heat. Place the dough disks in the pan and cook for about 2-3 minutes on each side until they’re puffed and golden brown. You’ll know they’re ready when they have a lovely golden crust!
Keep Warm: Once cooked, cover the bread with a clean cloth to keep them warm and soft while you finish cooking the remaining disks.
Optional: Sprinkle some chopped fresh herbs on top before serving for a burst of freshness.
Exact quantities are listed in the recipe card below.
Make Ahead Options
These No-Knead Turkish Bread are perfect for busy home cooks seeking delicious meal prep solutions! You can mix the dough and let it rest up to 24 hours in advance, covered tightly in the refrigerator. This not only saves time but also enhances the flavors. Once you’re ready to enjoy your flatbread, simply divide and shape the rested dough into disks and cook them in a hot pan for 2-3 minutes on each side. For optimal quality, keep any cooked bread warm under a cloth until serving, and consider freezing extras for up to 3 months; just reheat them on the stovetop for a quick and satisfying addition to any meal!
No-Knead Turkish Bread Variations
Unlock your creativity by personalizing this delightful bread with these variations!
- Herb-Infused: Add dried oregano or thyme to the dough for a fragrant twist that pairs beautifully with savory meals.
- Cheese-Stuffed: Before cooking, place a small piece of your favorite cheese in the center of the dough; it’ll melt and create a delicious surprise!
- Spiced Flatbread: Mix in a pinch of chili powder or cayenne for a subtle kick that will elevate your dipping experience.
- Sweet Twist: Incorporate a drizzle of honey or maple syrup into the dough for an irresistible sweet flavor, perfect for breakfast.
- Nutty Flavor: Use half almond flour in the dough for a delightful texture and rich taste, enhancing the flavor profile.
- Garlic and Olive Oil: Brush the cooked bread with garlic-infused olive oil for an aromatic finish that will make it utterly irresistible.
- Zaatar Topping: Sprinkle a mixture of za’atar on top of the raw dough before cooking for a Middle Eastern flair and delicious herbal notes.
- Dairy-Free Option: Substitute Greek yogurt with coconut yogurt for a vegan-friendly alternative that keeps the texture creamy and soft.
With these variations, each batch of no-knead Turkish bread can be a new adventure for your taste buds!
Expert Tips for No-Knead Turkish Bread
Use Self-Rising Flour: It’s crucial to use self-rising flour instead of regular flour. This eliminates the need for additional leavening agents and simplifies the recipe.
Check Dough Consistency: If your dough feels too sticky, add a little more flour while mixing. Aim for a soft, pliable dough that’s still a bit tacky to the touch.
Preheat Your Pan: Ensure your frying pan is heated properly before placing the dough. A preheated pan creates the perfect environment for puffing up your no-knead Turkish bread.
Resting Time Matters: Don’t skip the 30-minute resting period! This step helps in developing the texture and enhances the flavor of the bread.
Cover with a Cloth: After cooking, keep the bread warm by covering it with a clean cloth. This keeps it soft and prevents it from drying out.
Experiment with Seasonings: Feel free to add garlic powder or fresh herbs to your dough for an extra flavor boost. This can take your no-knead Turkish bread to the next level!
Storage Tips for No-Knead Turkish Bread
Room Temperature: Store any leftover no-knead Turkish bread in an airtight container for up to 2 days, keeping it soft and fresh.
Fridge: If you want to keep it longer, you can refrigerate the bread in an airtight container for up to 5 days, but it may lose some of its fluffy texture.
Freezer: For longer storage, wrap the bread tightly in plastic wrap and freeze for up to 3 months. Thaw in the fridge before reheating.
Reheating: Reheat in a non-stick pan over medium heat for a couple of minutes on each side to regain that warm, pillowy perfection.
What to Serve with No-Knead Turkish Bread?
There’s a whole world of flavors that can elevate your meals when you have soft, fluffy no-knead Turkish bread at hand!
Grilled Chicken Shawarma: This flavorful dish wraps perfectly in warm bread, allowing the spices to shine through and the juicy meat to be the star.
Rich Butter Chicken: The creamy sauce clings beautifully to the bread, making each bite a delightful explosion of flavors you won’t be able to resist.
Mediterranean Hummus: A scoop of smooth, savory hummus adds a delicious contrast in texture, while its fresh flavors enhance the overall experience.
Fresh Tabbouleh Salad: The crispness of this bright salad offers a refreshing balance, providing a delightful crunch with each wrap of the bread.
Spicy Lentil Soup: Dip your bread into this hearty soup for a charming way to enjoy every sip, soaking up all the comforting flavors.
Roasted Vegetable Platter: A medley of roasted veggies adds a burst of color and nutrients, creating a perfect balance to the warm, soft bread.
Let your imagination guide you as you explore these serving ideas, and don’t hesitate to mix and match for your next cozy meal!

No-Knead Turkish Bread Recipe FAQs
What type of flour is best for No-Knead Turkish bread?
Absolutely, using self-rising flour is key for this recipe. It combines flour and leavening agents, simplifying the process. If you can’t find self-rising flour, you can make your own by mixing 1 cup of all-purpose flour with 1 ½ teaspoons of baking powder and a pinch of salt.
How should I store leftover No-Knead Turkish bread?
To keep your bread fresh, store it in an airtight container at room temperature for up to 2 days. If you’d like to extend its life, refrigerate it in an airtight container for up to 5 days, although be aware it may become less fluffy. For even longer storage, wrap it tightly in plastic wrap and freeze for up to 3 months.
Can I freeze No-Knead Turkish bread?
Yes, you absolutely can freeze it! Wrap the cooled bread tightly in plastic wrap or aluminum foil, then place it in a freezer-safe bag. When you’re ready to enjoy it, just thaw it overnight in the fridge and reheat it in a pan for that warm, fluffy goodness again.
What if my dough is too sticky or too dry?
If your dough is too sticky, add a little more self-rising flour a tablespoon at a time until it reaches a soft, pliable texture. On the other hand, if your dough seems too dry, gradually incorporate a few drops of warm water until it becomes the right consistency. Remember, a slightly sticky dough will yield the best result!
Can I use yogurt substitutes for a vegan option?
Absolutely! You can substitute Greek yogurt with a plant-based alternative, such as almond or coconut yogurt. This works wonderfully and maintains the delightful flavor and texture of the No-Knead Turkish bread. Just ensure the substitute is thick and unsweetened for the best results!

Effortless No-Knead Turkish Bread (No Oven) - Just 3 Ingredients
Ingredients
Equipment
Method
- In a large bowl, mix the self-rising flour, Greek yogurt, and warm water until a sticky dough forms.
- Cover the bowl with a clean kitchen towel and let it rest for about 30 minutes.
- Turn the dough out onto a lightly floured surface and divide it into equal portions.
- Shape each portion into a round disk about 1 inch thick.
- Heat a non-stick frying pan over medium heat, and cook the dough disks for 2-3 minutes on each side until golden brown.
- Cover with a clean cloth to keep warm after cooking.